Crochet is a wonderfully versatile craft, where even small changes in your technique can create stunning stitch variations. One of the simplest yet most effective ways to add texture and visual interest to your crochet projects is by working into the front loop only (FLO) or back loop only (BLO) of your stitches. In this article, we'll explore the magic of FLO and BLO, showing you how these simple techniques can elevate your crochet creations.
The beauty of front loop only (FLO) and back loop only (BLO) crochet is that you achieve completely different looks without learning complicated new stitches. It’s all about where you insert your hook! Instead of working into the entire stitch, you can choose to work into just the front loop or just the back loop. This seemingly small change makes a big difference in the final fabric.
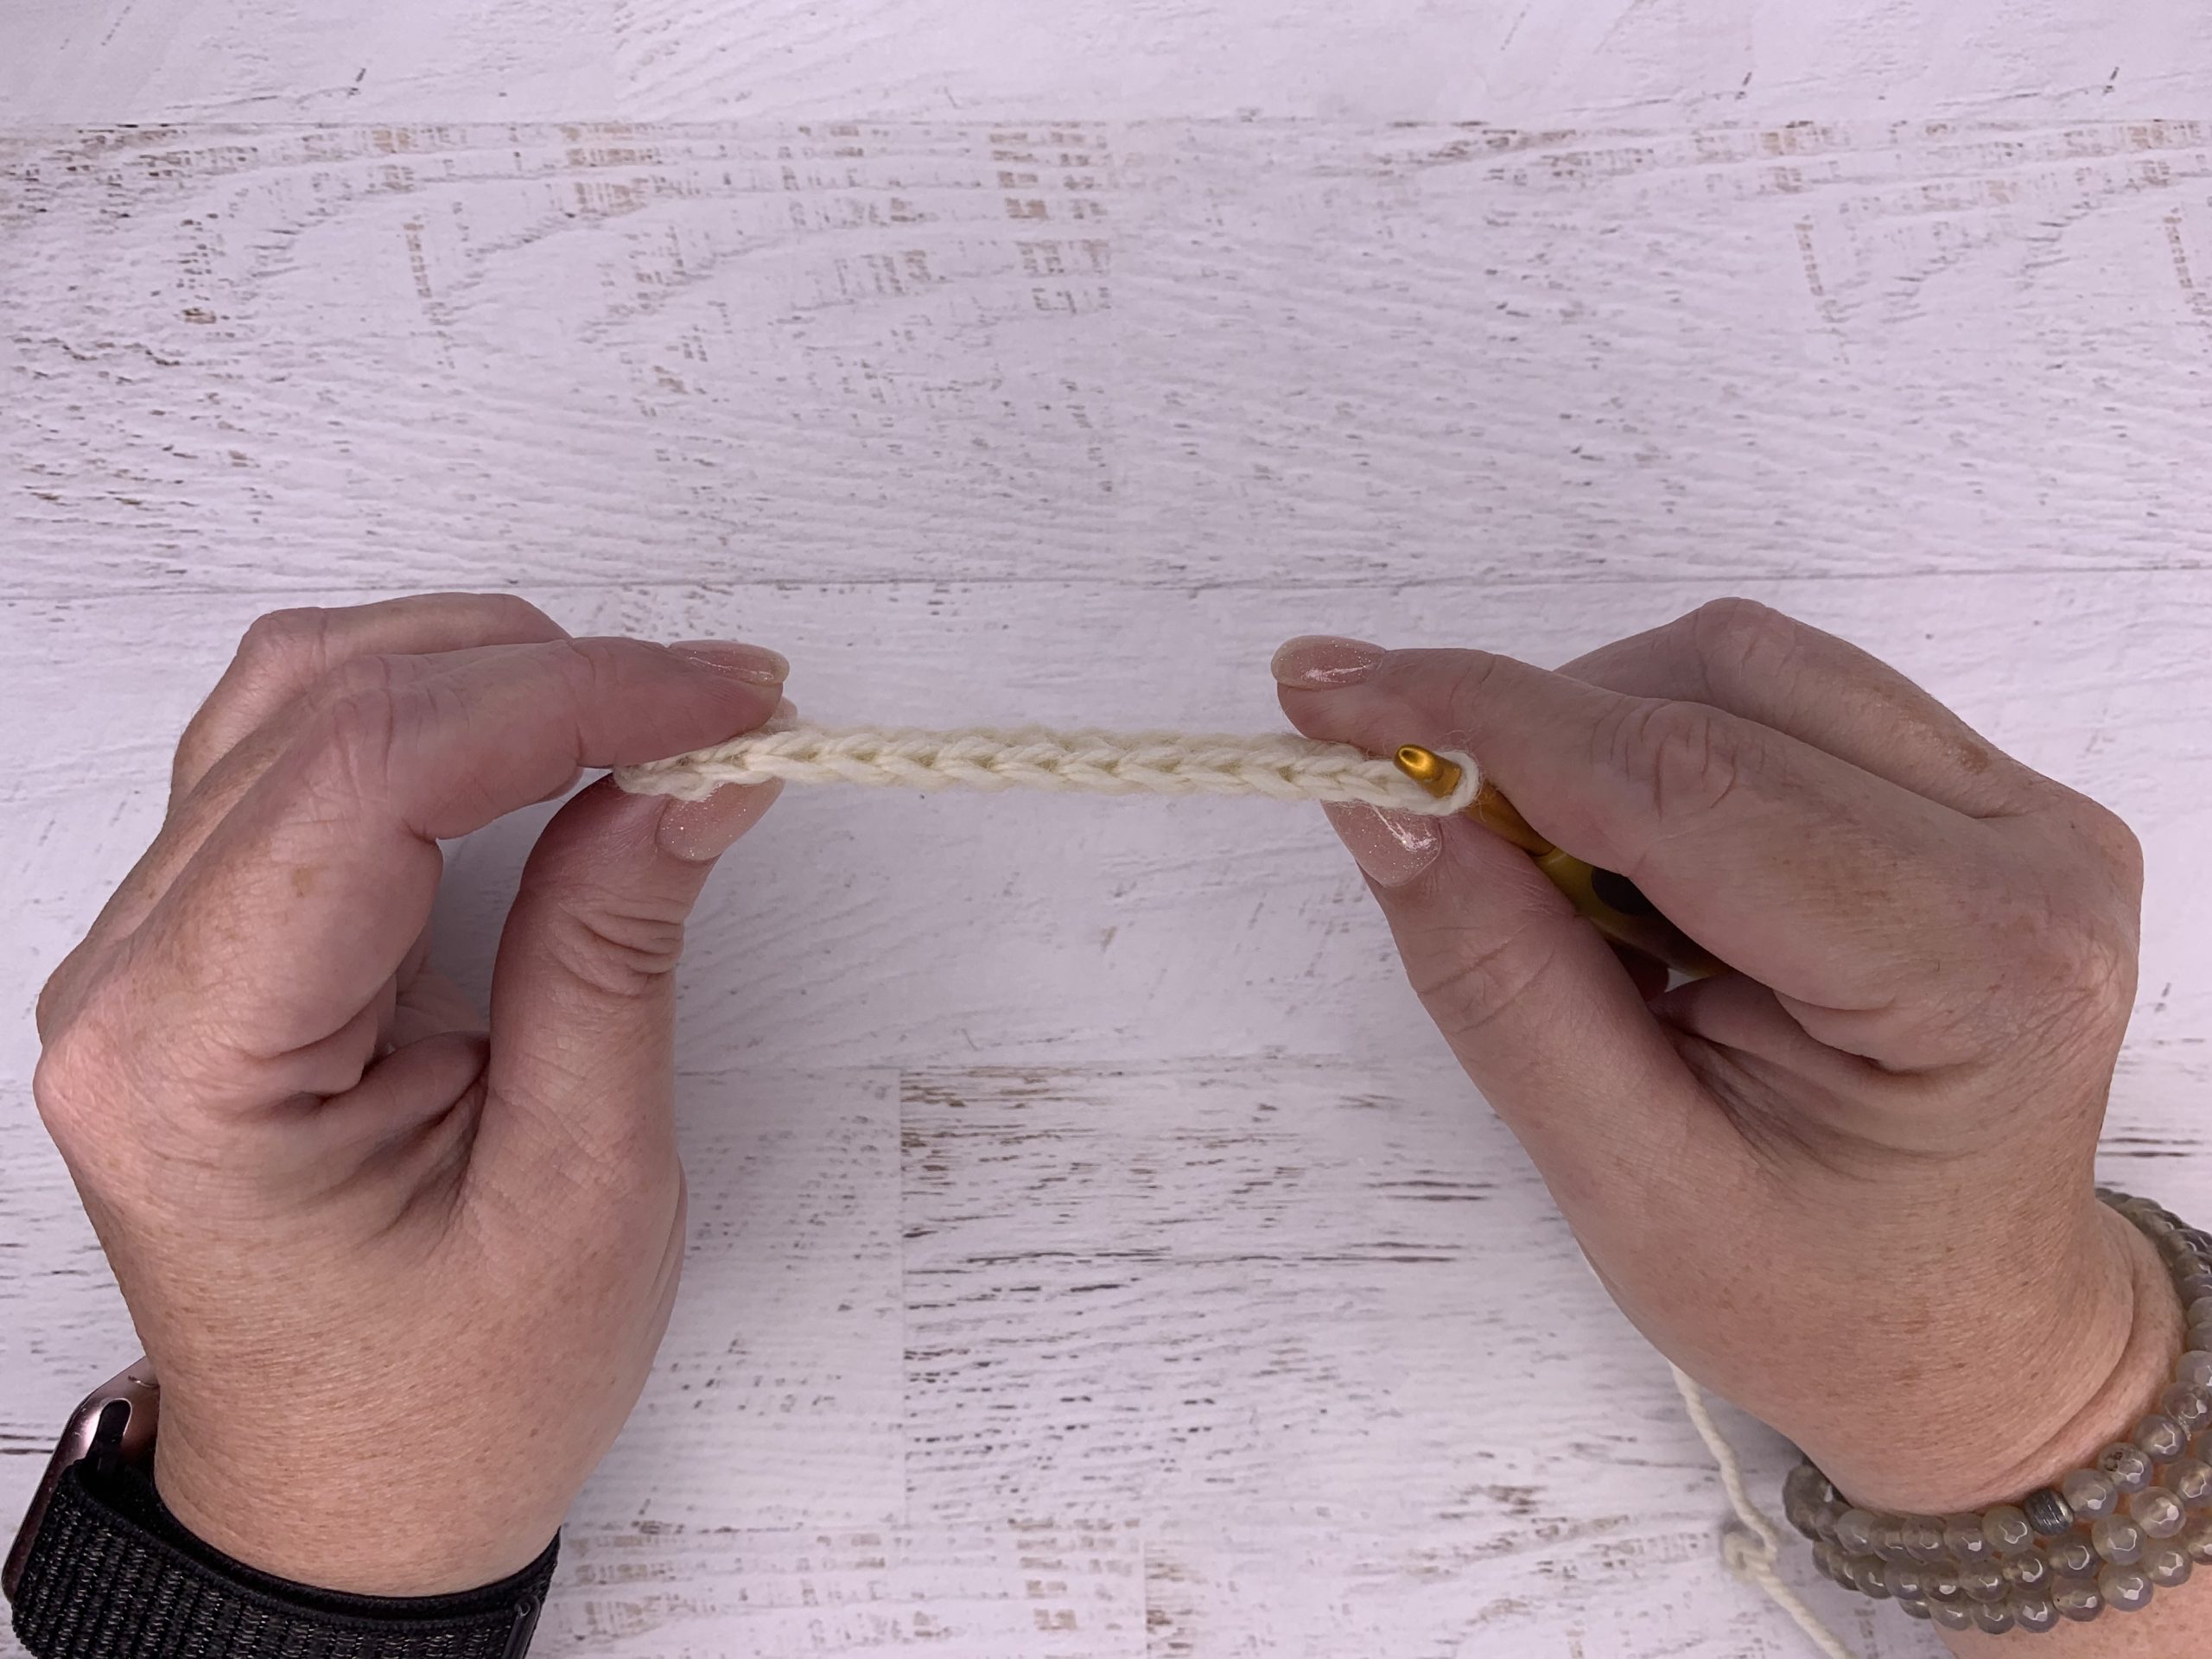
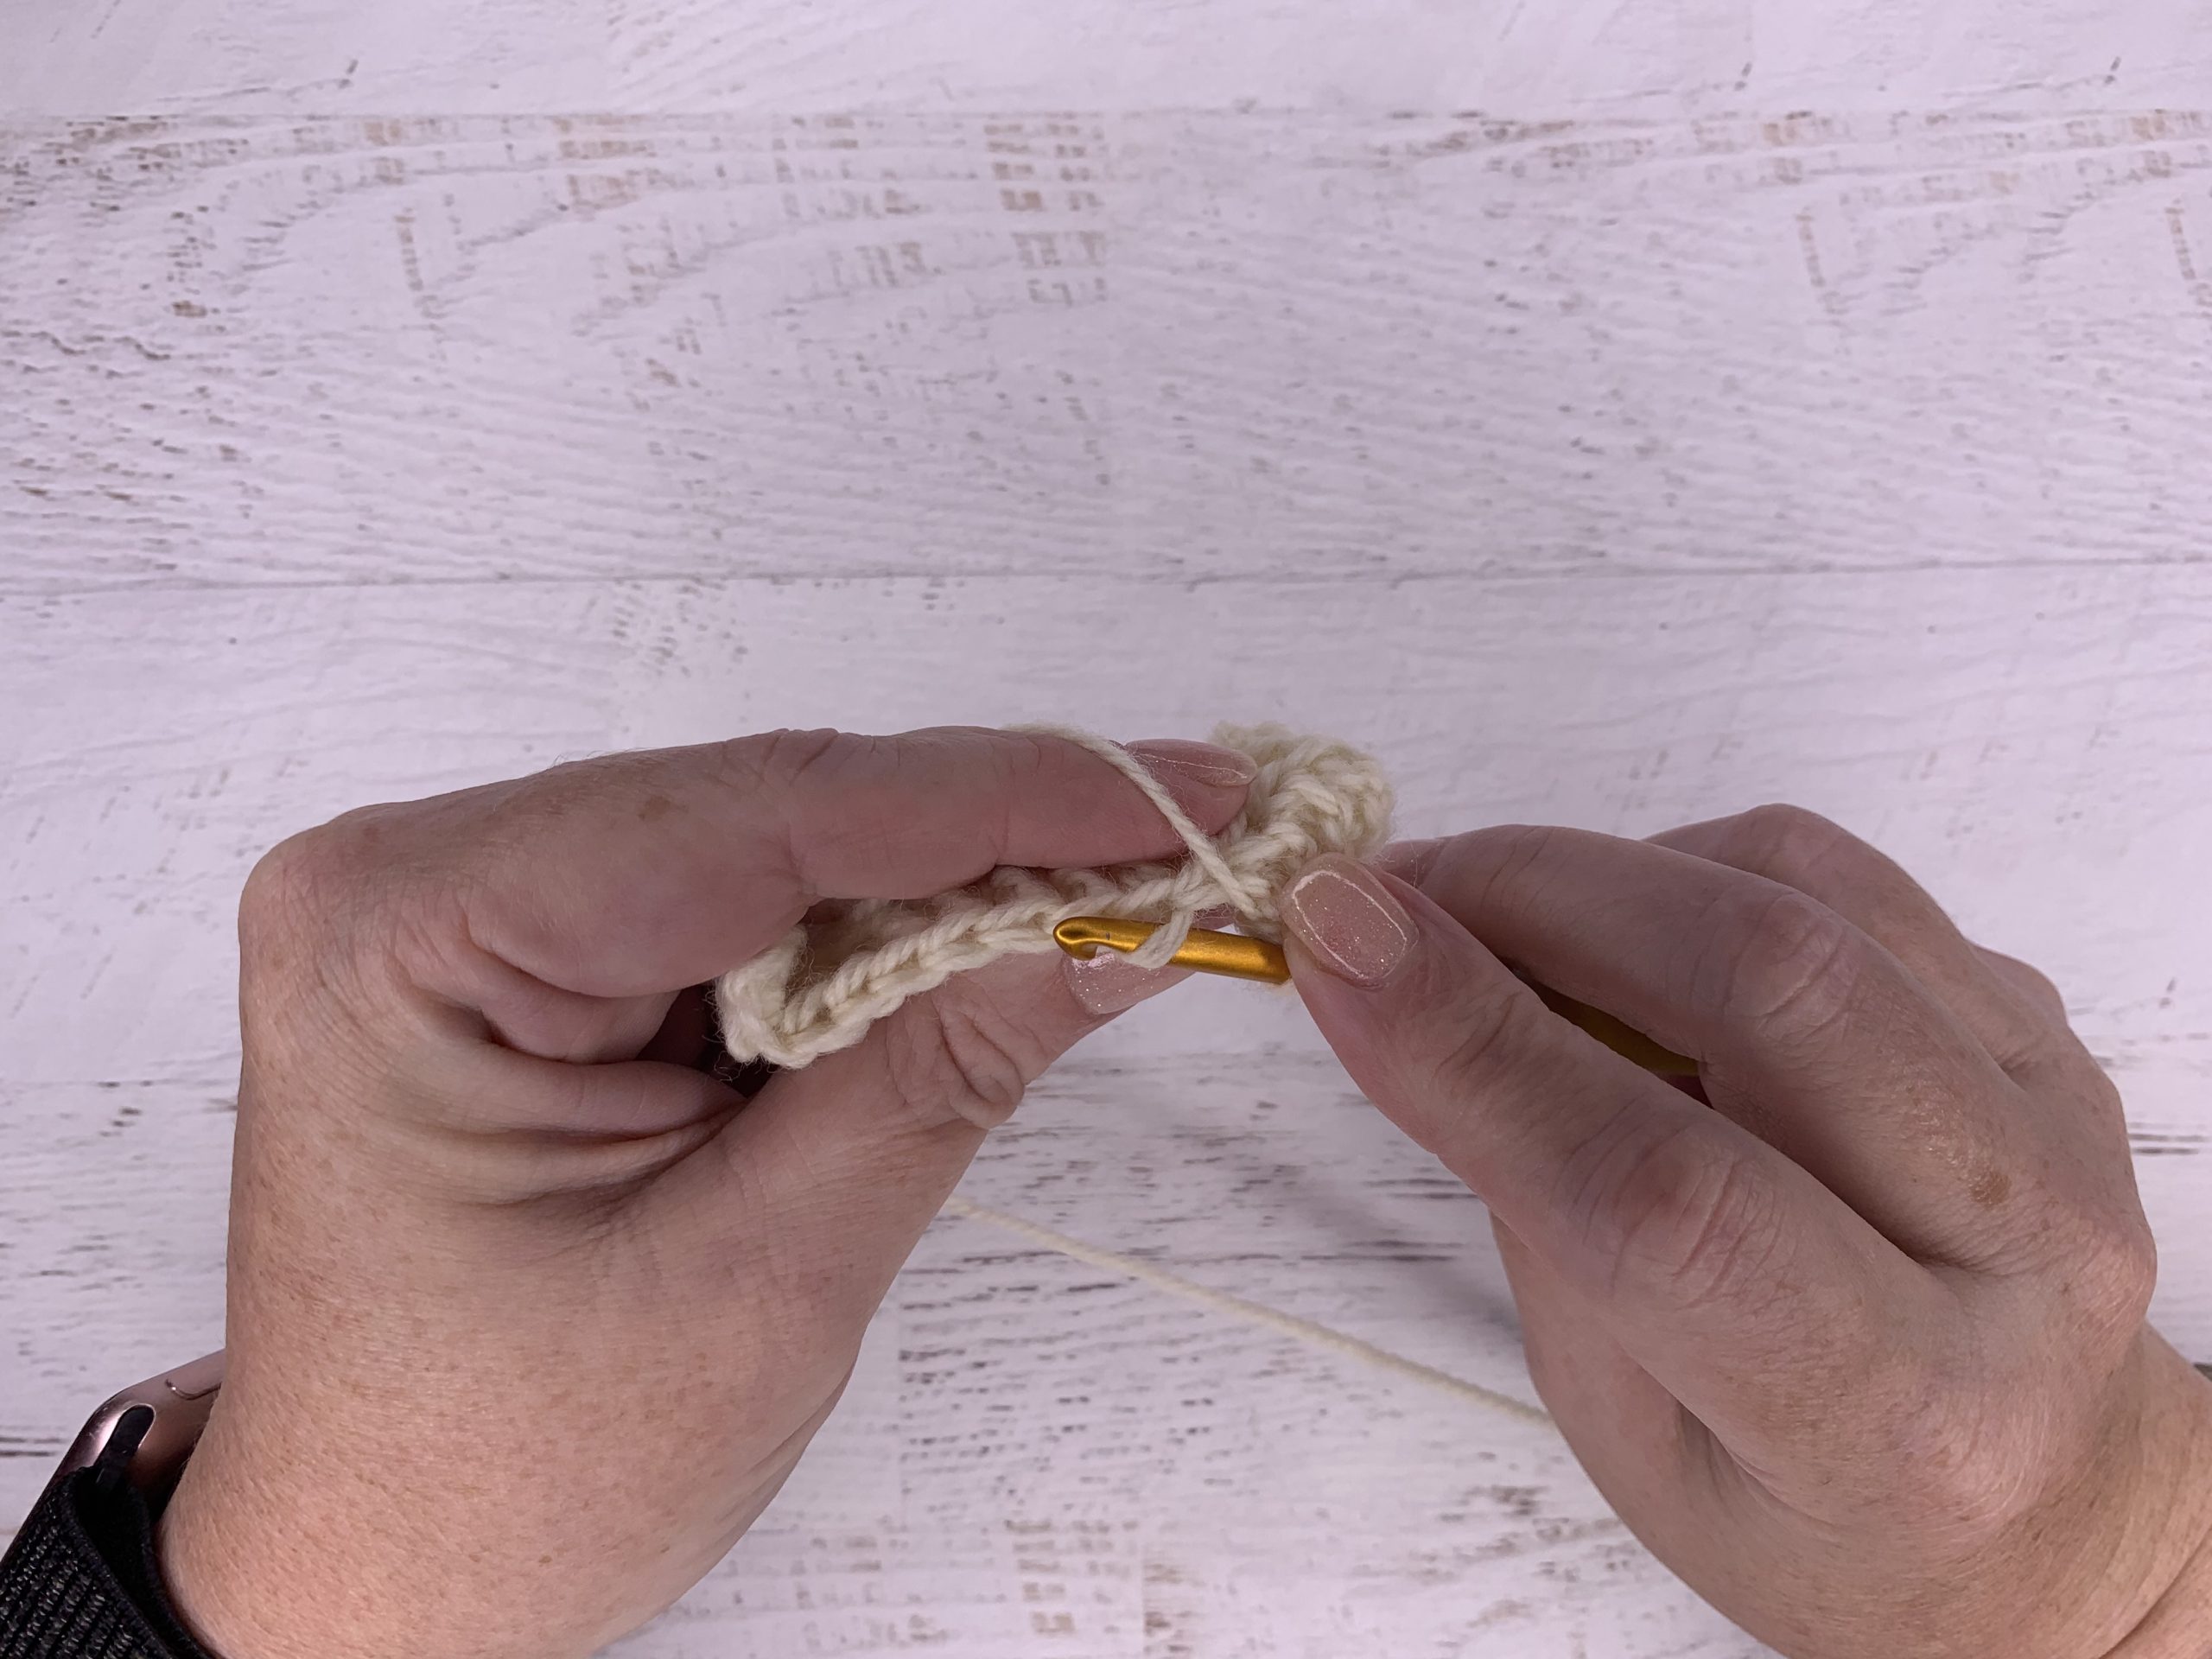
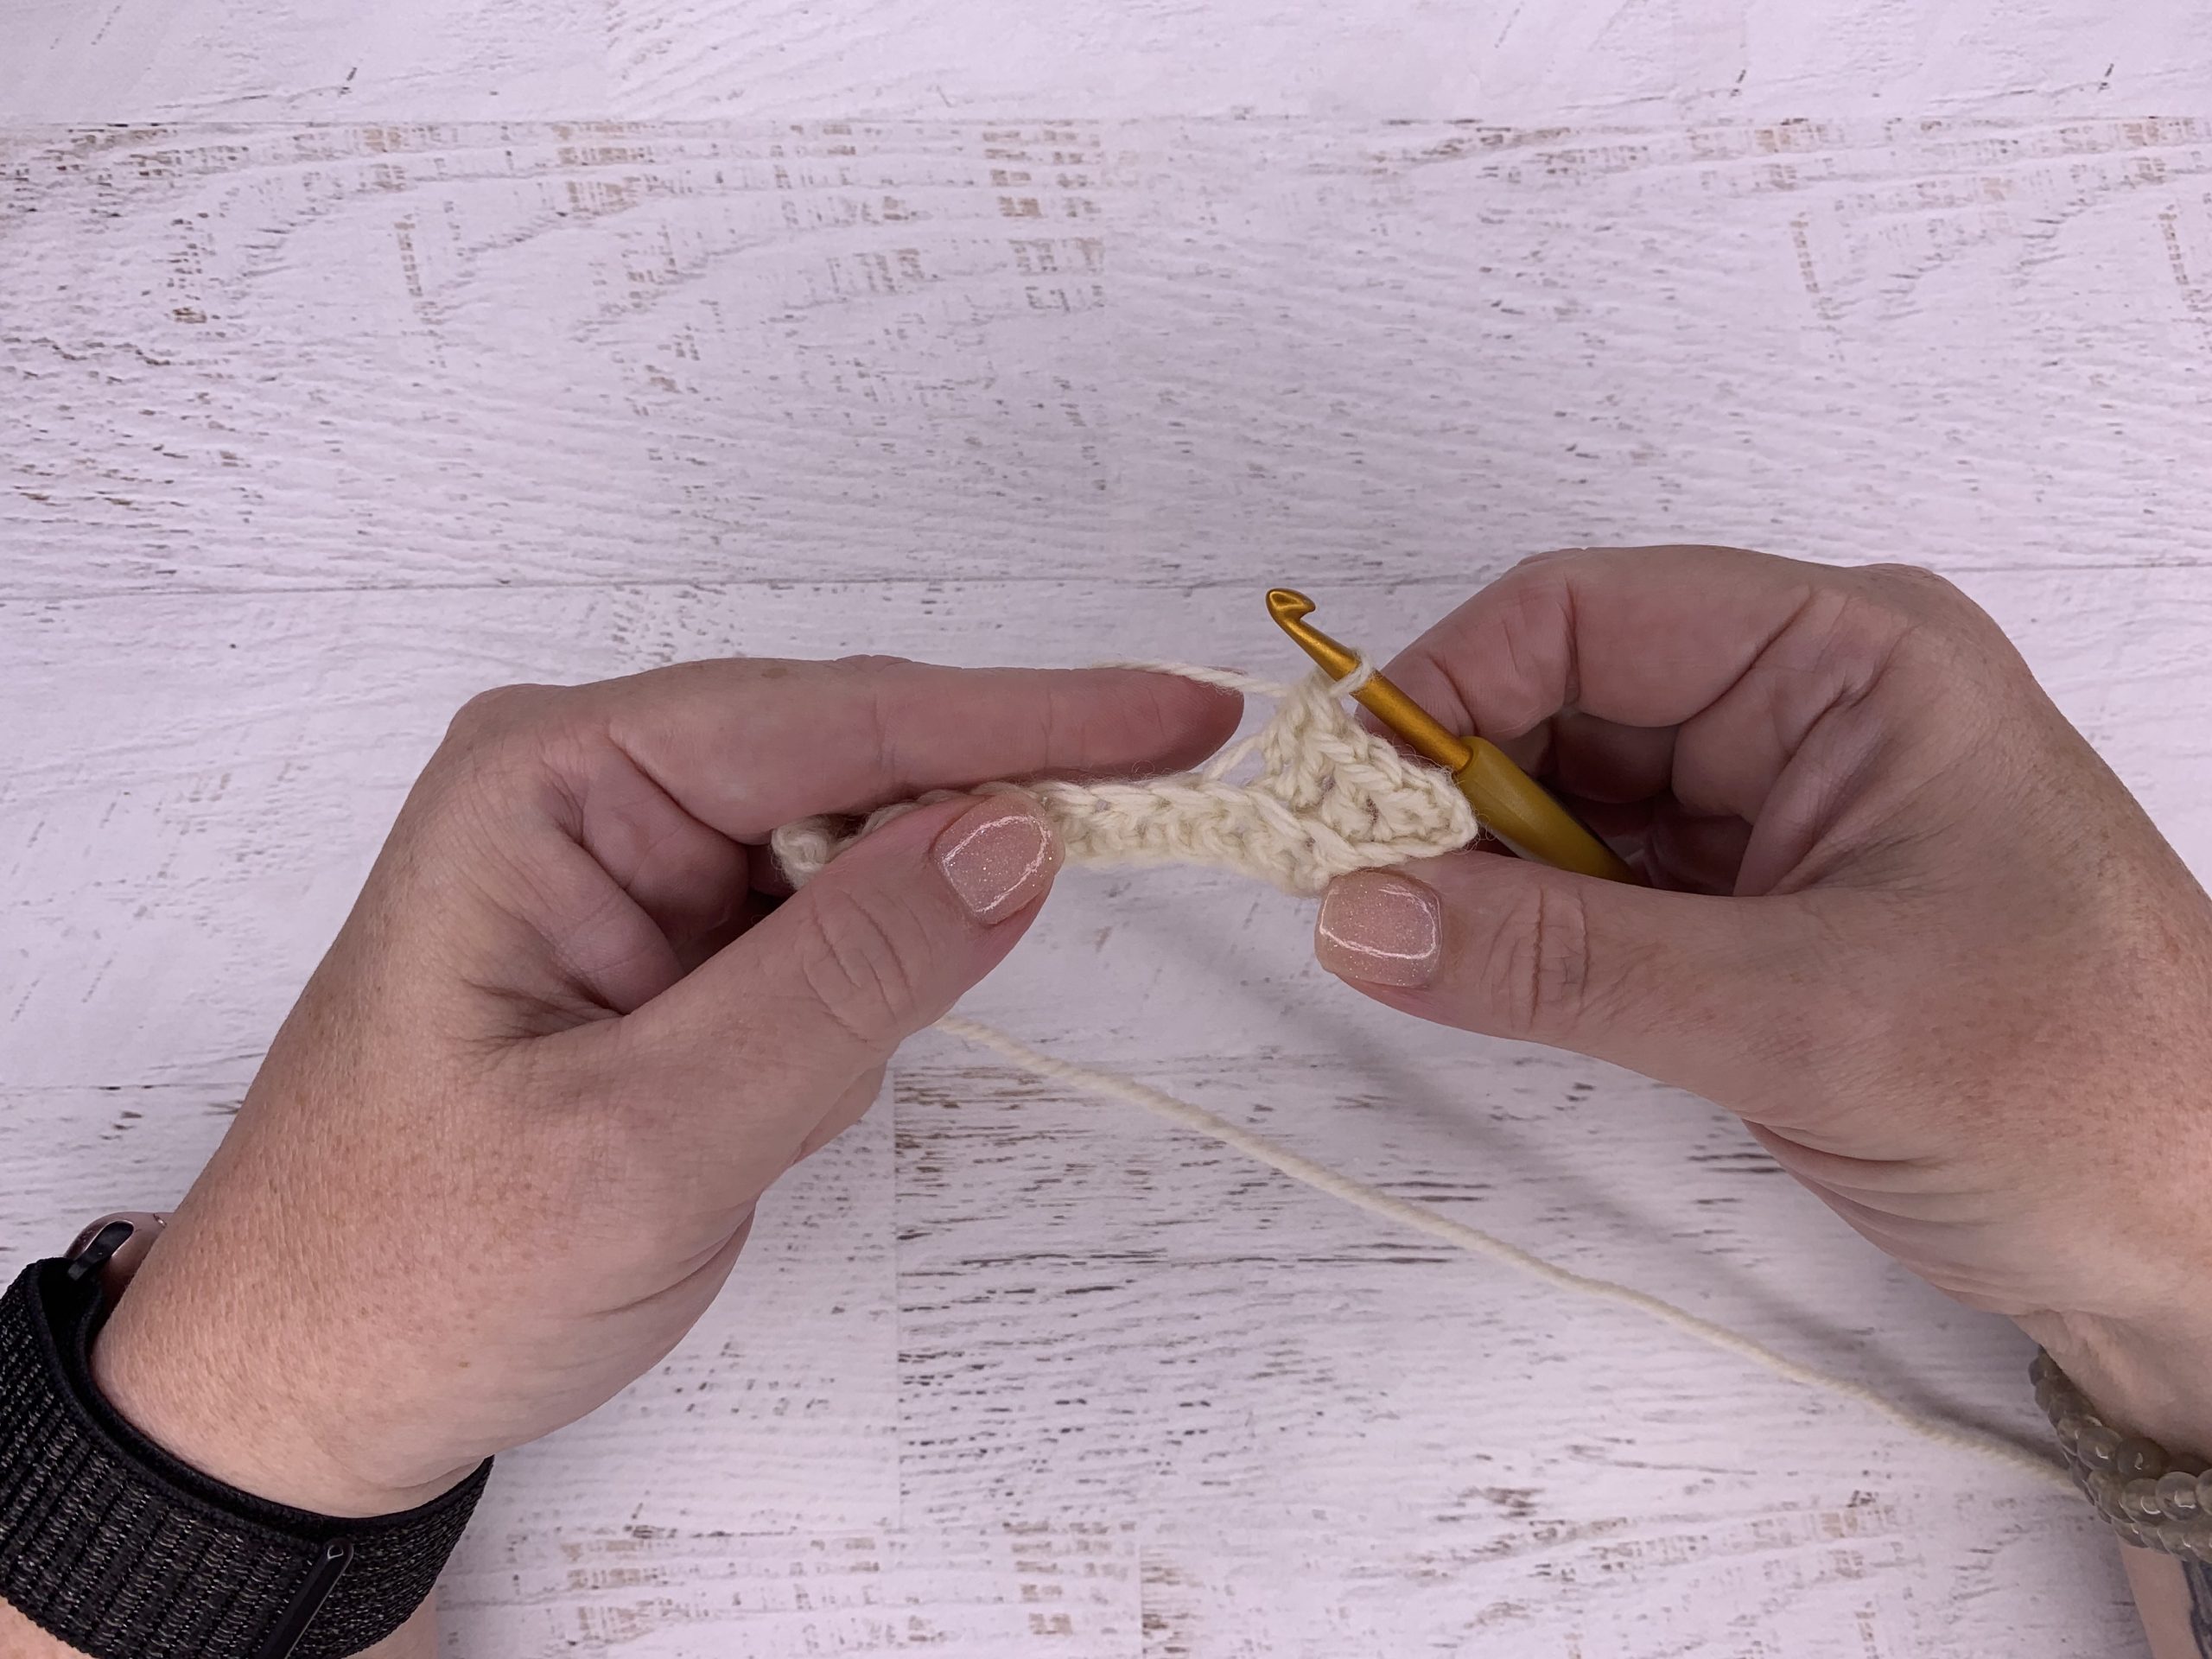
The top portion of any basic crochet stitch will look like the chain you started with. Normally we work into both halves of the chain. If your instructions don’t say otherwise, you should assume you can work the whole stitch normally. You can see below what’s considered the whole stitch, what’s considered the front, and what’s considered the back. These labels are based on how the crochet is facing you. As you see, I have the hook positioned ready to work a new row and the front and back of the stitch refer to how the stitch is facing you, the crocheter.
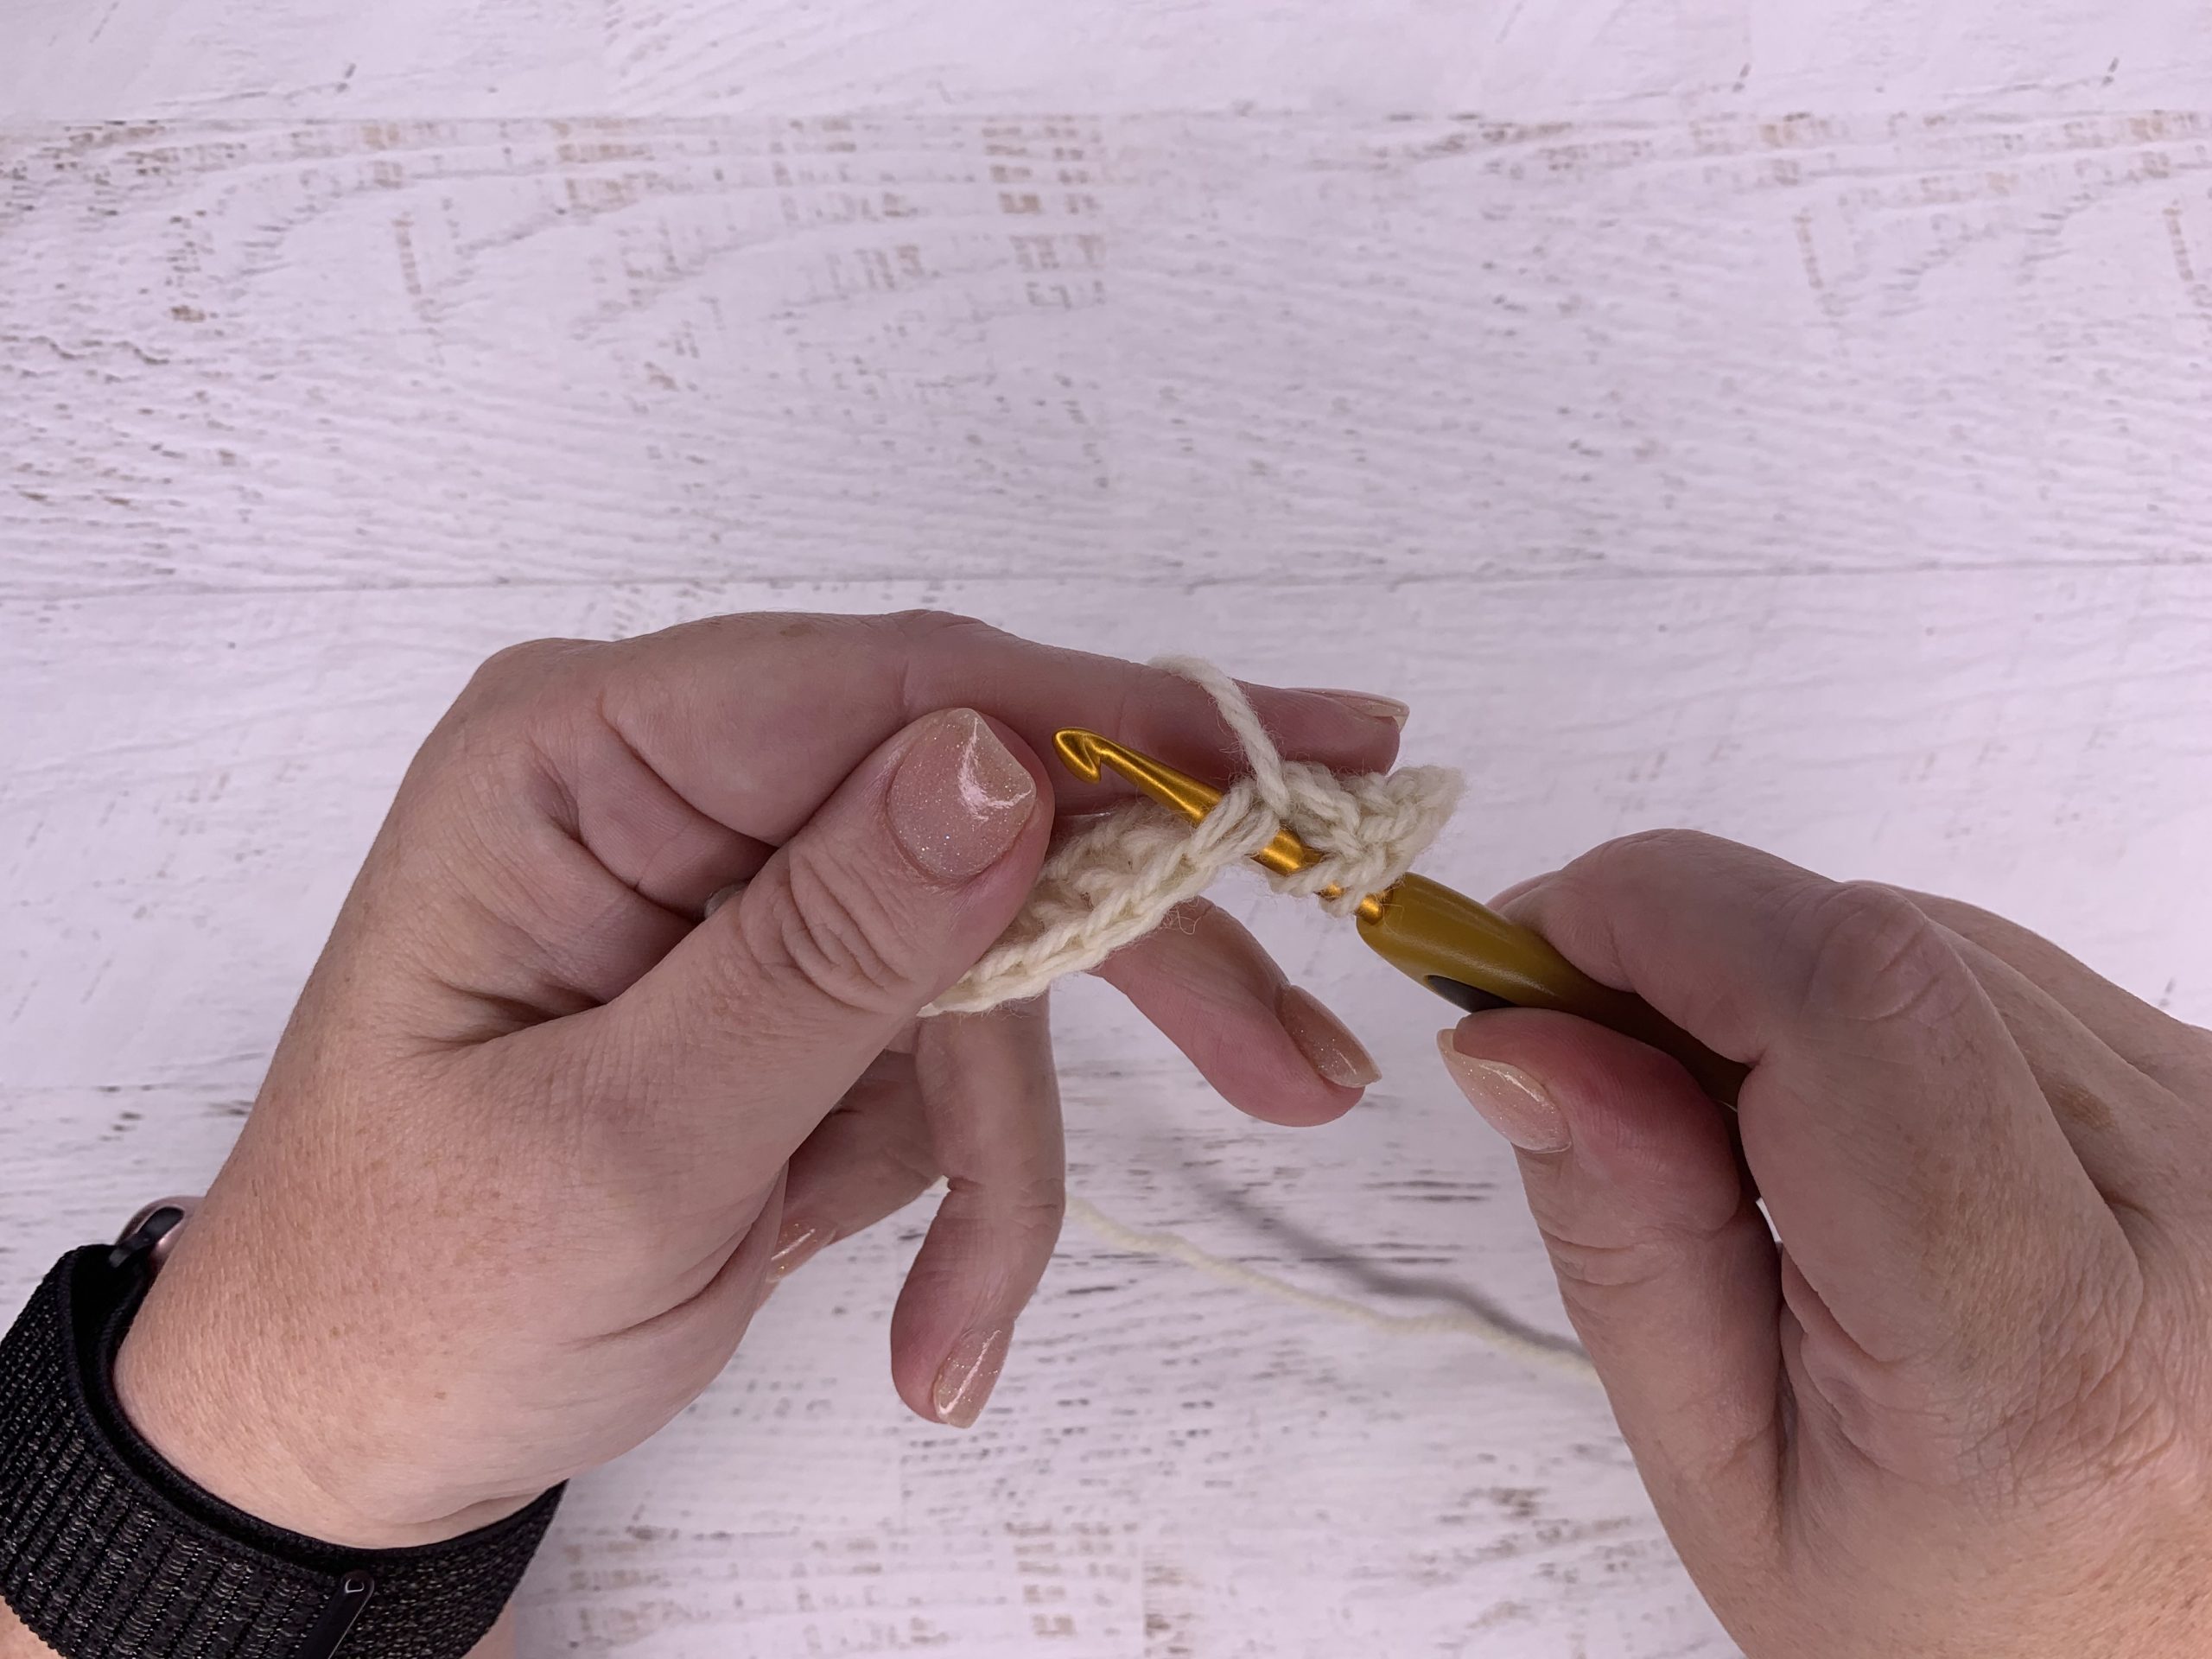
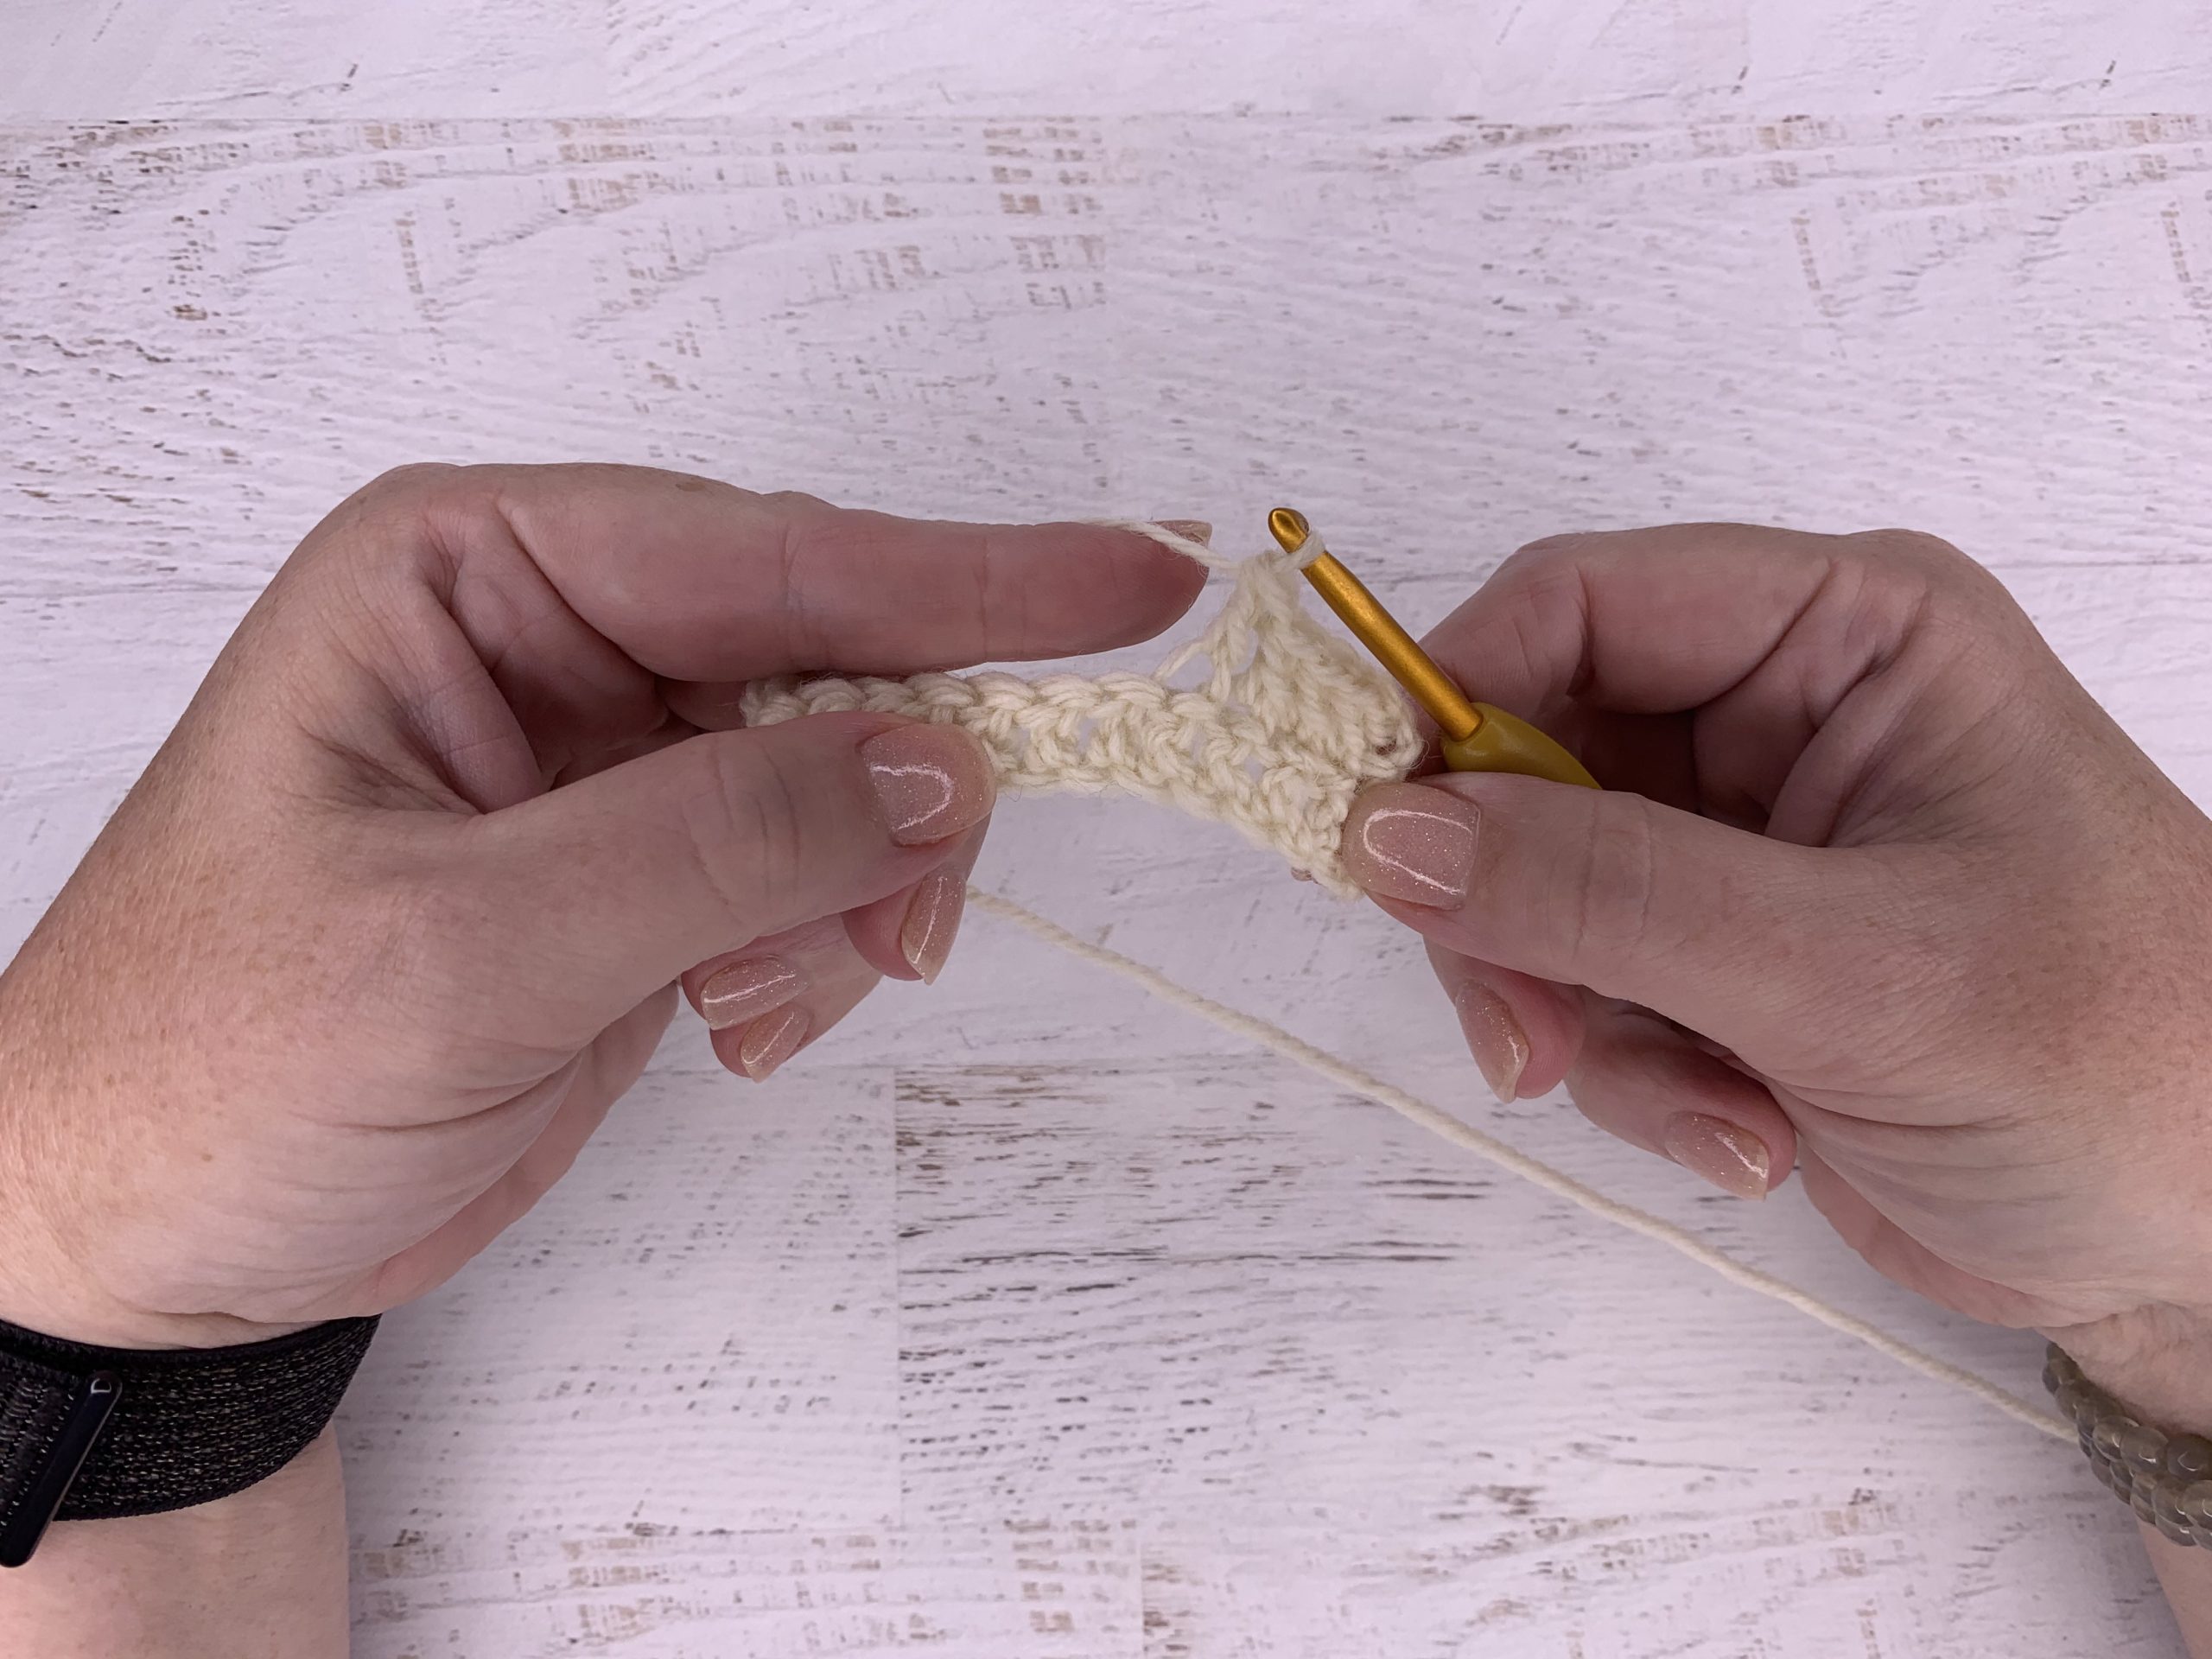
You probably already know exactly what it looks like when you work into the whole stitch. You insert your hook from front to back under both halves of the stitch and continue to work your stitch as directed. For this tutorial, I’m doing a bunch of double crochets.
Here's how it looks on the front and back of the piece – almost identical. The base of the stitch is wrapped around the entire stitch from the previous row, so it looks the same on both sides.
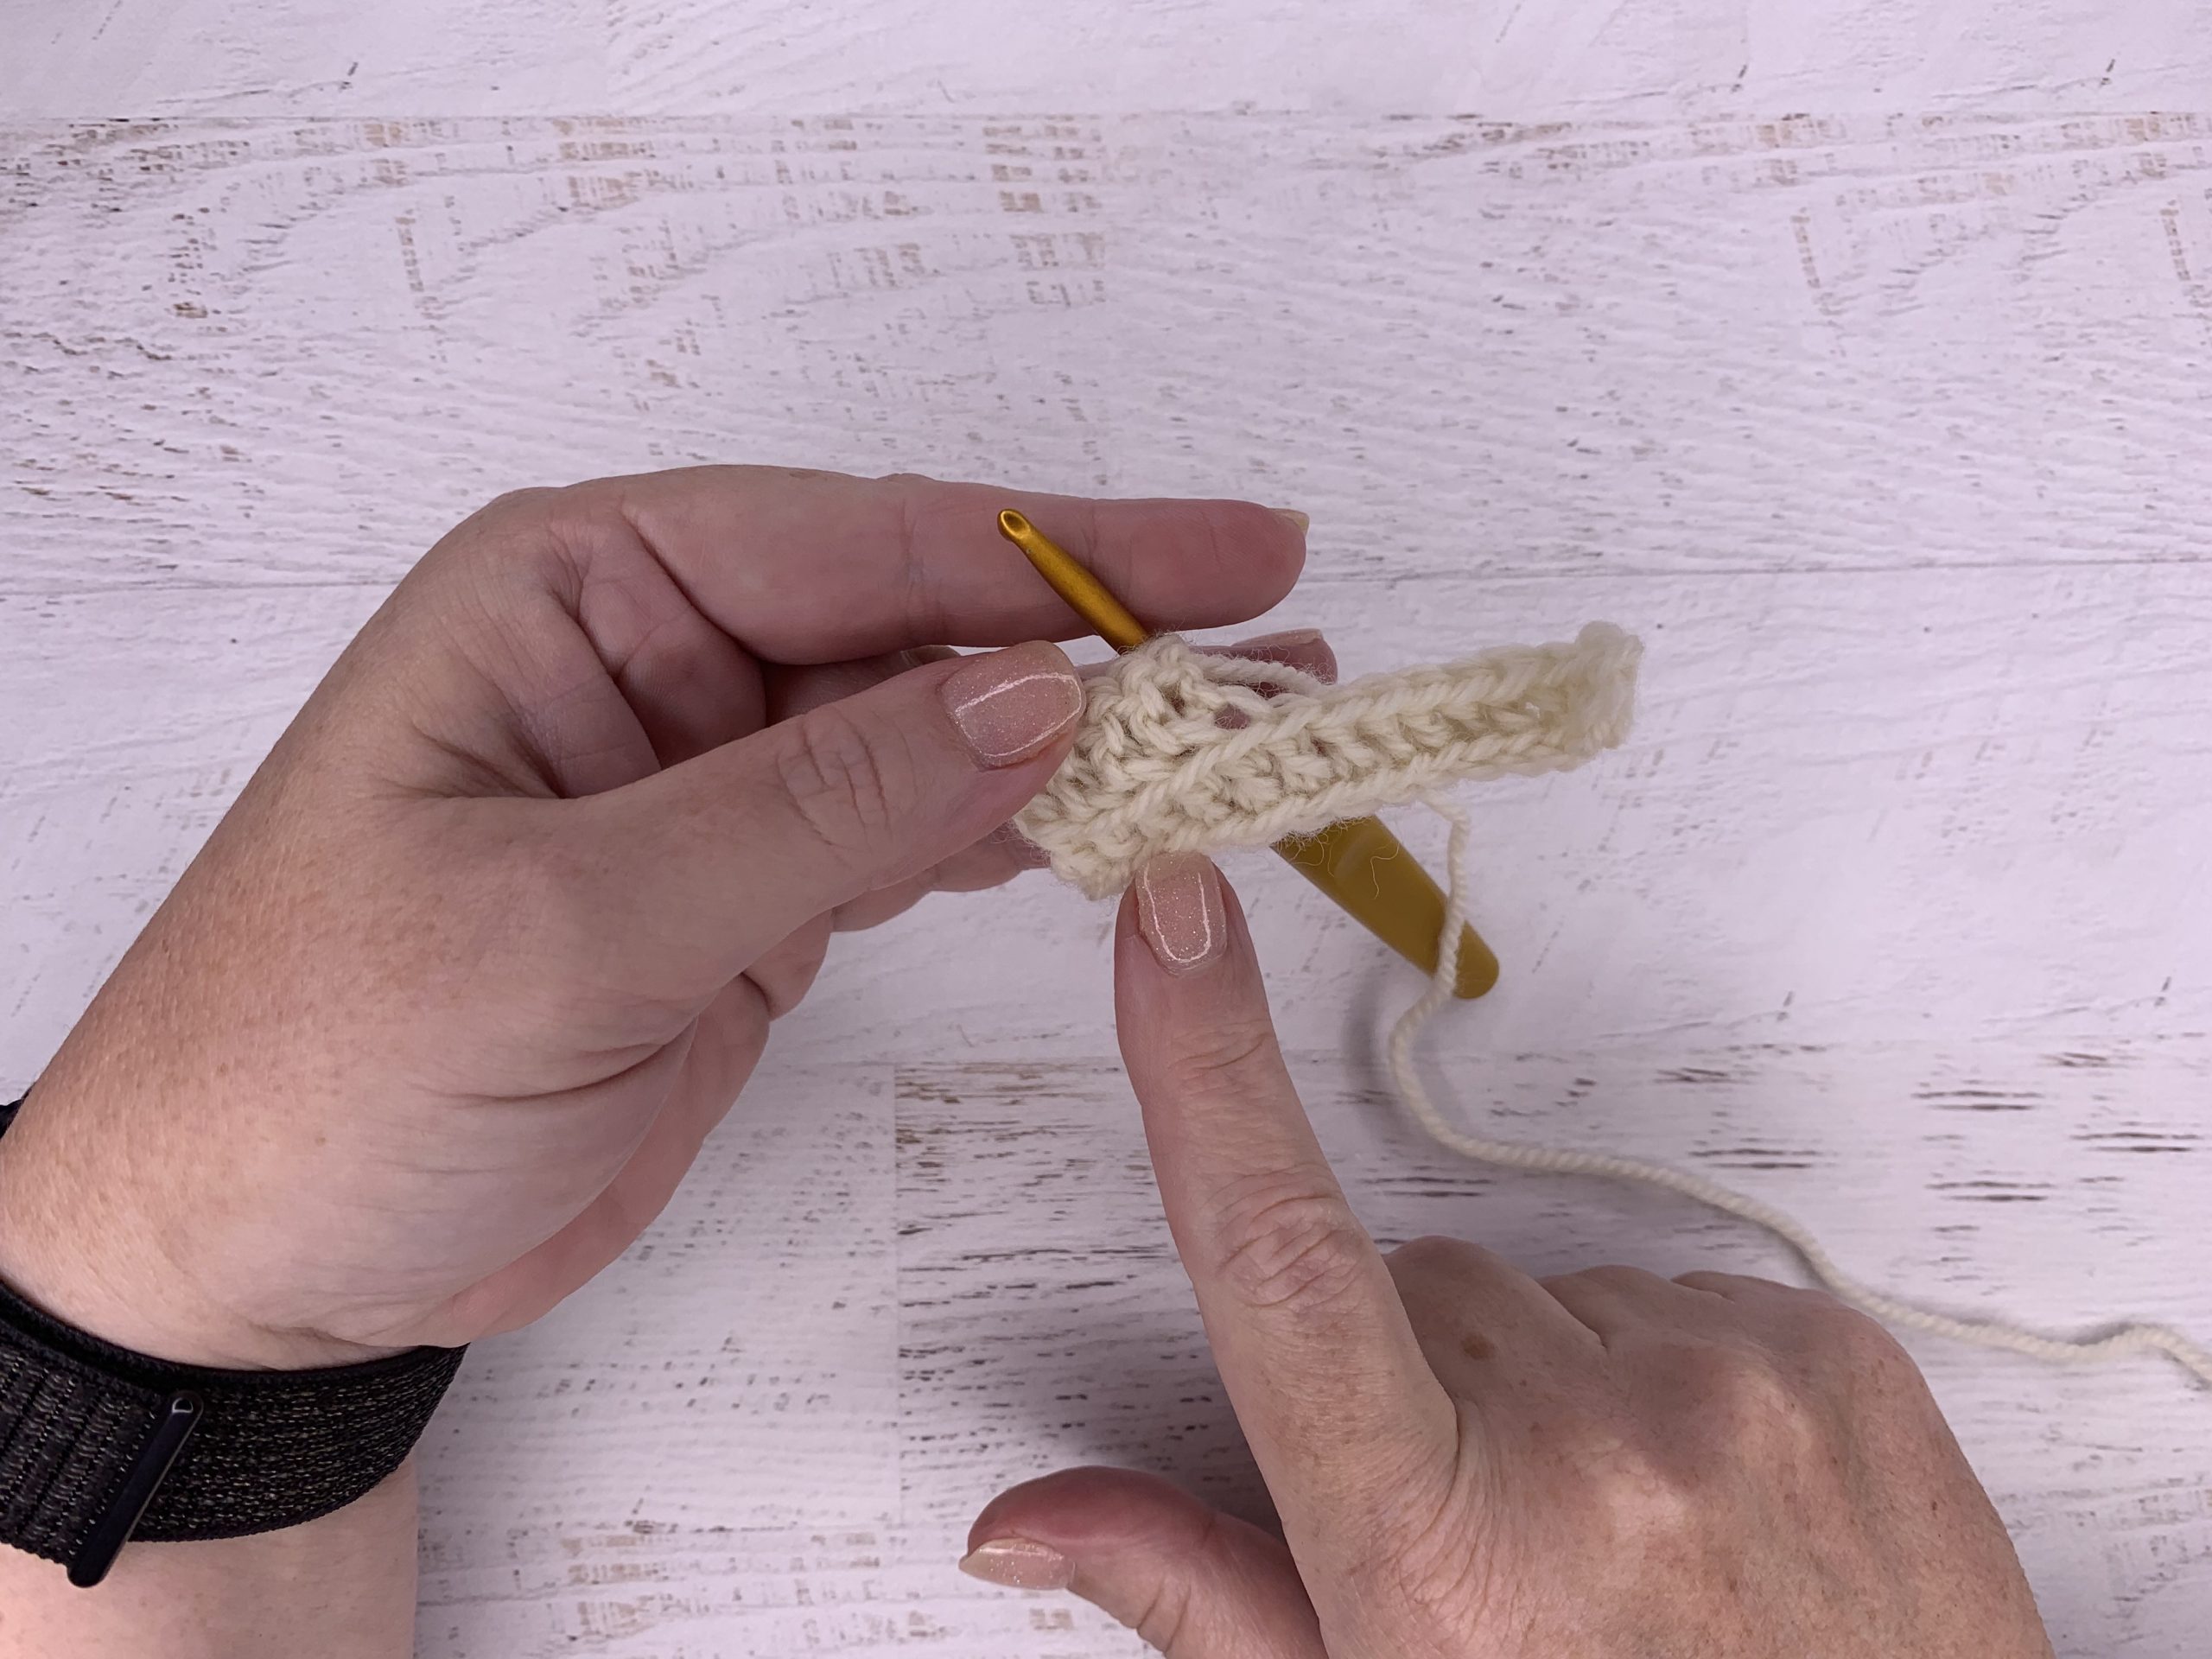
To work into the front of the stitch, all you do is catch just the front half of that stitch. Easy peasy!
You'll notice after the stitch is completed on the front, it stretches that front half of the loop. It’s a lot stretchier because you're only working into one strand. On the back you see the back half of the loop starting to form a line across the back of the work because we didn’t work it.
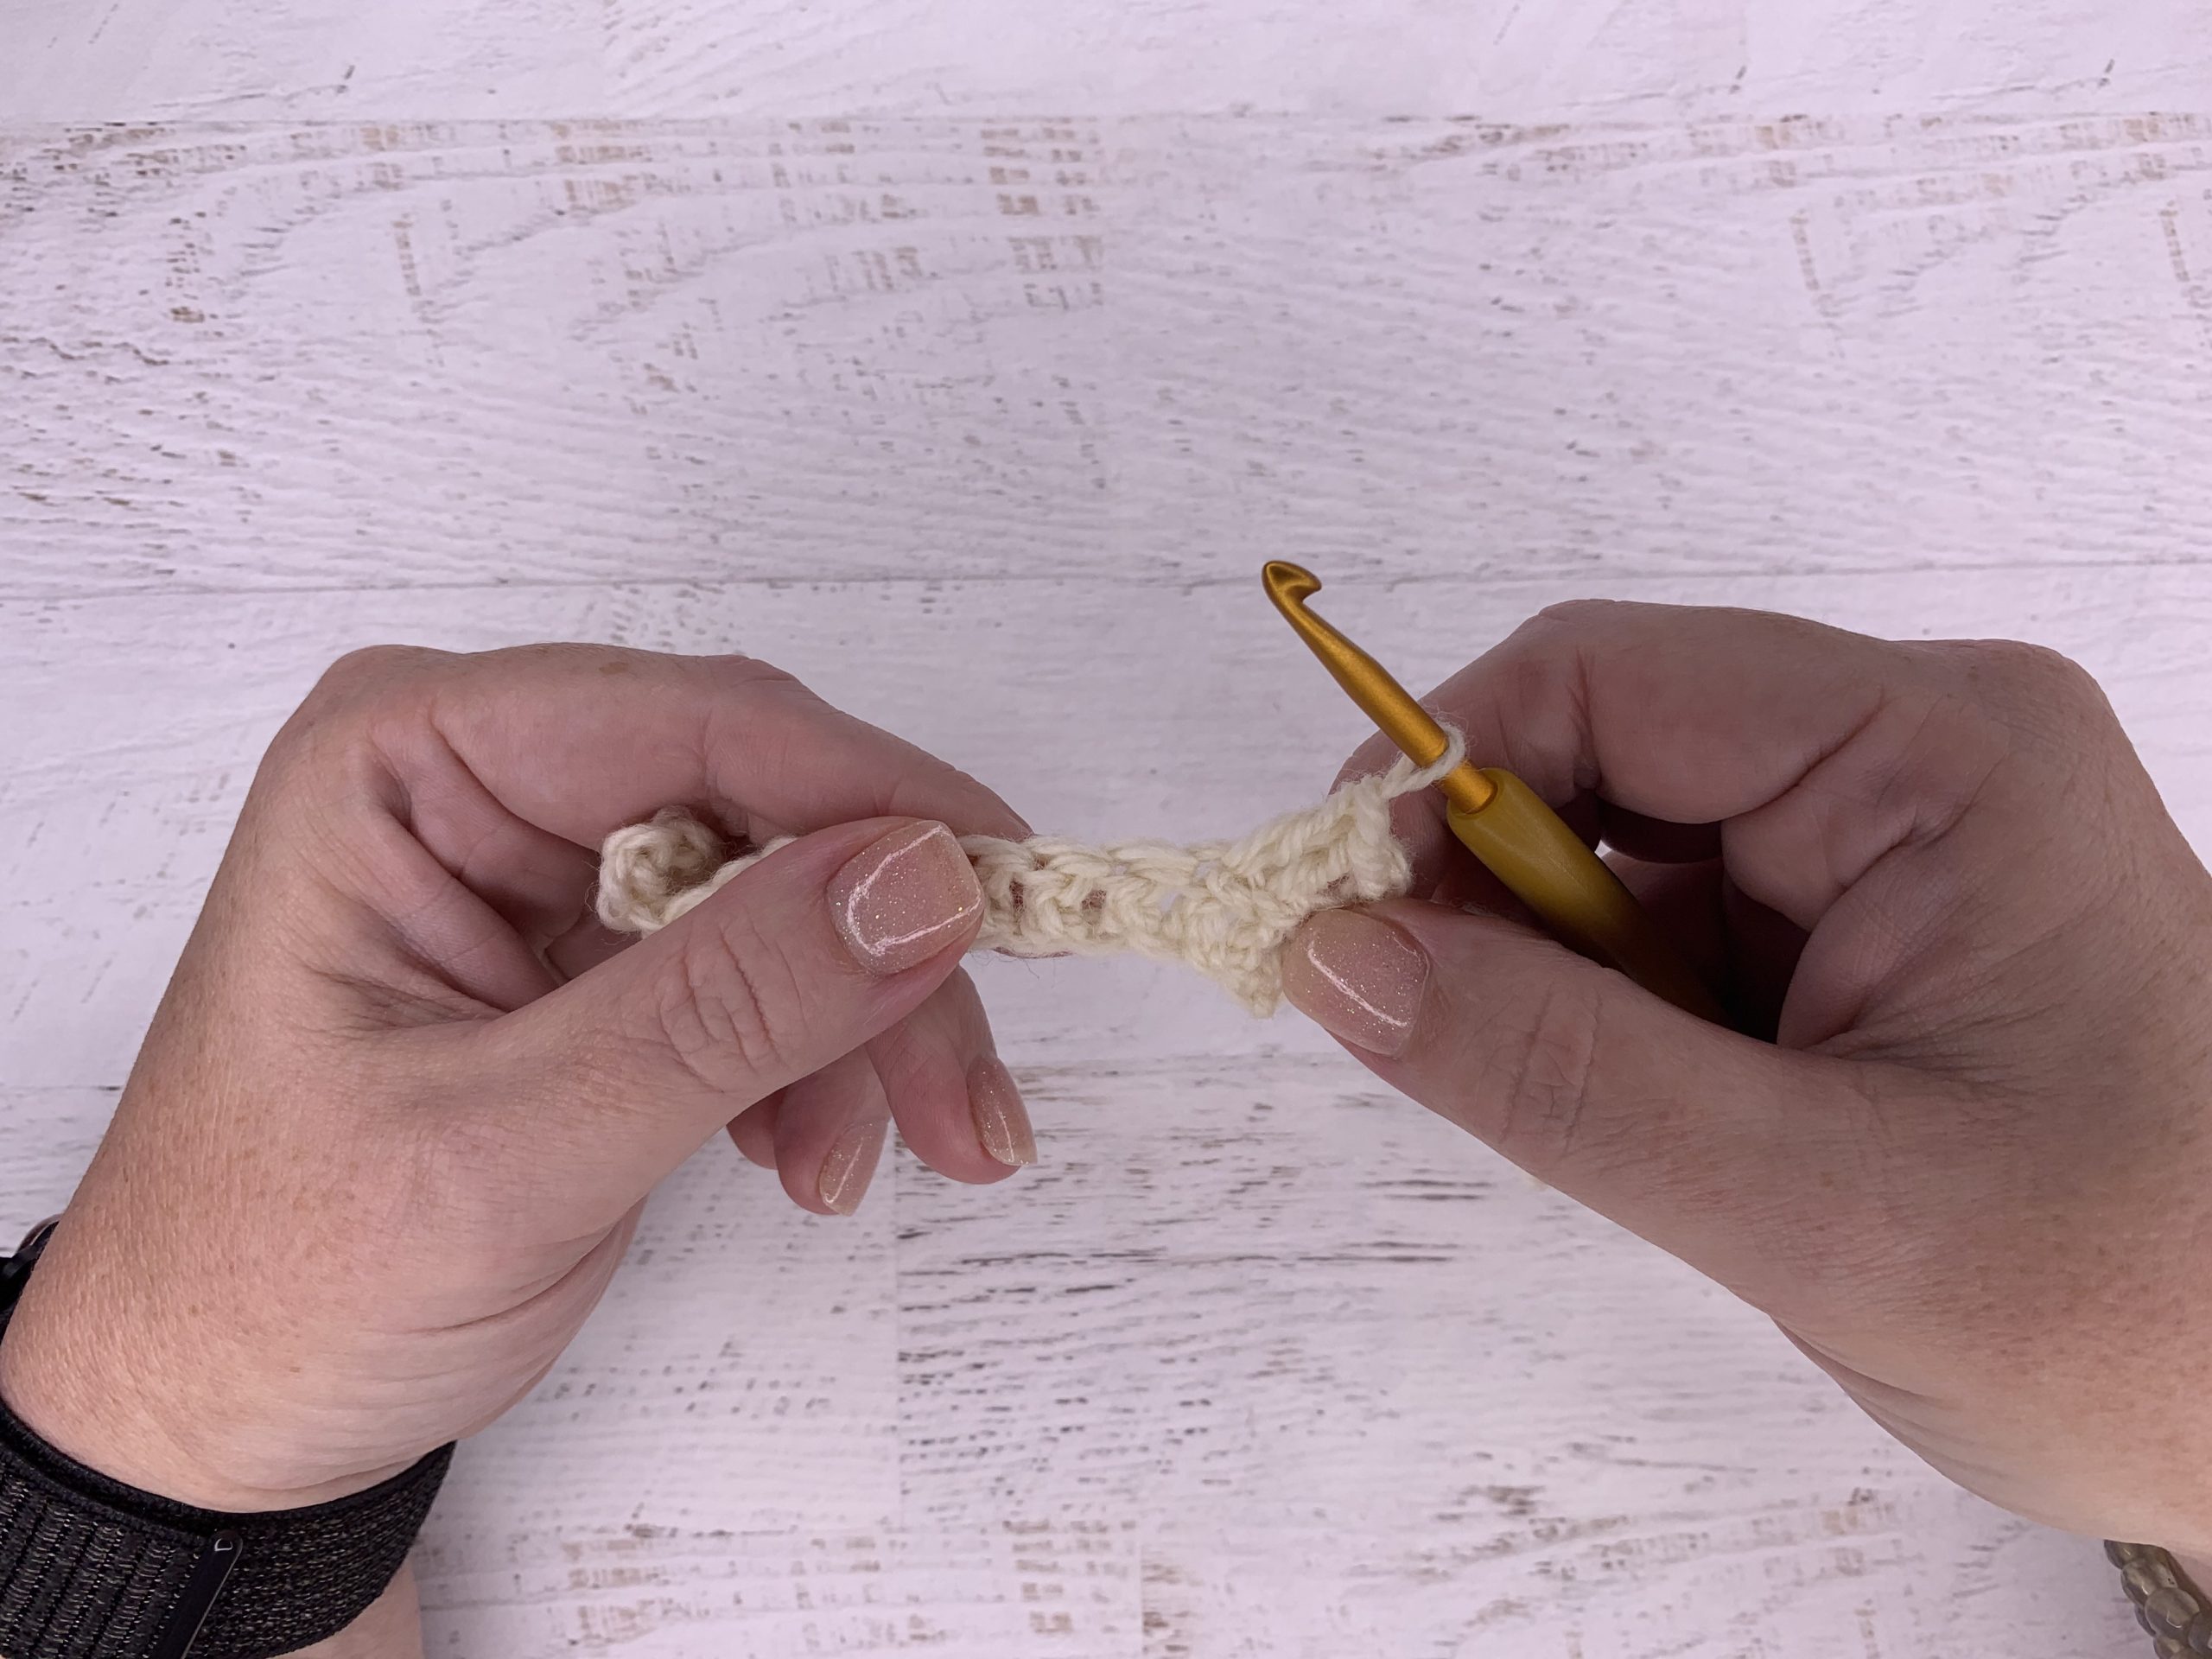
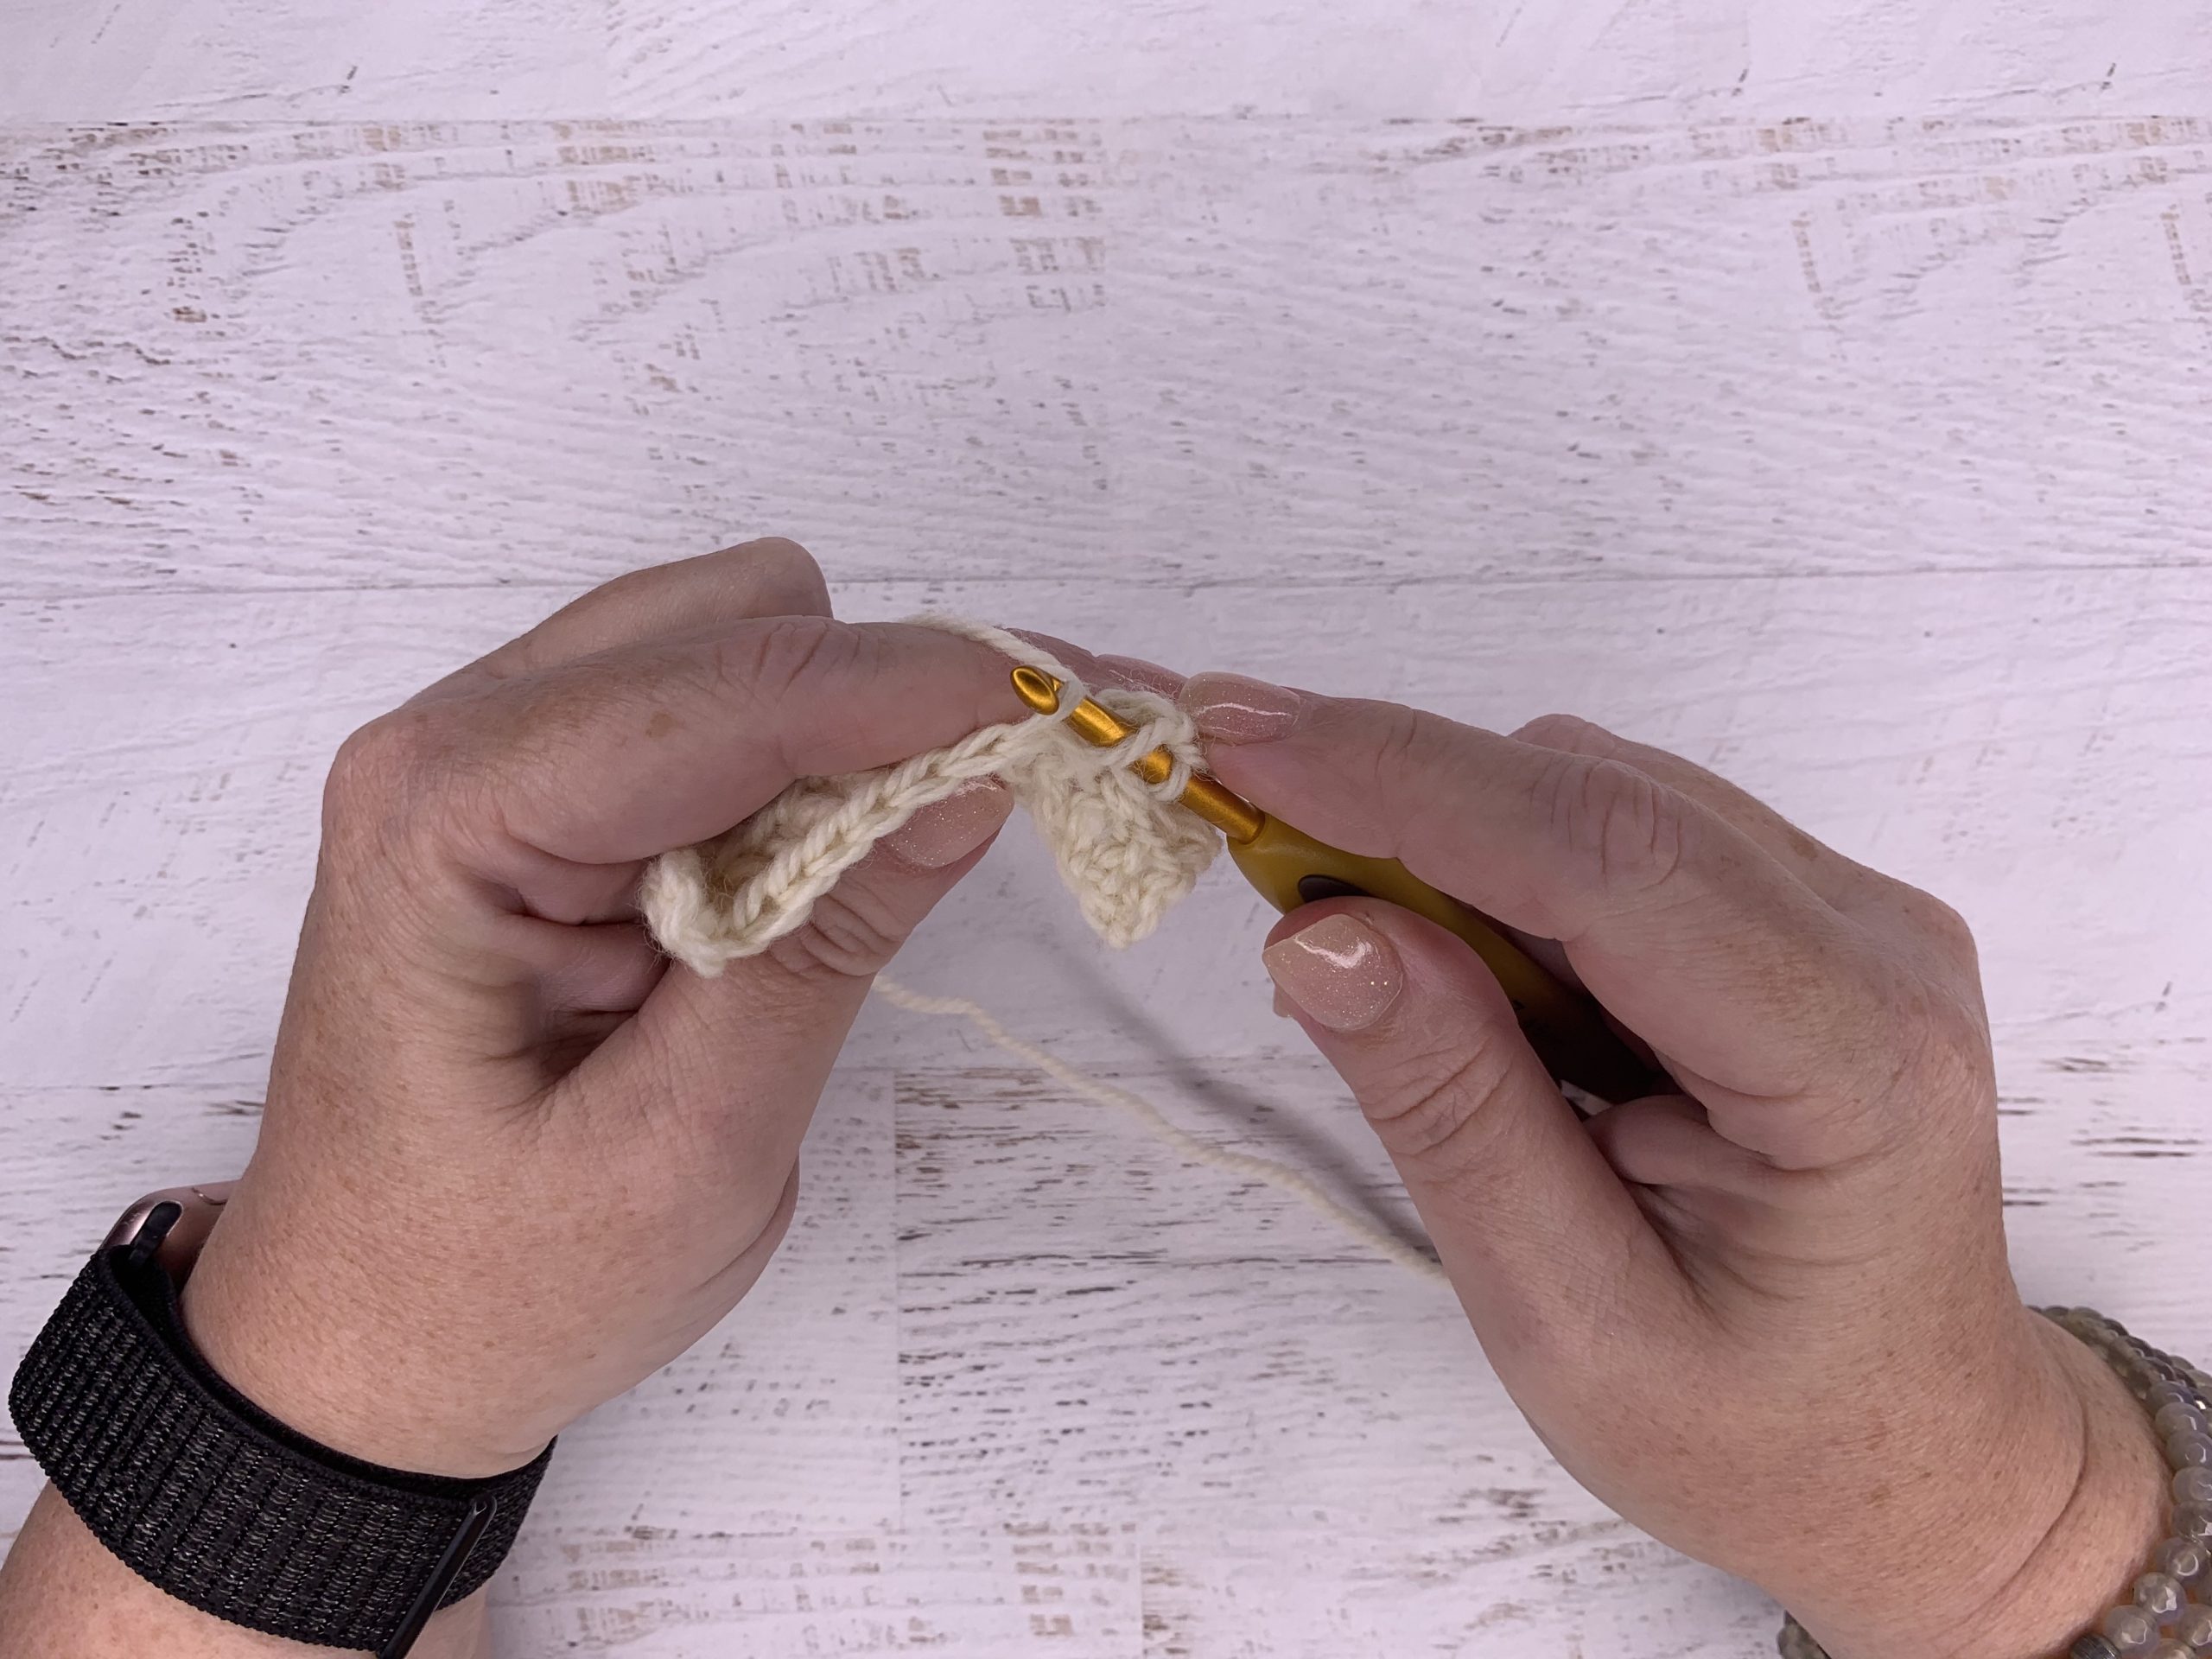
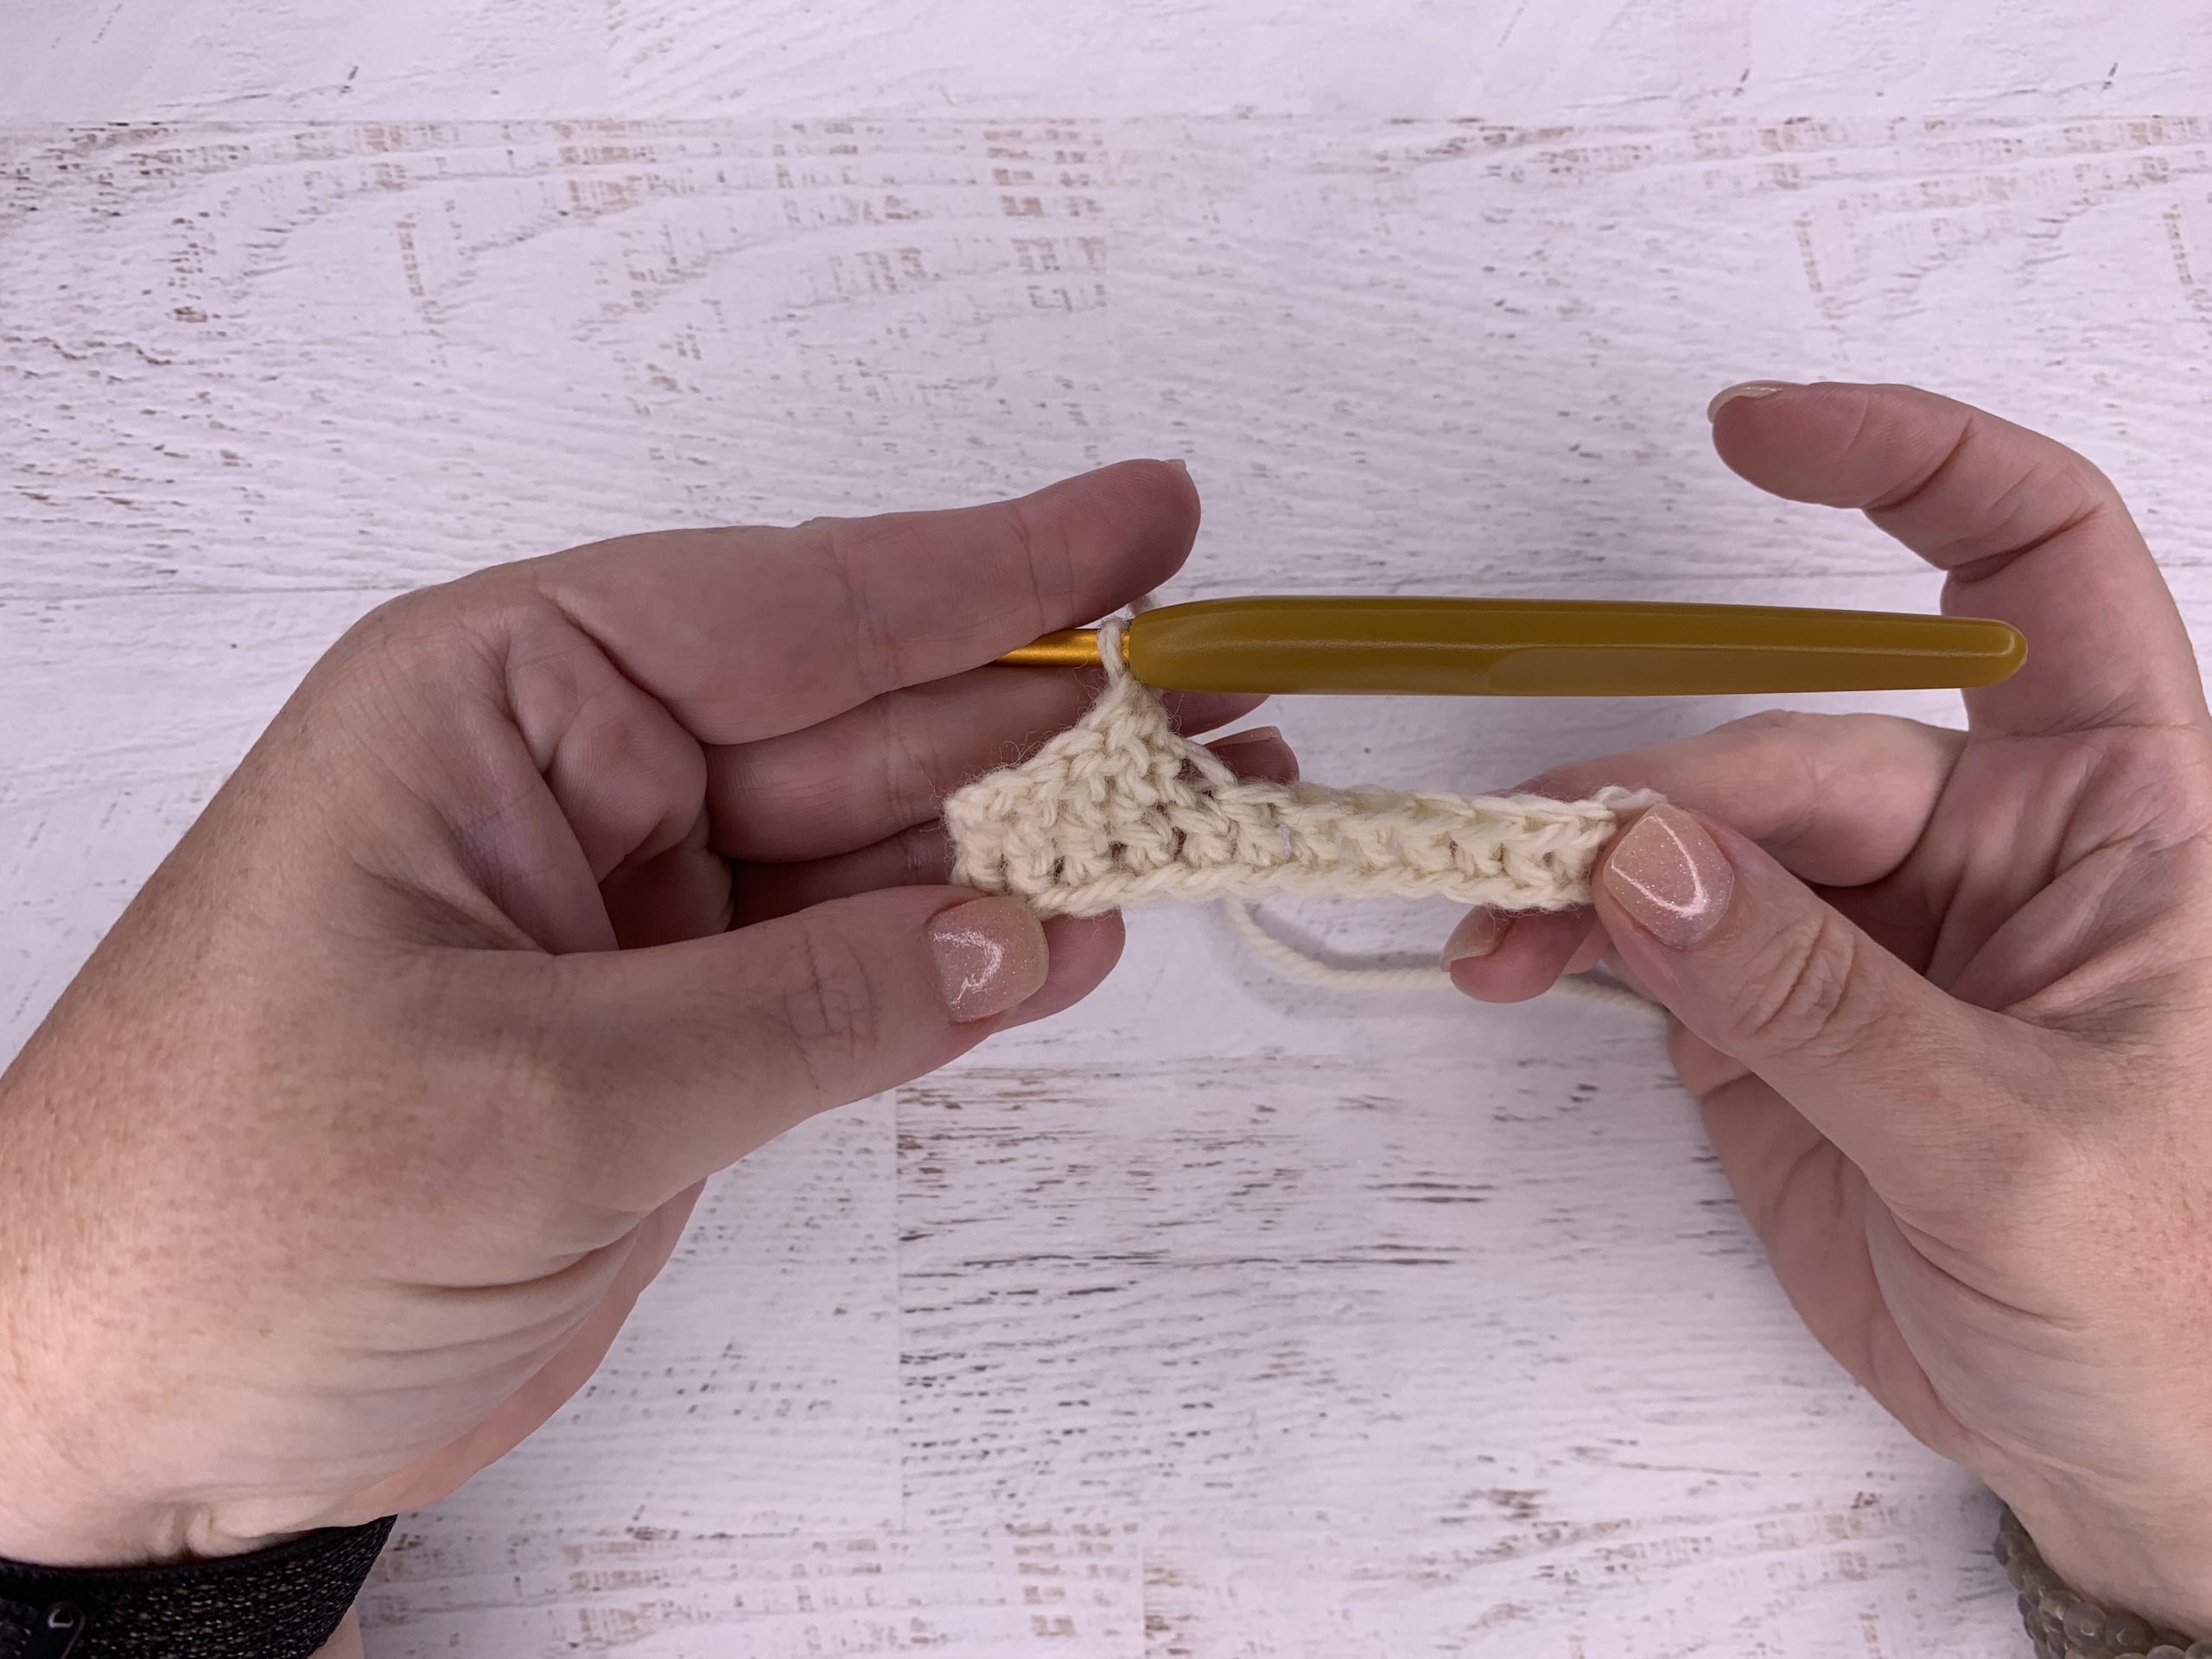
Working into the back of the stitch is just as simple – ignore the front half and only work into the back.
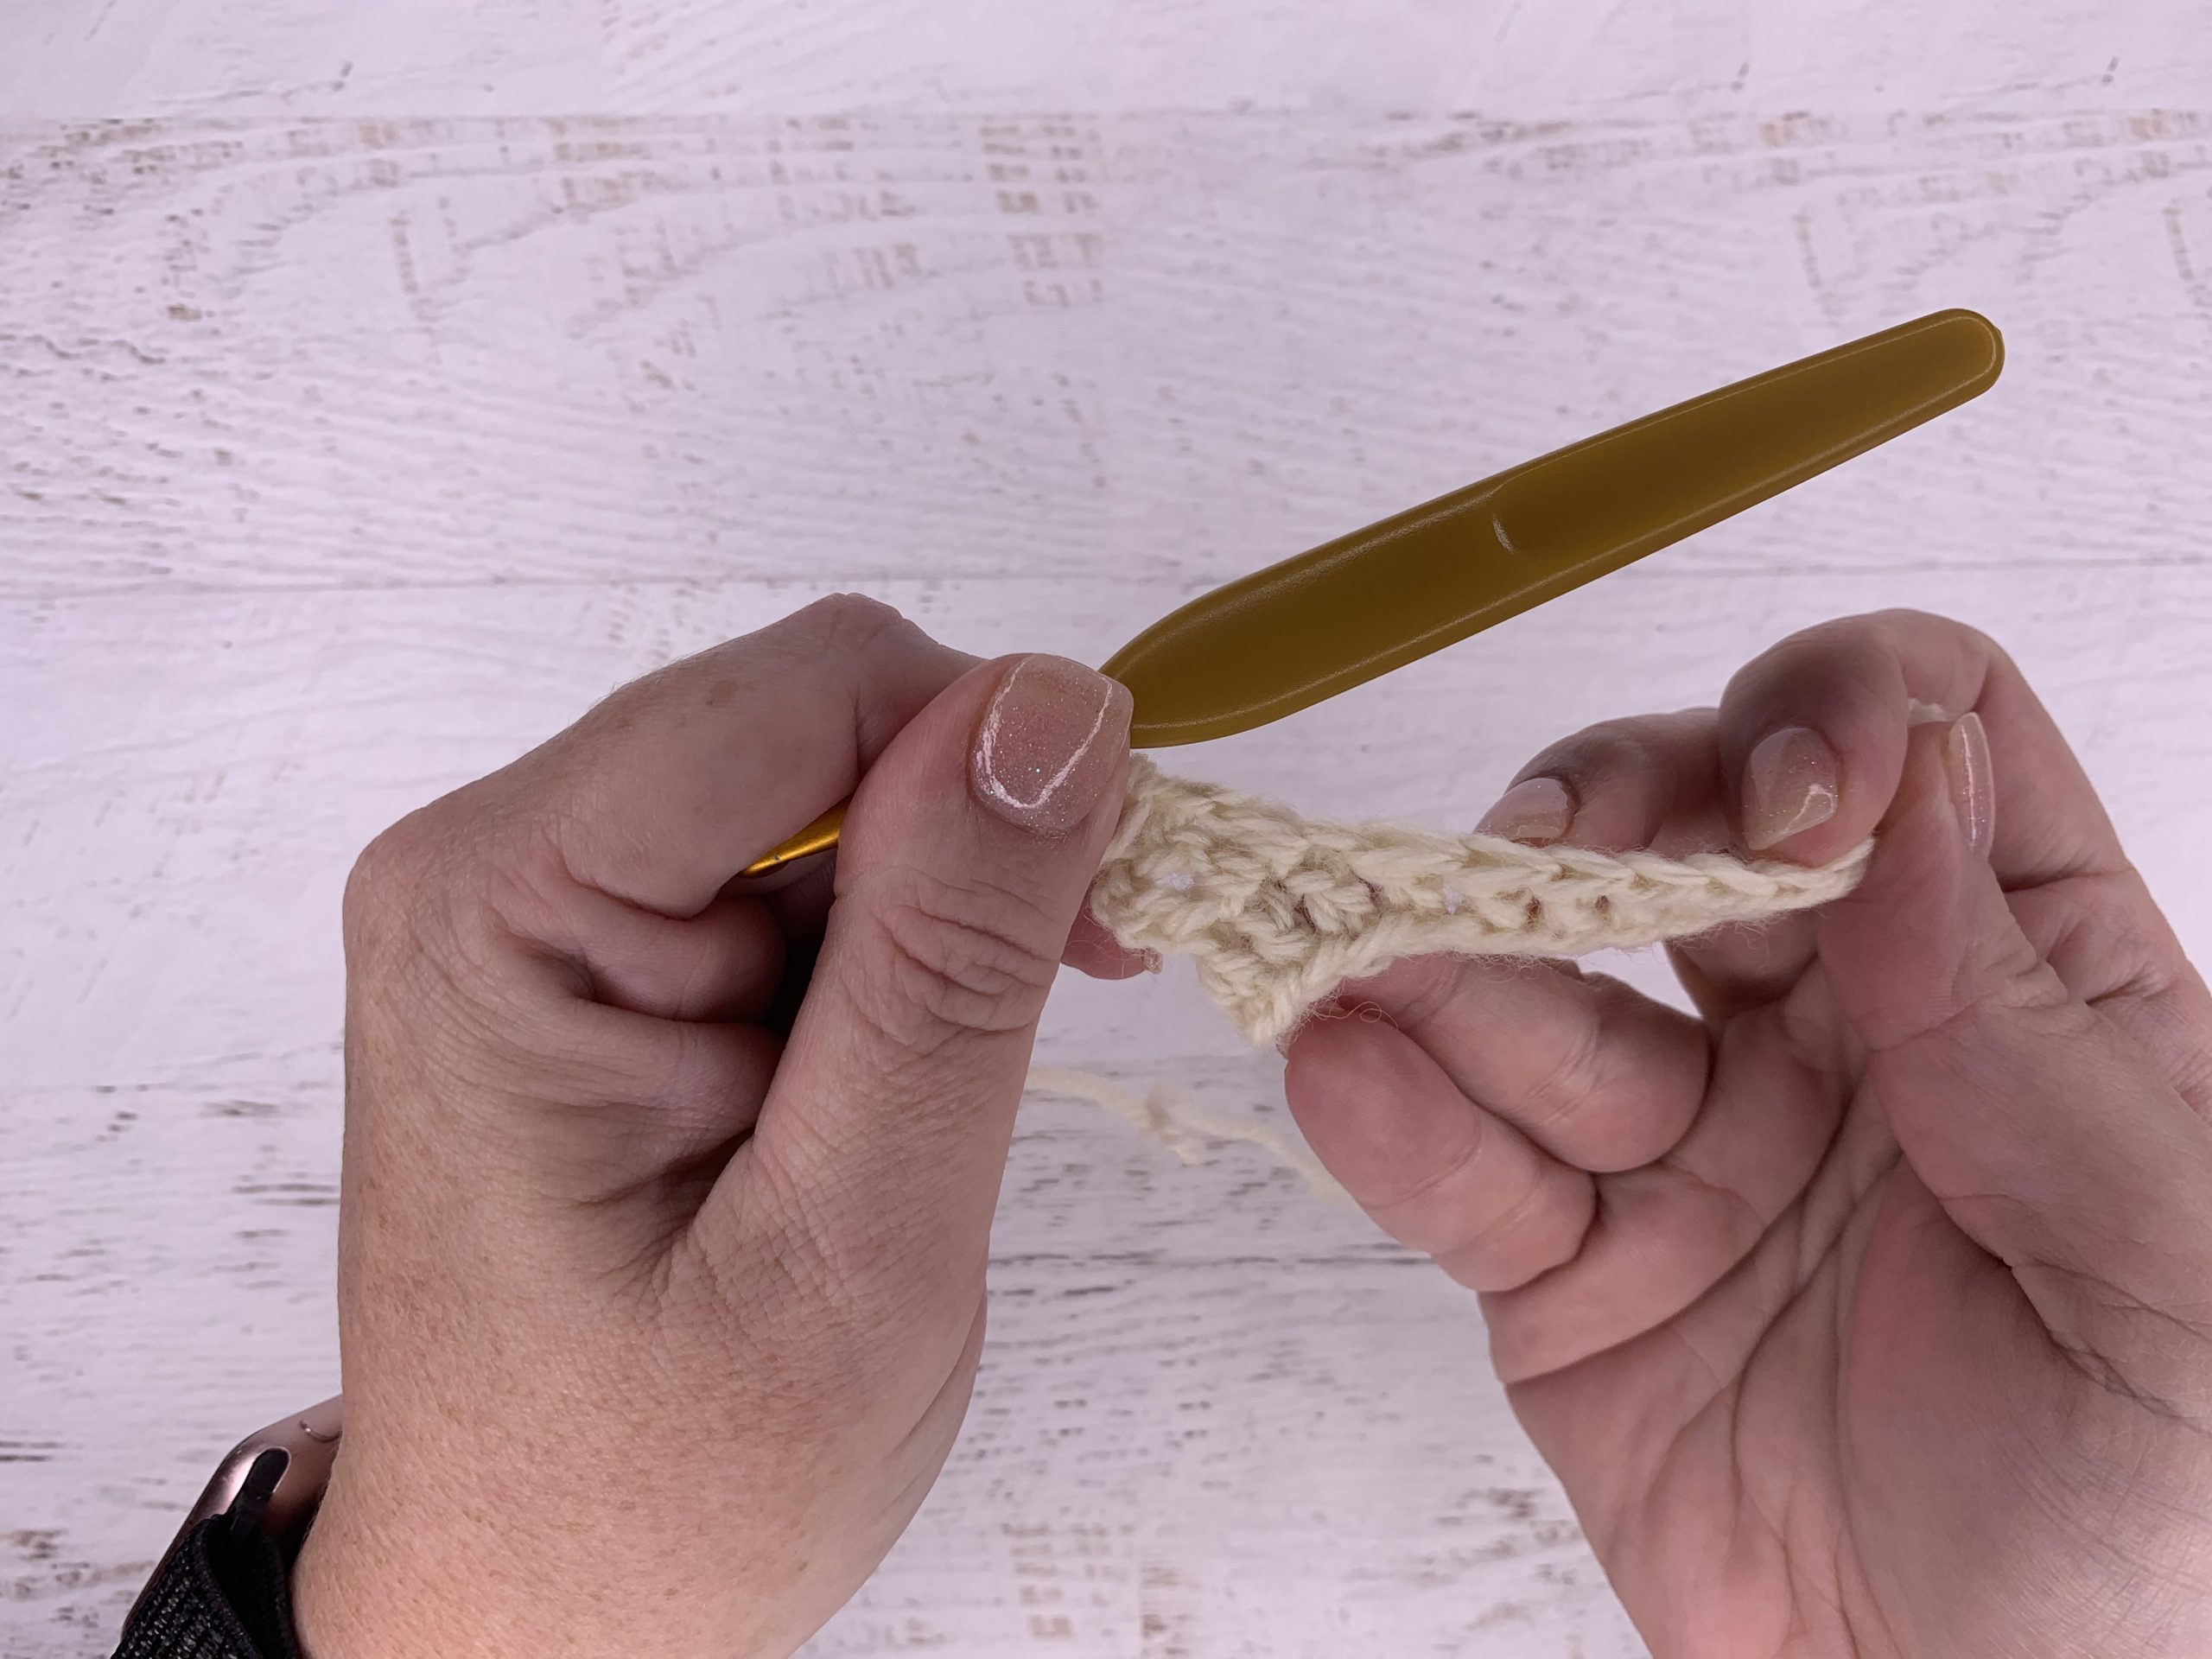
When that stitch is completed, you'll see that the front unworked loop is starting to create that line across the work, and the back half of the loop is stretched out a bit, just like the front. On the other side of the piece, it looks like a normal stitch.
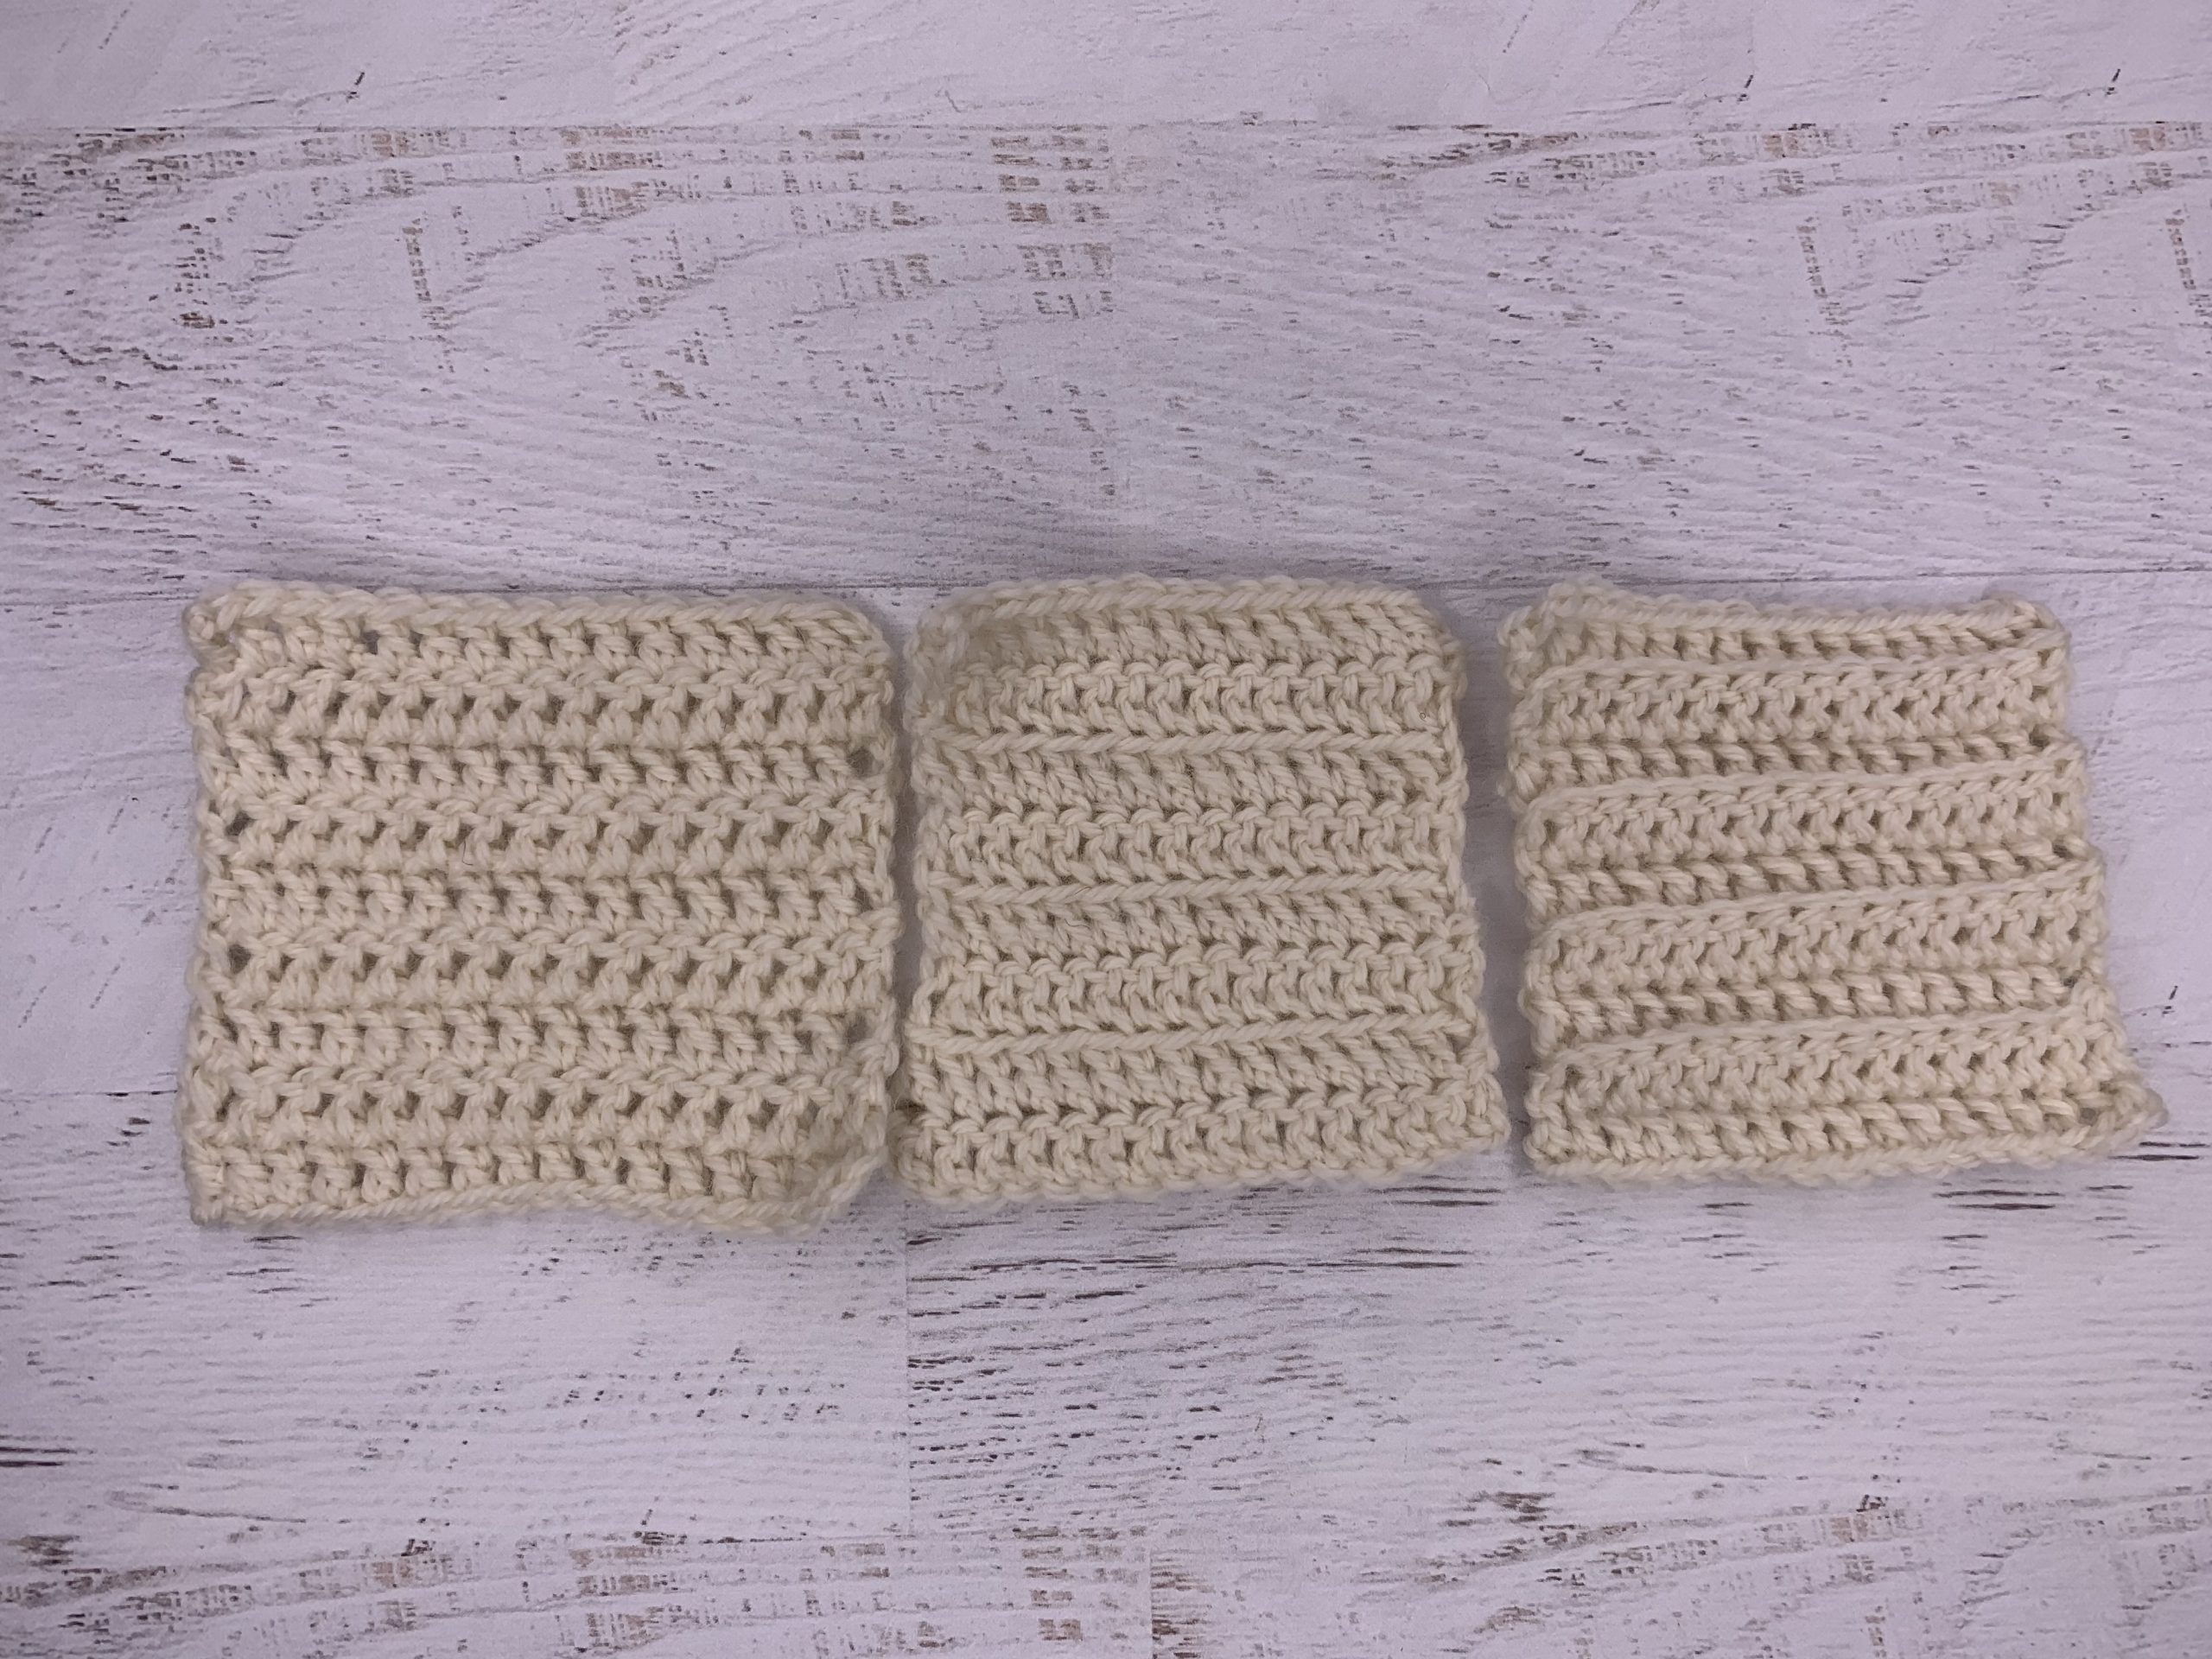
The really interesting thing is what the fabric looks like once you have completed a fair number of rows. It might not be exactly what you expect. You might think that working in the front versus the back would look the same after a few rows, but nope!
The first swatch is nine rows of double crochet worked normally. Ok, we know what that looks like. The second swatch is eight rows of double crochet worked only into the front of the stitch. So first off, working into the front has made the rows a bit taller. But overall the fabric looks a bit denser, a bit less airy. But then you look at the third swatch which is working the stitches through the back loop, that swatch is also nine rows, so you don’t get the elongated effect like the front does. Also, the back loop fabric almost has a horizontal pleat effect – very textural!
When it comes down to it, it’s best to work from the pattern – a good one will tell you if you are to work the stitches differently. But of course, it’s great to know how to do all three, and when you’re just making things up as you go along you can do whatever makes you happy!

great explanation, thanks
Starting to make plushies, any tips for using bulky chenille yarn? Thank you
Dear Sarah A very good explanation, but I do agree with Donna! A bright yarn against a white background or a white yarn against a dark background. I know what you are saying but some may not. I realise that you have put this to the Technical Department and let us see what they say. Yours sincerely, Caroline Mayor
Hah. I wish I had read this when I first started to try to learn crochet. Would have saved a lot of projects.
Thank you so much for such a clear explanation about the three options for crocheting through the back loop, the front loop, or both. The pictures were a great help!
Nice explanation……..BUT it would have been better if you would have either used a bright yarn against a white background or a white yarn against a dark background, instead of beige against white!!! I know what you are explaining but many don’t!! It’s extremely difficult, if not impossible, to really see what you are demonstrating! Also you need to get much closer to the camera!!!! I hope this will help your new crocheters!!