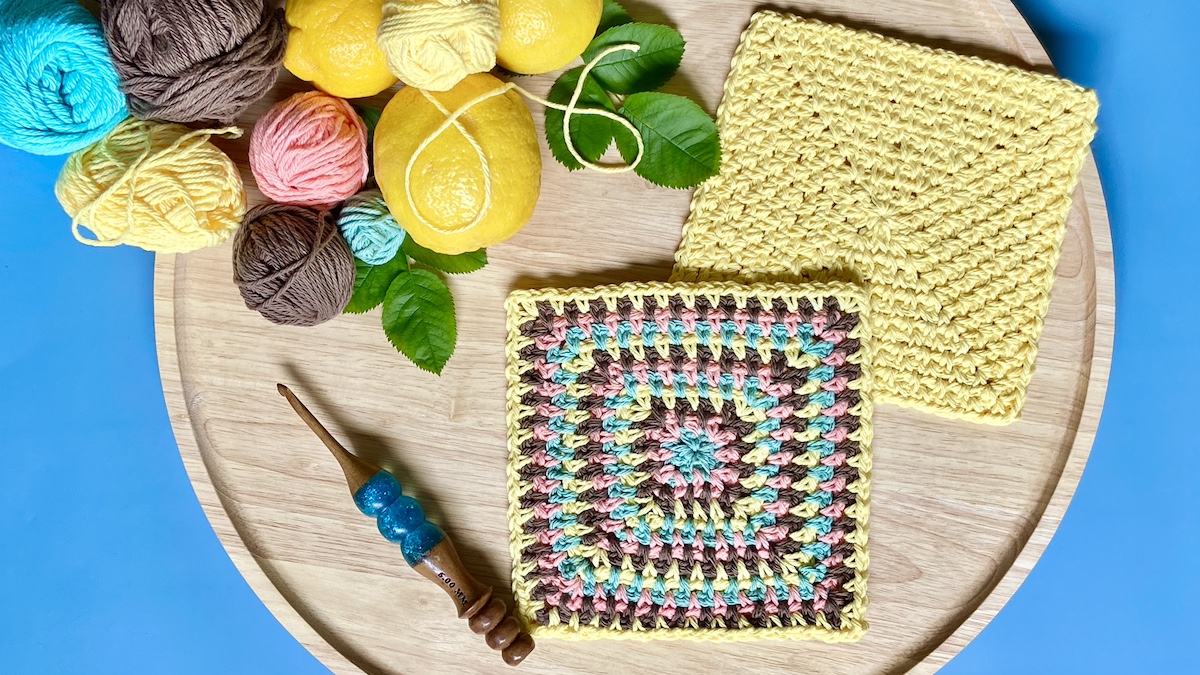
This lovely cousin to the granny square, is super easy to crochet! Read on to learn how to make the Linen Stitch Square.
The Linen Stitch Square is a very versatile stitch pattern! It’s great for blankets, pillows, garments, scarves and other wearable accessories. Nearly any type of yarn can be used. To demonstrate, I am making a dishcloth with a worsted weight kitchen cotton and a G/6 [4.00mm] hook. I like my dishcloths to have a bit of structure to them so when they get wet, they don’t stretch out, however, if you like your dishcloth to have a bit more drape you might want to size up your hook a bit to a 5.00 mm or even larger hook.
This stitch pattern is excellent for using up leftover yarn, as it looks so beautiful when changing colors each round. However, using only one color looks great too! This is also a great choice for variegated yarns since color-pooling will not be an issue.
In this tutorial, I will be changing colors each round. If you are not planning to change colors, complete the round with the HDC join as instructed, then ch 1 and turn your work and begin the next round with the SC in the same corner.
*Here are some links you might find helpful if you are having trouble reading the instructions below, or need additional help with the stitches:
How to read a pattern
How to make an adjustable loop/adjustable ring
How to Single Crochet
How to HDC
Directions:
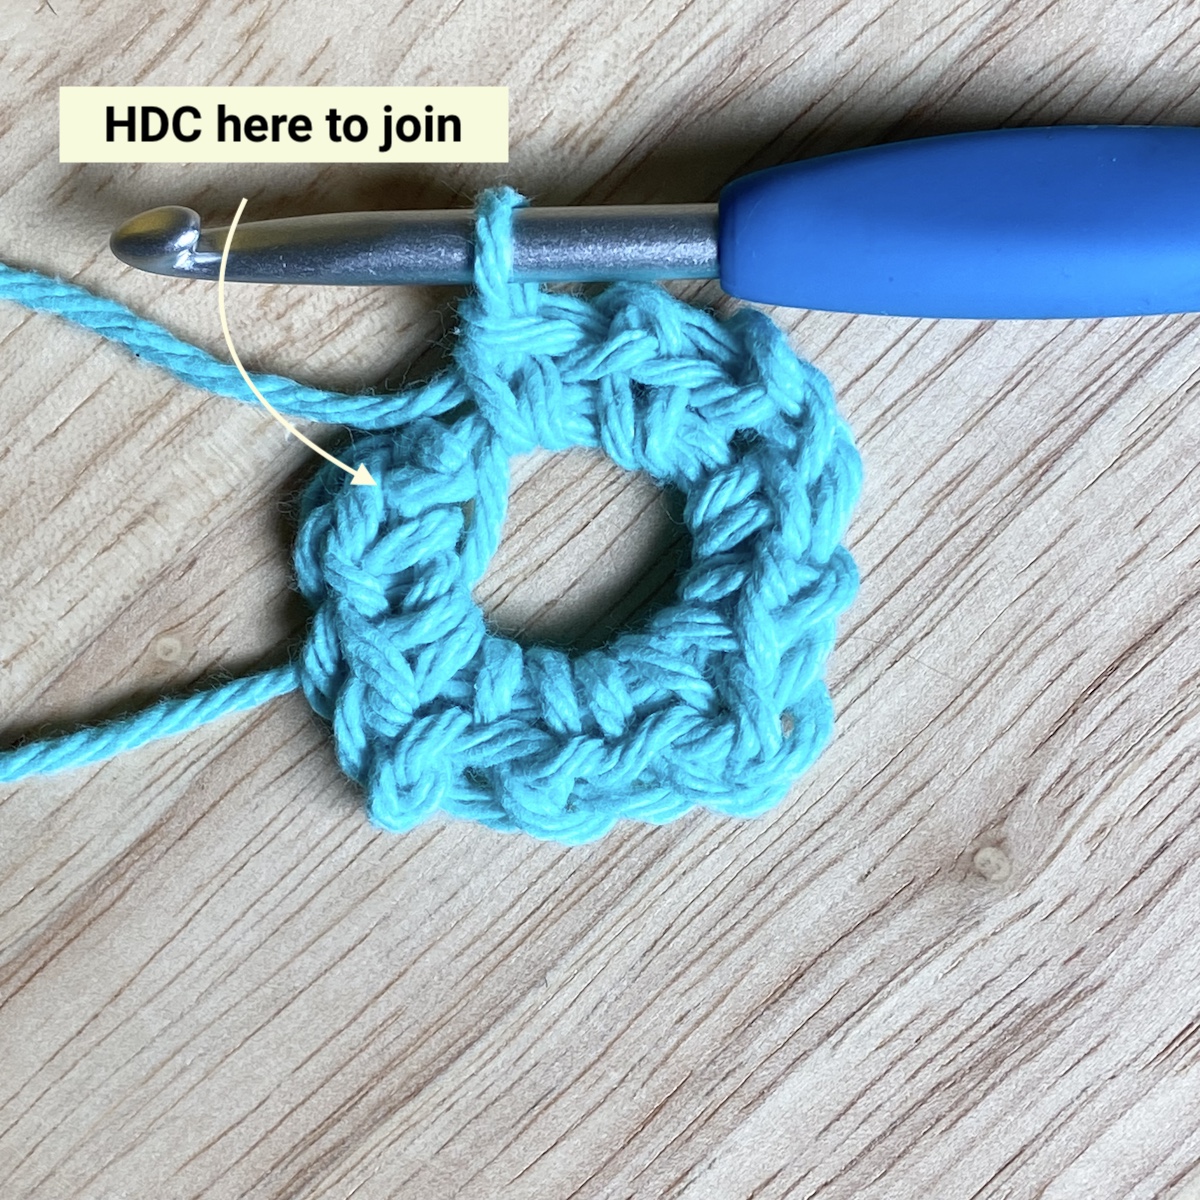
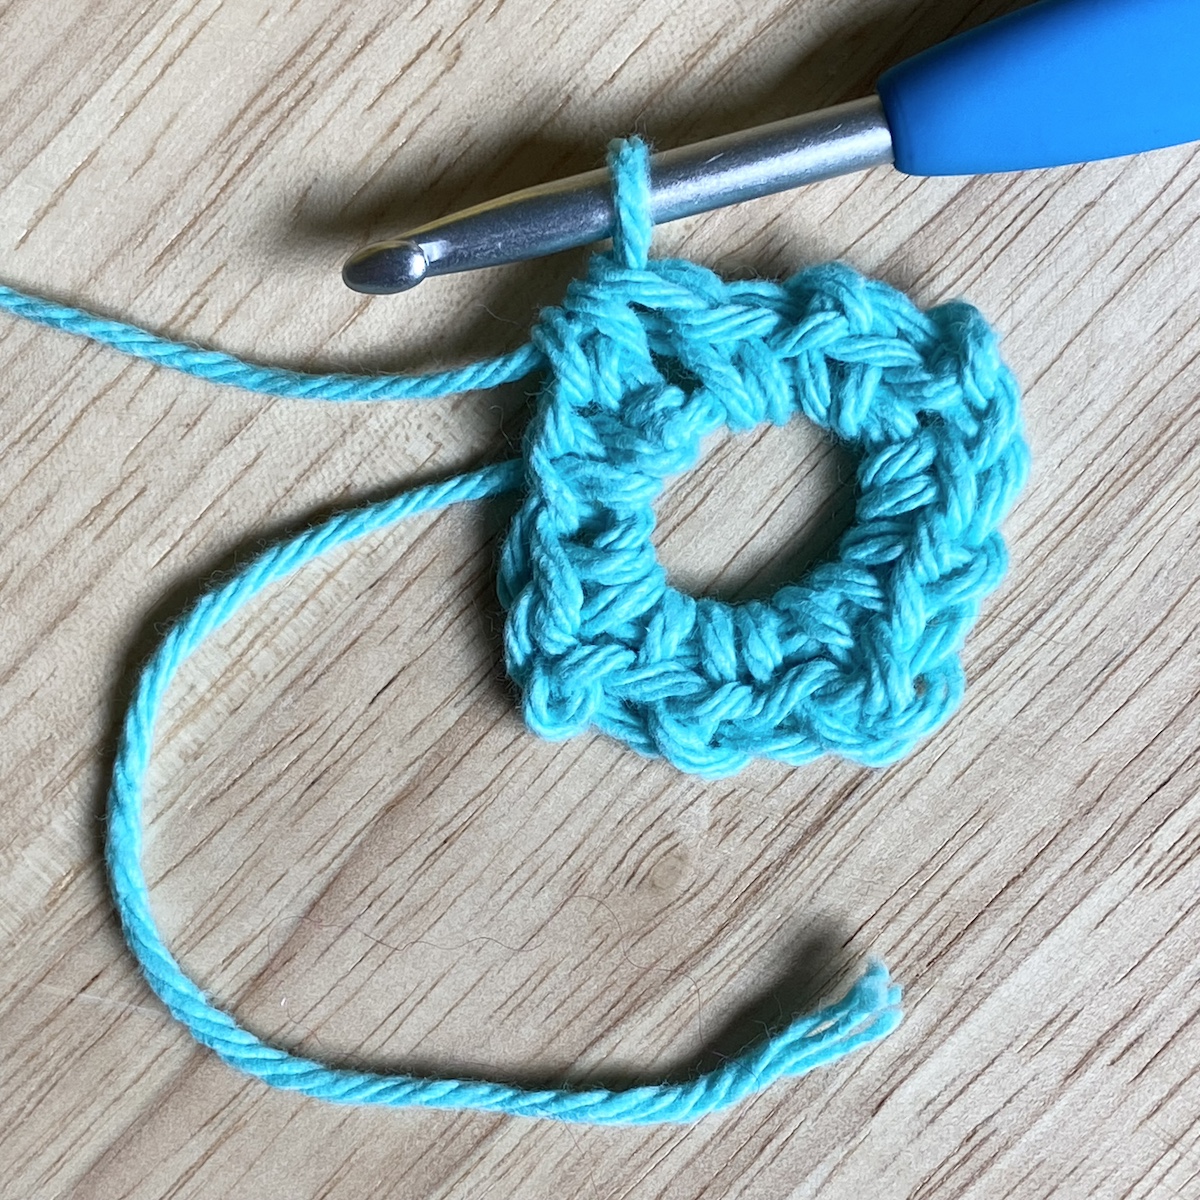
Rnd 1: With first color, make an adjustable loop, [SC, ch 1, SC, ch 2] three times into loop, (SC, ch 1, SC) into loop, join by making a HDC into the top of the first SC of the round, fasten off. 8 SC sts. 4 ch-1 spaces, 3 ch-2 corner spaces, 1 HDC corner space.
Note: I usually wait until after working the next round before tightening the center loop, since it is easier to see the chain-1 spaces before the loop is tightened.
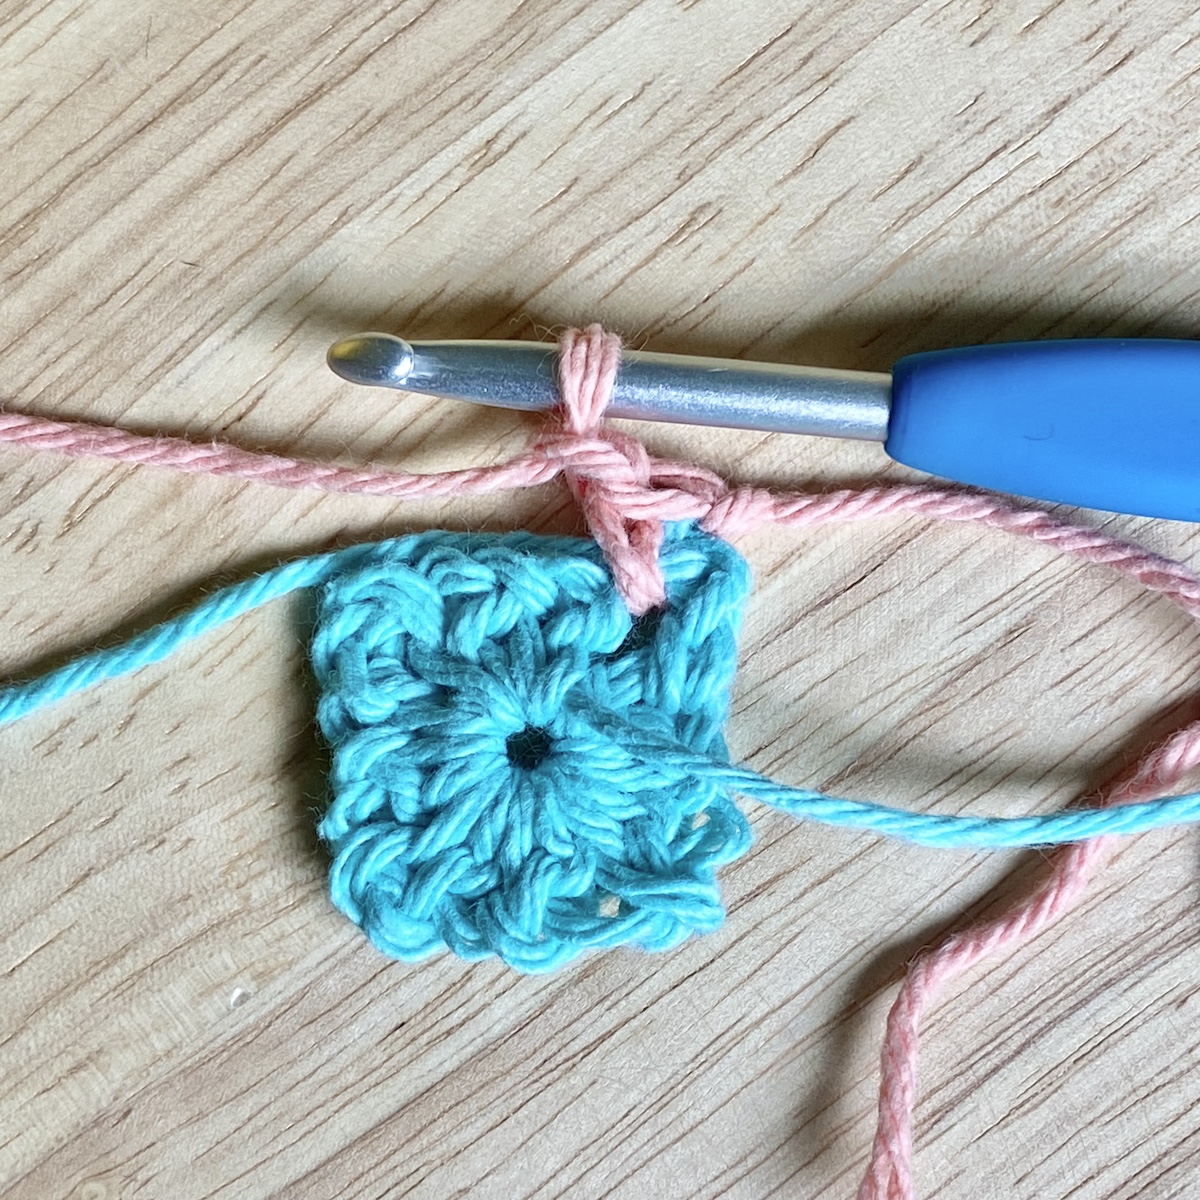
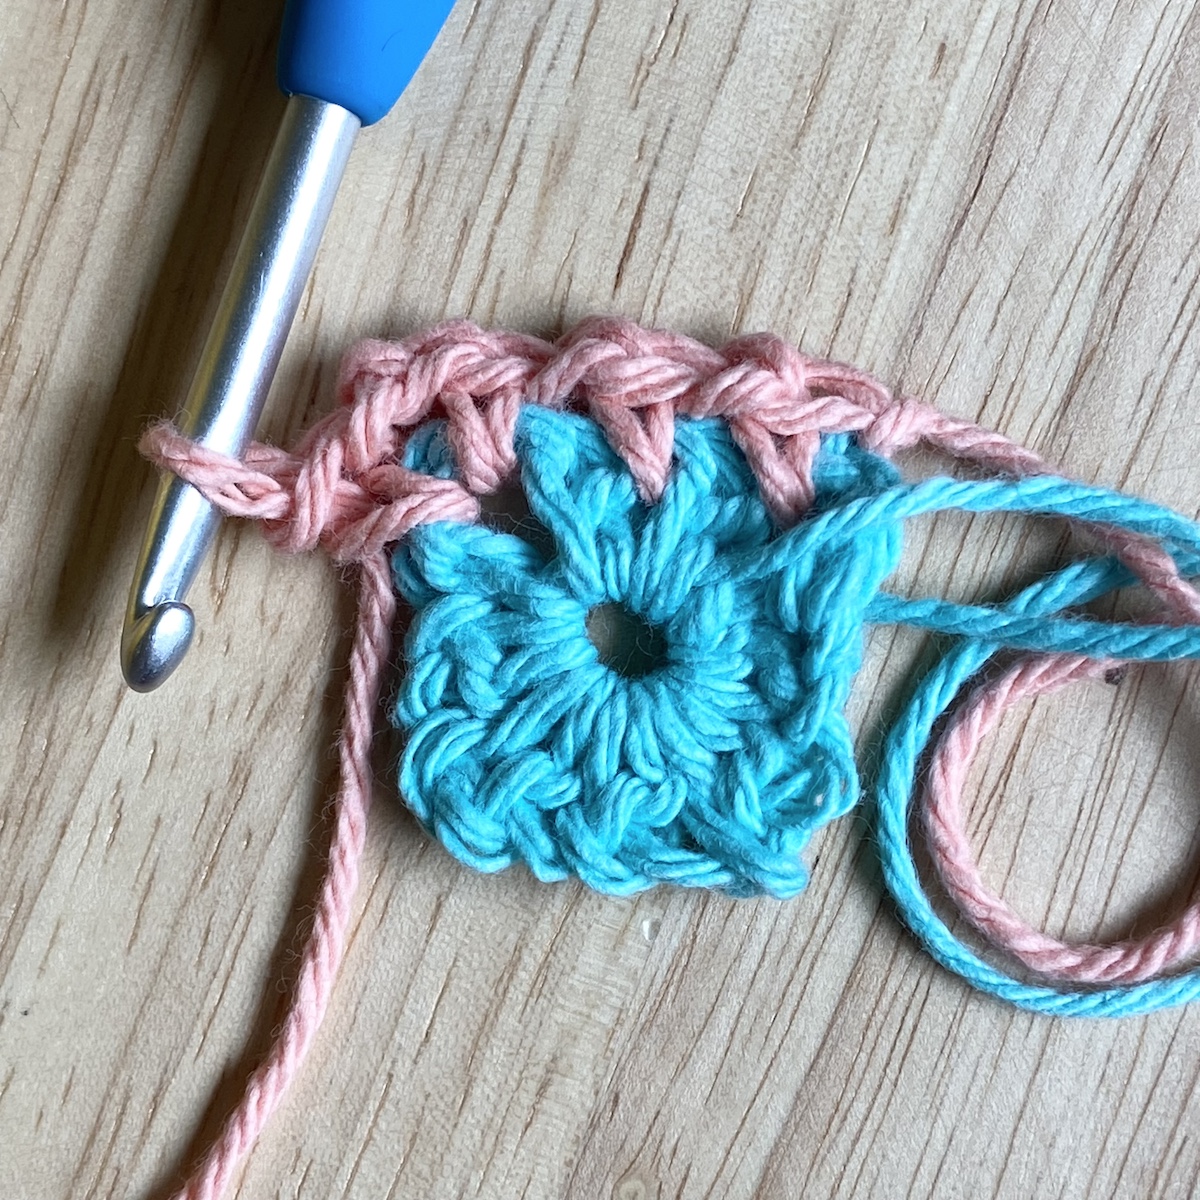
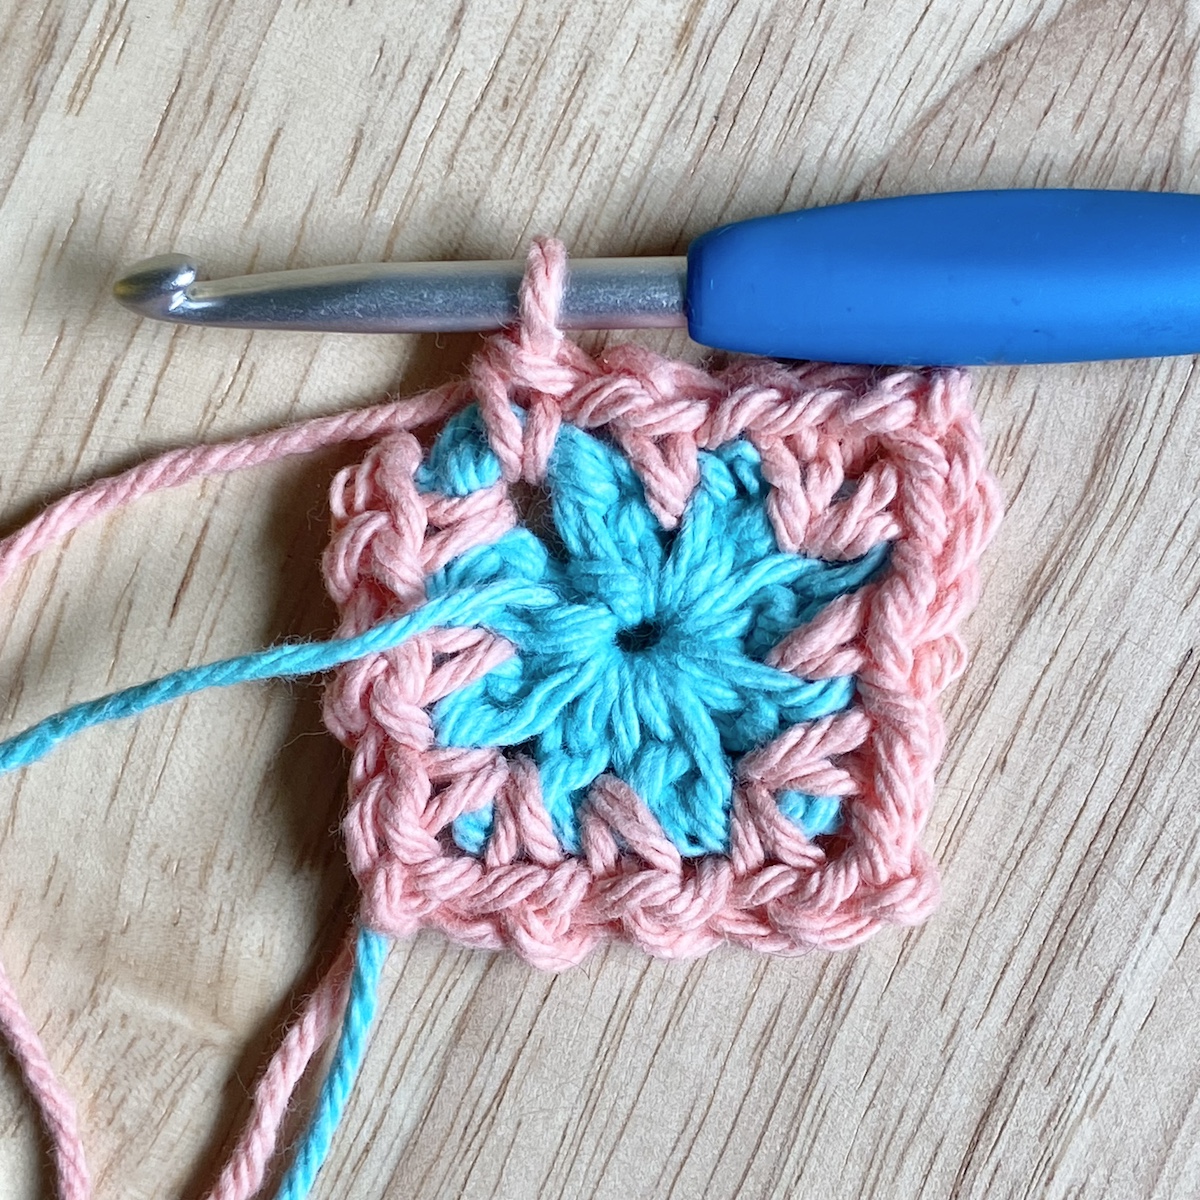
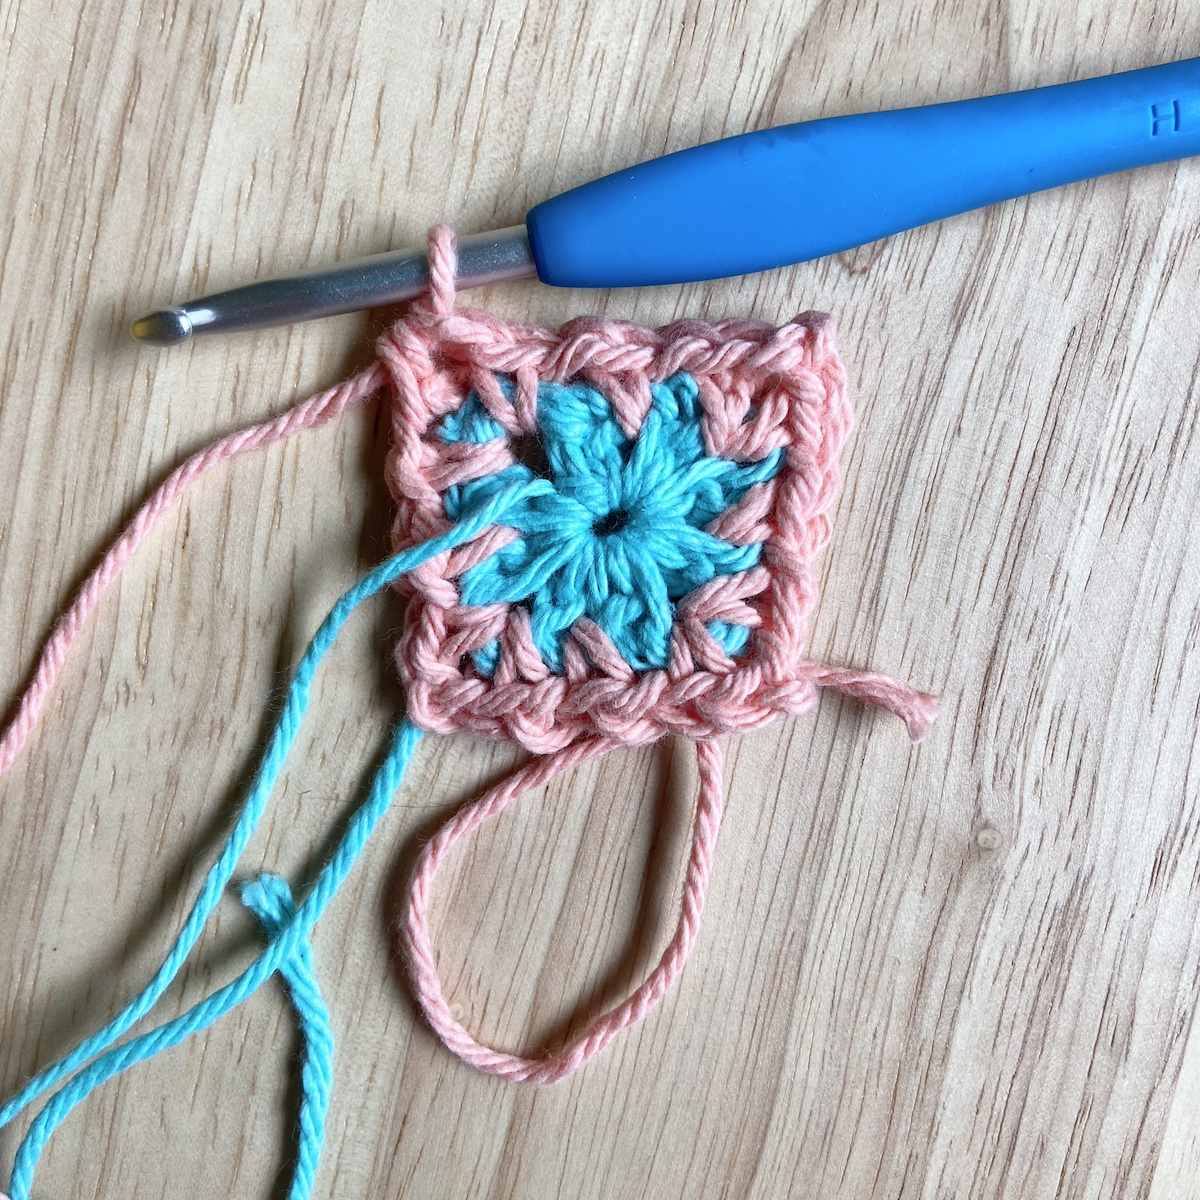
Rnd 2: Turn work. Beginning with a slipknot of second color on hook, SC into same corner space as join, *ch 1, SC in next ch-1 space, ch 1, (SC, ch 2, SC) in next corner space, repeat from * two more times, ch 1, SC in next ch-1 sp, SC into first corner space, join by making a HDC into the top of the first SC of the round, fasten off. 12 SC sts. 8 ch-1 spaces, 3 ch-2 corner spaces, 1 HDC corner space.
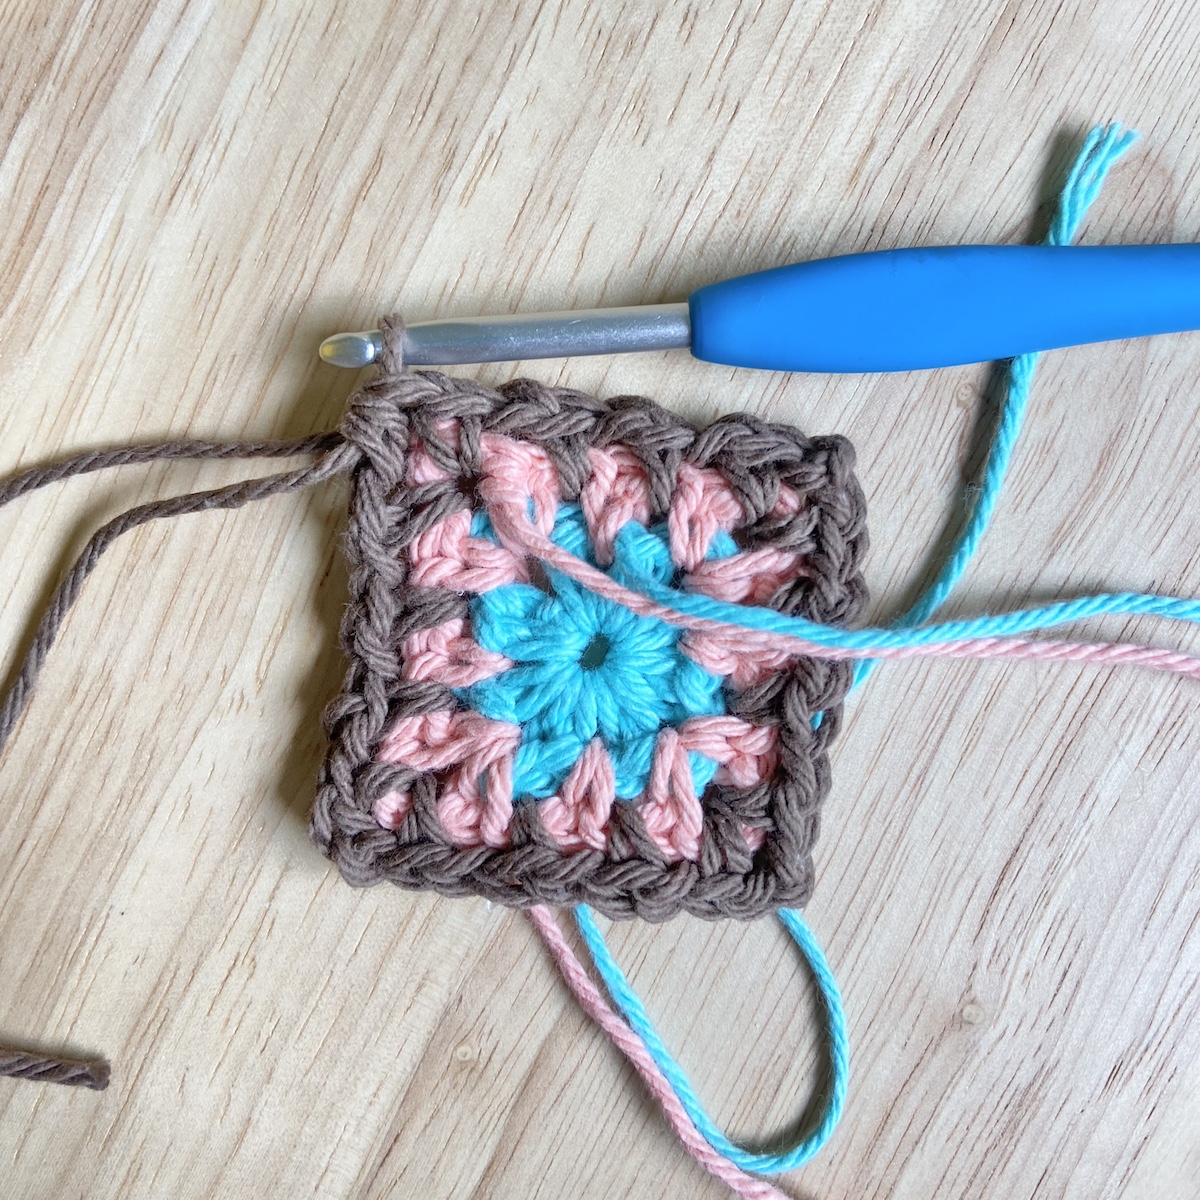
Rnd 3: Turn work. Beginning with a slipknot of third color on hook, SC into same corner space as join, *[ch 1, SC in next ch-1 space] twice, ch 1, (SC, ch 2, SC) in next corner space, repeat from * two more times, [ch 1, SC in next ch-1 sp] twice, SC into first corner space, join by making a HDC into the top of the first SC of the round, fasten off. 16 SC sts. 12 ch-1 spaces, 3 ch-2 corner spaces, 1 HDC corner space.
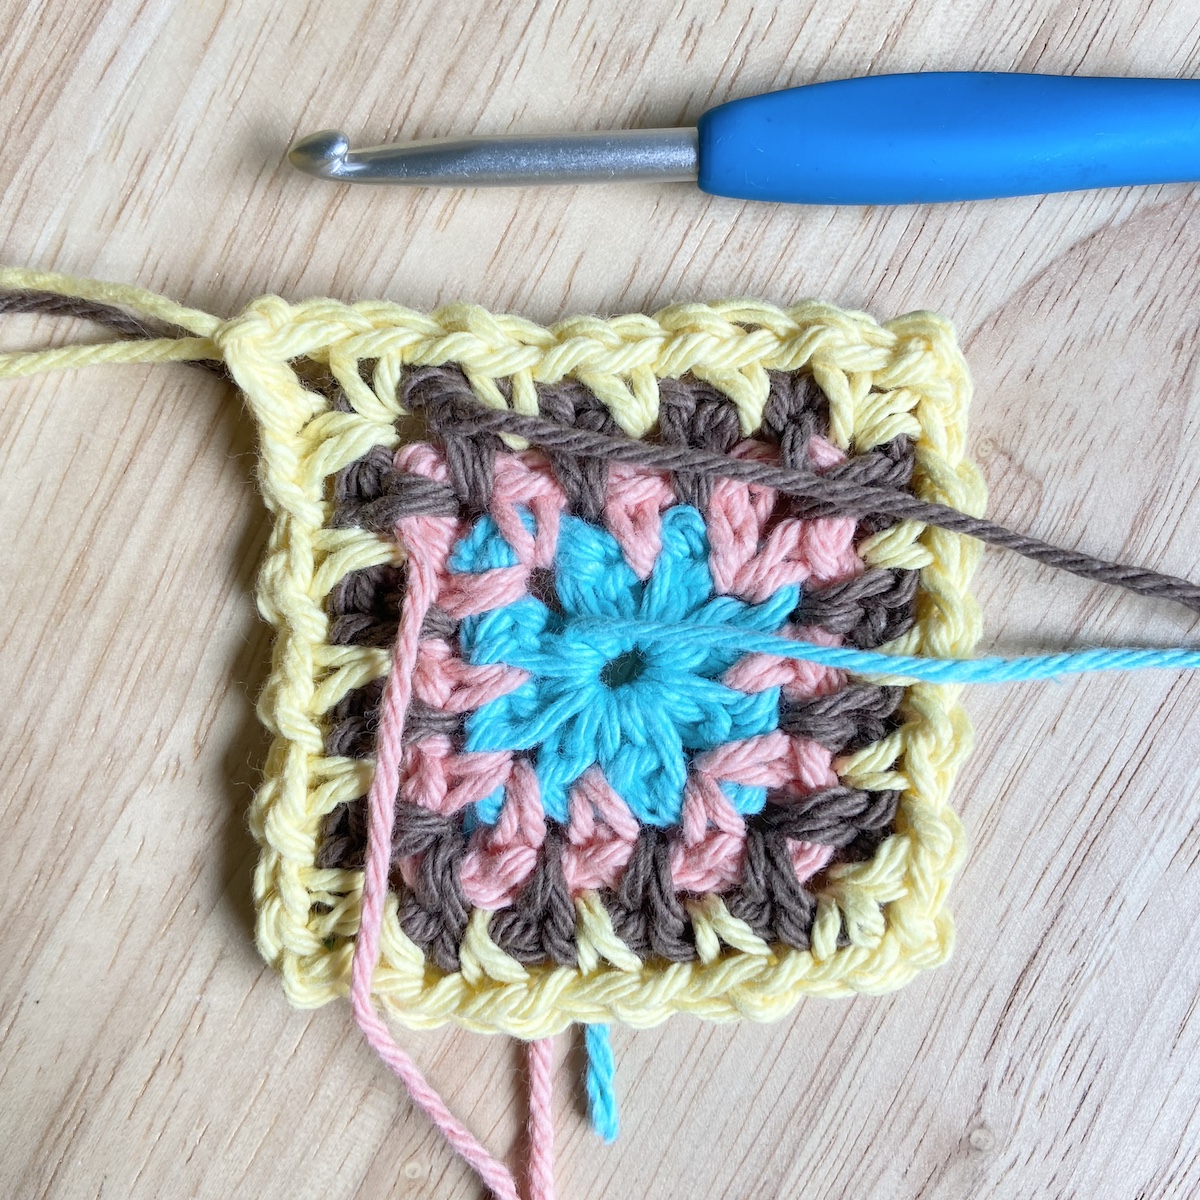
Rnd 4: Turn work. Beginning with a slipknot of next color on hook, SC into same corner space as join, *[ch 1, SC in next ch-1 space] to next corner, ch 1, (SC, ch 2, SC) in next corner space, repeat from * two more times, [ch 1, SC in next ch-1 sp] to next corner, SC into first corner space, join by making a HDC into the top of the first SC of the round, fasten off. 4 SC and 4 ch-1 spaces increased each round.
Have fun making these pretty squares! Be sure to post pictures of what you create in our Project Gallery!

Looks easy enough. What is your website please? I’m looking forward to this.♥️
Can you please make a video because it looks really pretty!
I know these directions are clear, but a video would be really helpful
Excellent and clear instructions. Thank you.