How I weave in ends
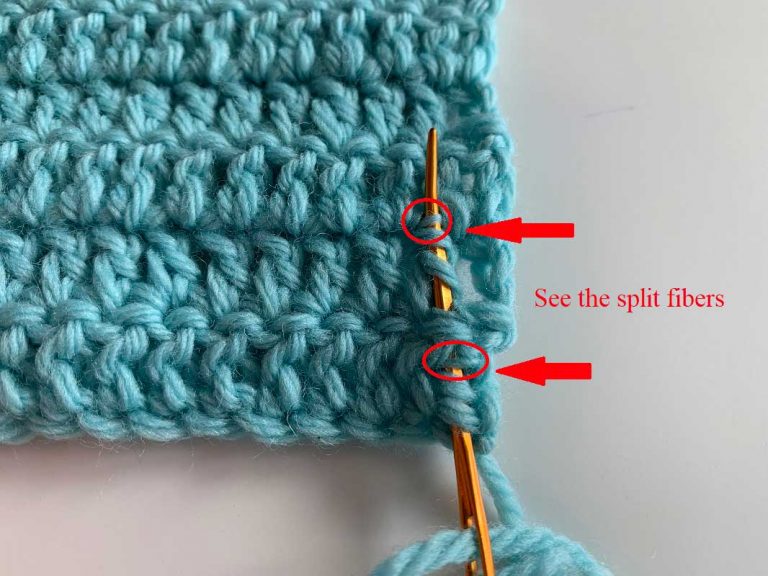
To weave in ends like Nonna taught me, follow these steps: 1) Always end off at the end of a row, no matter how much yarn you have left to complete a portion of the next row. In the round, still, end off at the end of the round. Be sure you have 6 to 8 inches of a tail to use for weaving—no less. 2) Always work up and down through the rows, never across the rows. Working across the rows can cause the fabric to ripple, and the weaving will be very noticeable. 3) Always work on the wrong side of your project. 4) Using a steel needle that is the correct size for your yarn, slip the needle under two strands of yarn; when you get to the third, split the strand. (Yes, you read that right.) Then again, slip under two strands, split the third. Repeat this until you have woven through 1 to 2 inches. (If your yarn has silk or some other slippery fiber, you may want to go farther; 3 to 4 inches is not uncommon.) 5) Pull the tail through tightly, but not so tight to ripple the fabric. Pull the fabric when you are done to smooth out any bumps and further hide the woven tail.
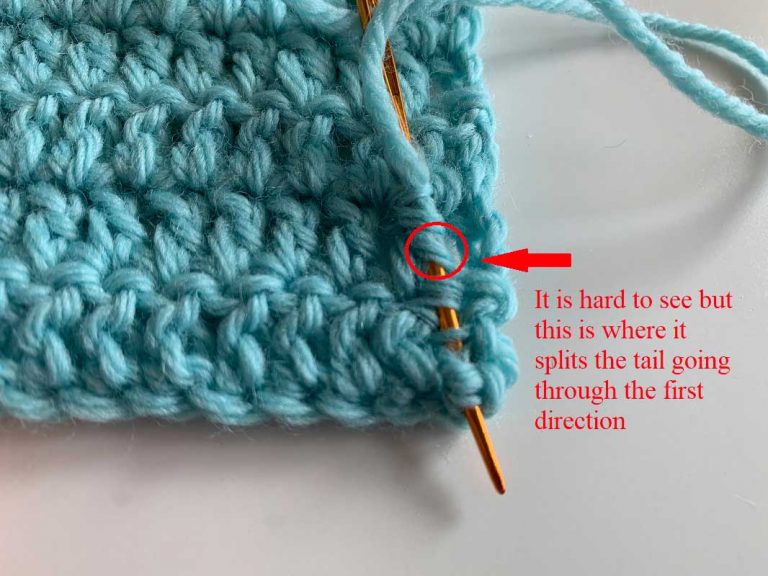
6) Now go back the same way you came using the same slip two, split one technique. When splitting, if you can find it, split the yarn you wove through in step 5 at least twice.
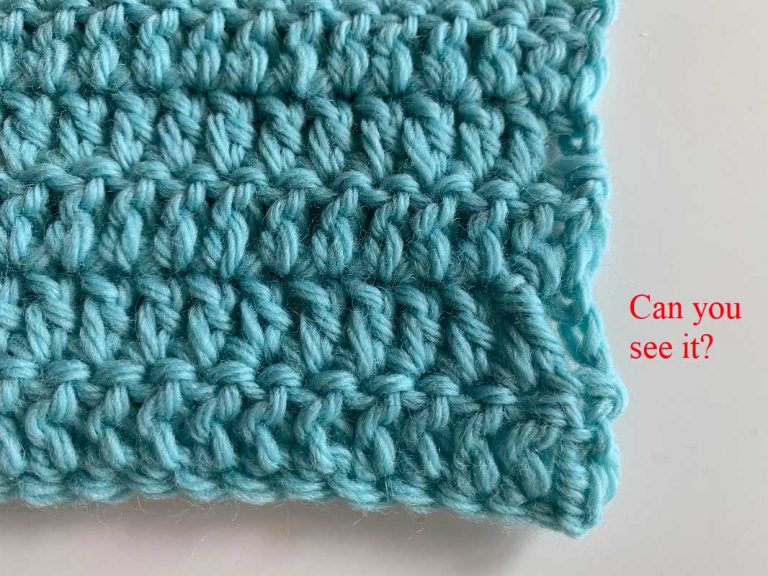
 7) Ending at the same place you began with a split, pull the tail through tightly, being sure not to ripple the fabric. Pull the fabric to smooth out and remove bumps and further hide the tail. Give just a gentle tug before you clip the remaining tail off and smooth again to hide the end in the fabric.
 Be patient: it takes practice. But when it’s done right, not only will the tail not come out, but you won’t have a huge noticeable bump in your fabric. In fact, no one will know it is there.
How do I fix were it's coming apart in the middle of the blanket
Have you read your instructions? In step 5, at the end, it states to go through the tail you made in Step 5. Do you mean in Step 4? Also, have you noticed there is no Step 6??
You can teach an old dog new tricks.
I always wondered if I was doing it right. Thank you. Much appreciated. Apparently I wasn't.
Thanks!
Learn something new every day! Thank you!
Never tried before, certainly sounds feasible and good ideas, will definitely give it a go
Great hint - thank you so much. I have been doing similar, along the rows but seeing that across the rows and the splitting is amazing 👏🤗
Thanks
Thank you. Very useful tips!