I’ve been hanging onto some yarn in my stash, meaning to overdye it to make it a color that I like better. (Overdyeing is the process of dyeing something that has already been dyed). The yarn is a buttery-soft merino wool, and I absolutely love how it works up, however I wasn’t crazy about the color. I ended up using Black Cherry Kool-Aid to overdye it and was so happy with the results that I wanted to share it with you!
I was a professional dyer in the costume industry for many years so of course I had heard that you could dye wool with Kool-Aid. But to be honest, I didn’t believe that it would work very well. At my job, I was responsible for dyeing many kinds of fibers, so I knew how important it was to use the right type of dye for the fiber that was being dyed.
I had my doubts that a food-dye would be able to dye wool, and if it did, I assumed that it would not hold its color very well. But curiosity got the better of me one day, and I tried it out on a hank of un-dyed yarn. I could not believe my eyes! Not only did it work, but it was completely colorfast! This absolutely shocked me, and now I finally understand why so many people have tried this method.
Dyeing with Kool-Aid is a super-fun way to experiment with the dyeing process. It doesn’t require special “dye” equipment, and since Kool-Aid is made for drinking, it is much safer to do this at home than using other kinds of dyes. This is also a fantastic way to get the kids involved in yarn-related activities!
This process only works with protein (animal) fibers such as wool, alpaca, cashmere, silk, angora, etc. This will not work on cotton or acrylic yarns. You can use superwash yarns or non-superwash yarns. However, superwash yarns often result in slightly more saturated colors.
Here is how I did it:
Note: Kool-Aid will sometimes stain certain surfaces, like a countertop or your hands. You may want to do this outside as I did or use paper or plastic to protect your countertop. You might also wish to wear gloves. Although there are many ways to do this, I would recommend using the sun to set the dyes. This requires very little effort but does take quite a bit of “hands-off” time, so choose a sunny day when you can leave your project outside for a few hours.
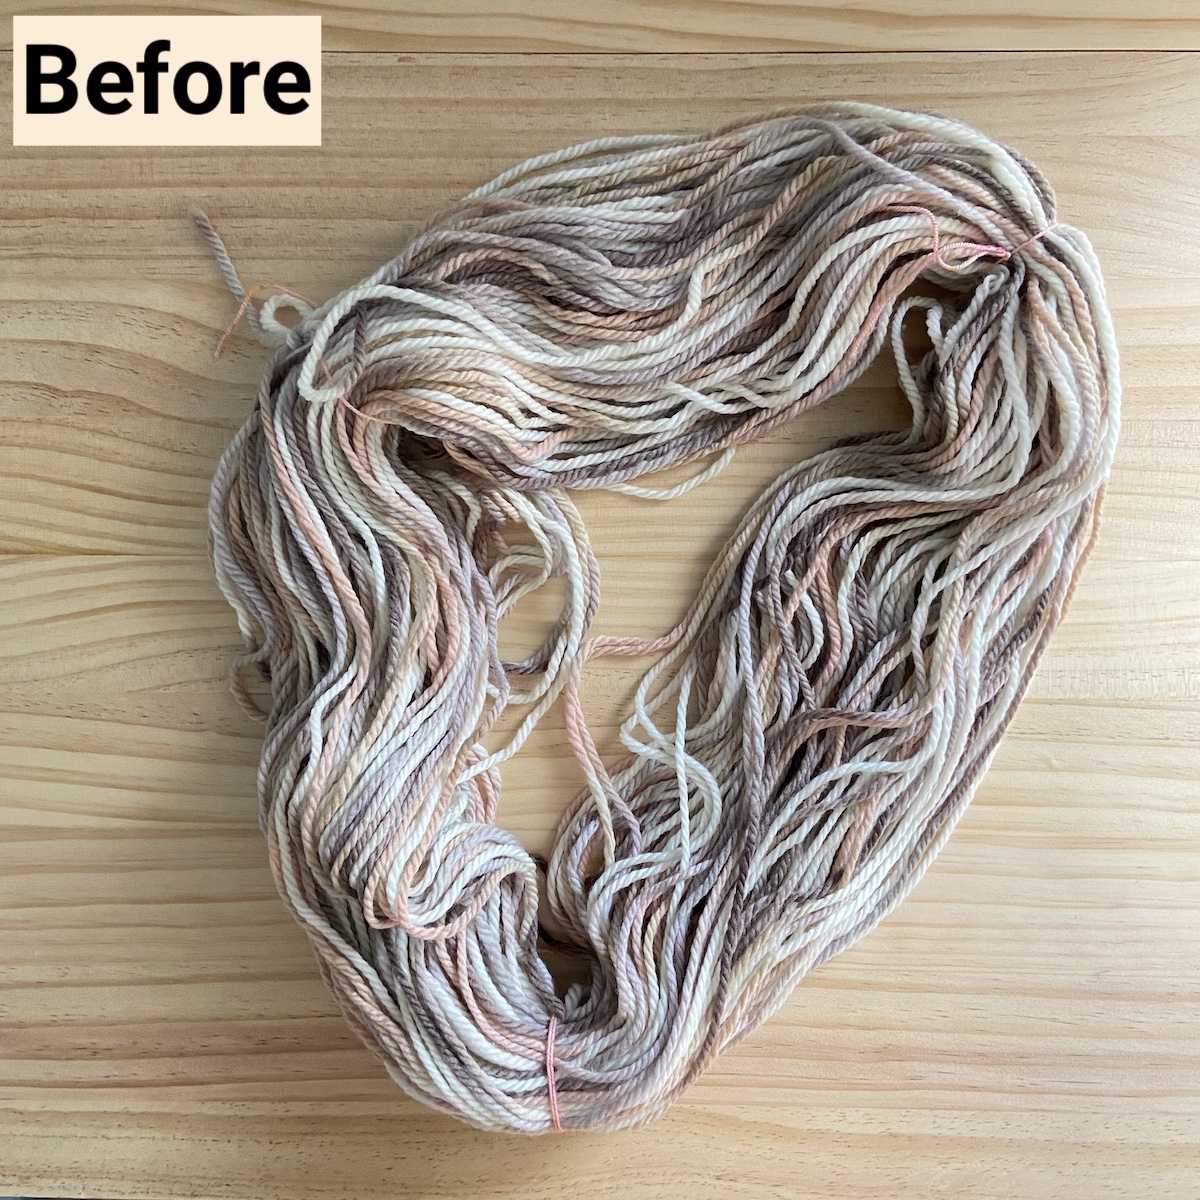
First, I wound my ball of yarn back into a hank. You can do this by winding it around the backs of two chairs or your knees (sit on the floor with both knees pointing upward), or a friend’s outstretched forearms. Then you will need to loosely tie the hank in a few places so that it does not get tangled. See this video for a demonstration of how to do this. This is best done with a strong cotton yarn; you can see the ties in the picture above- they are a thin, peach colored yarn.
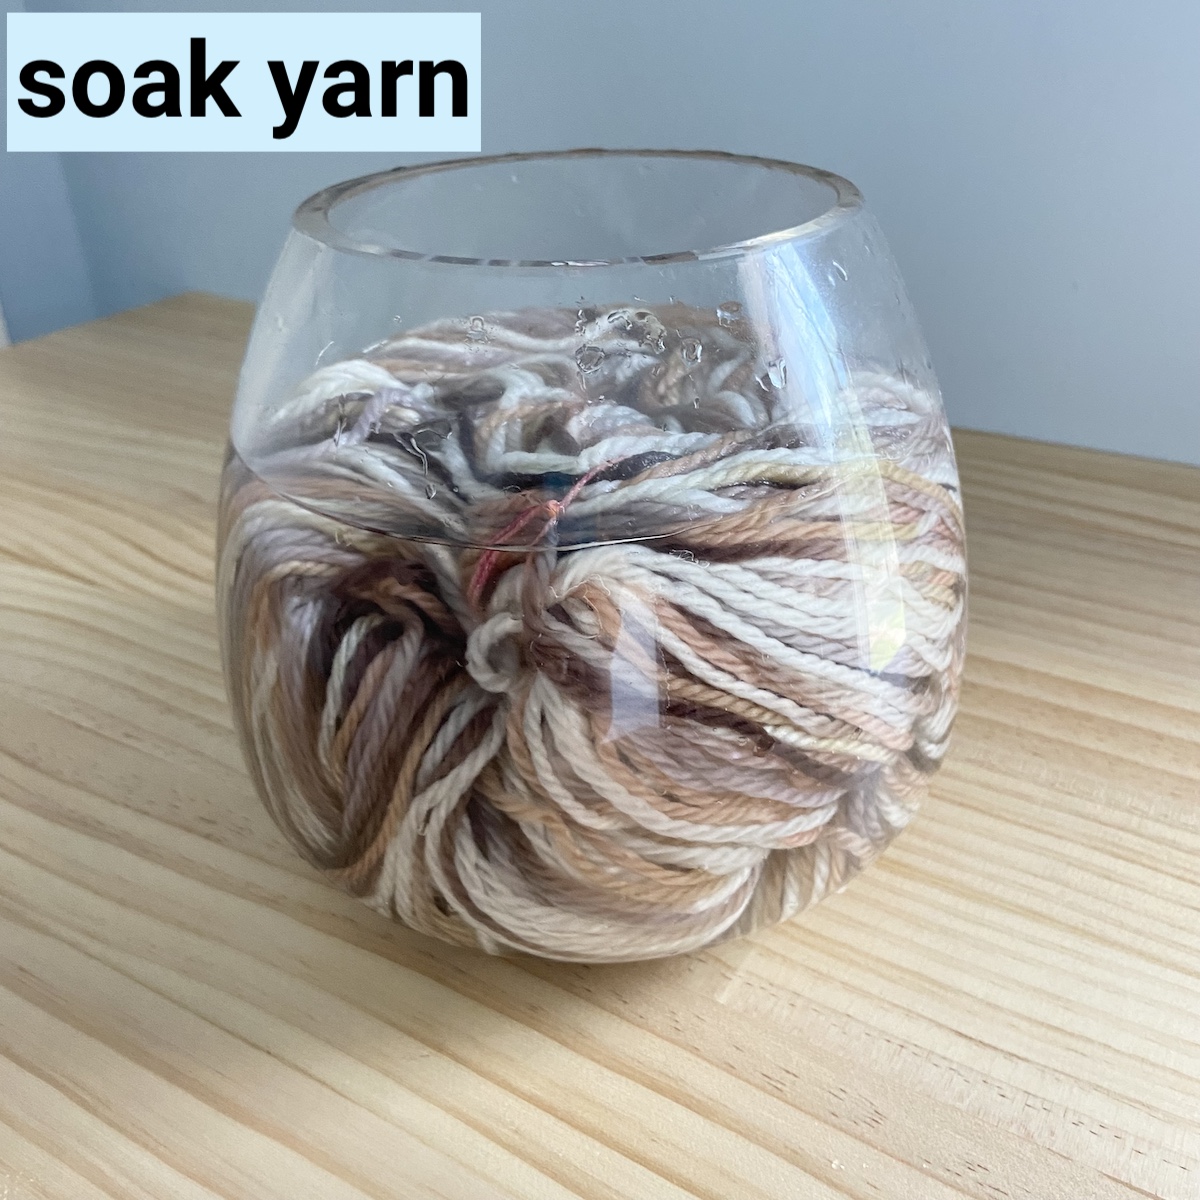
Next, fill a large clear glass jar or plastic container with room temperature tap water. I used a large glass vase. Lower the yarn into the glass container and make sure there is enough water to completely submerge the yarn. Resist the temptation to stir the yarn- you don’t want to agitate or tangle it. But you can press it down into the container to help it soak up the water. Let this soak for at least 2 hours, or overnight.
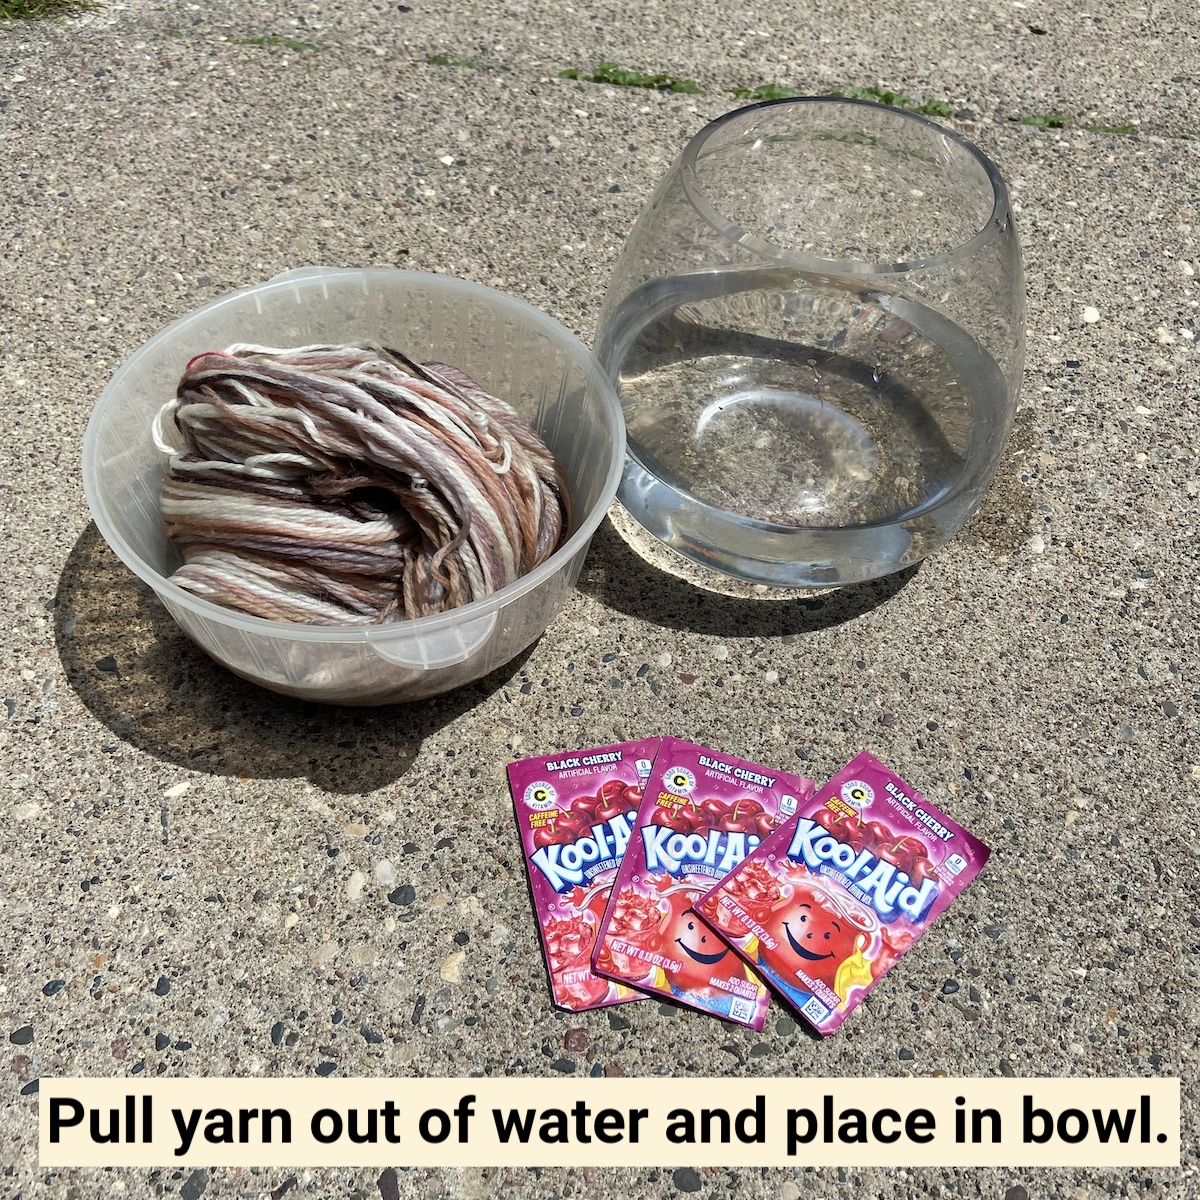
After the yarn has finished soaking, pull the yarn out of the container and place it in a bowl.
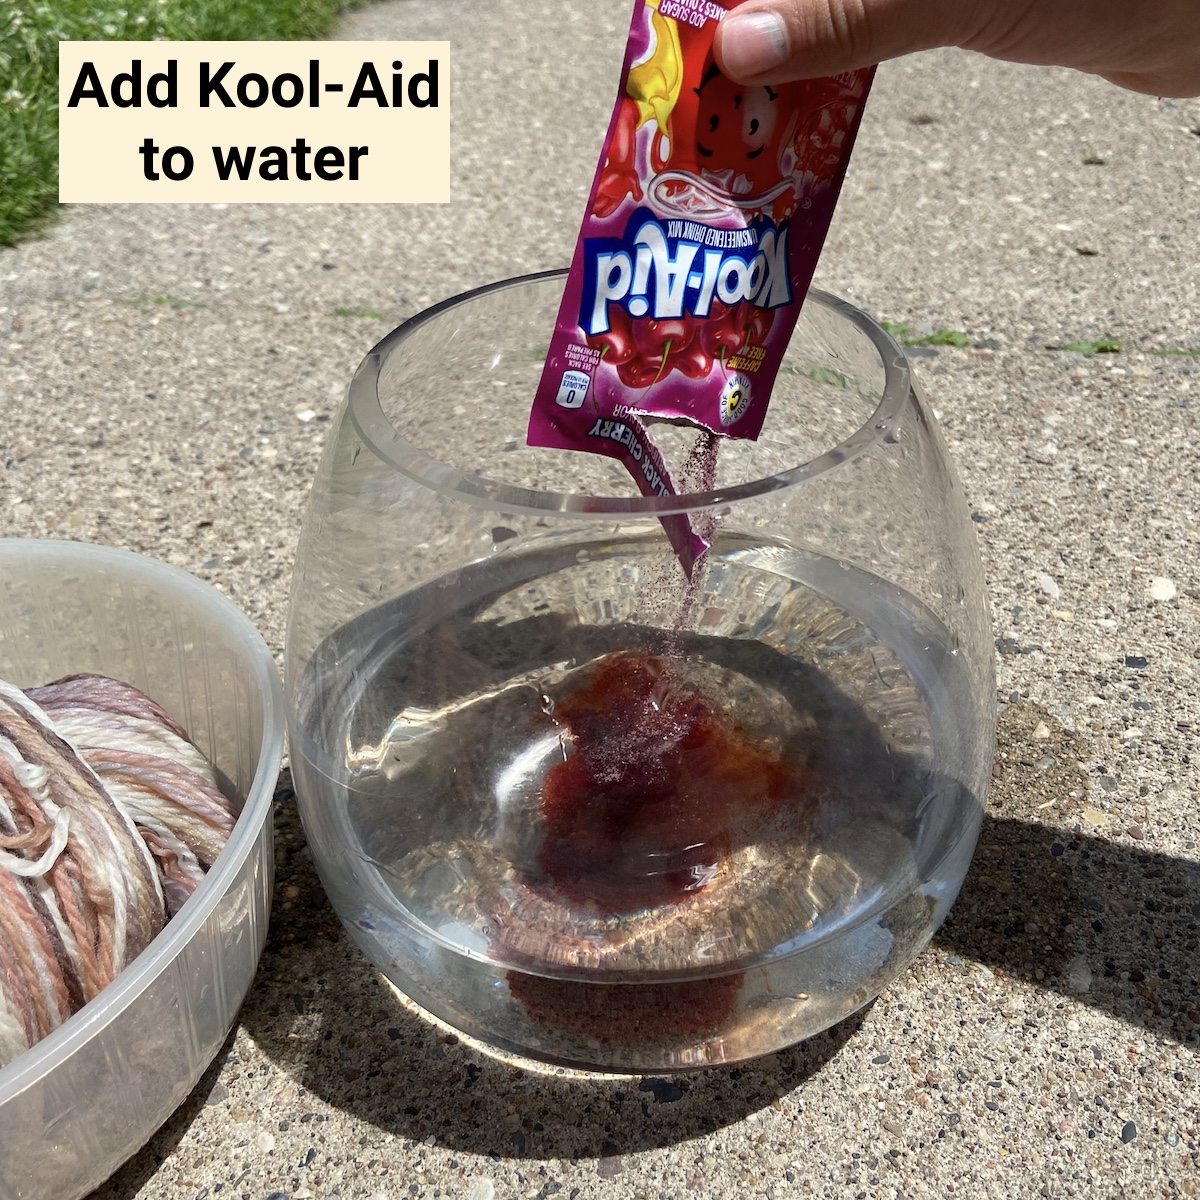
Add some Kool-Aid to the water (in the original container). I usually start out with at least 1 packet per ounce of wool. For more saturated colors, add more dye, for pastels, use less. For this project I used only 3 packets per 7 oz of wool. This is because I knew that the color I was using (Black Cherry) is very saturated, and I wanted to make sure that this yarn still showed some variegation from the colors that were already in the yarn. Remember that you can always add more dye!
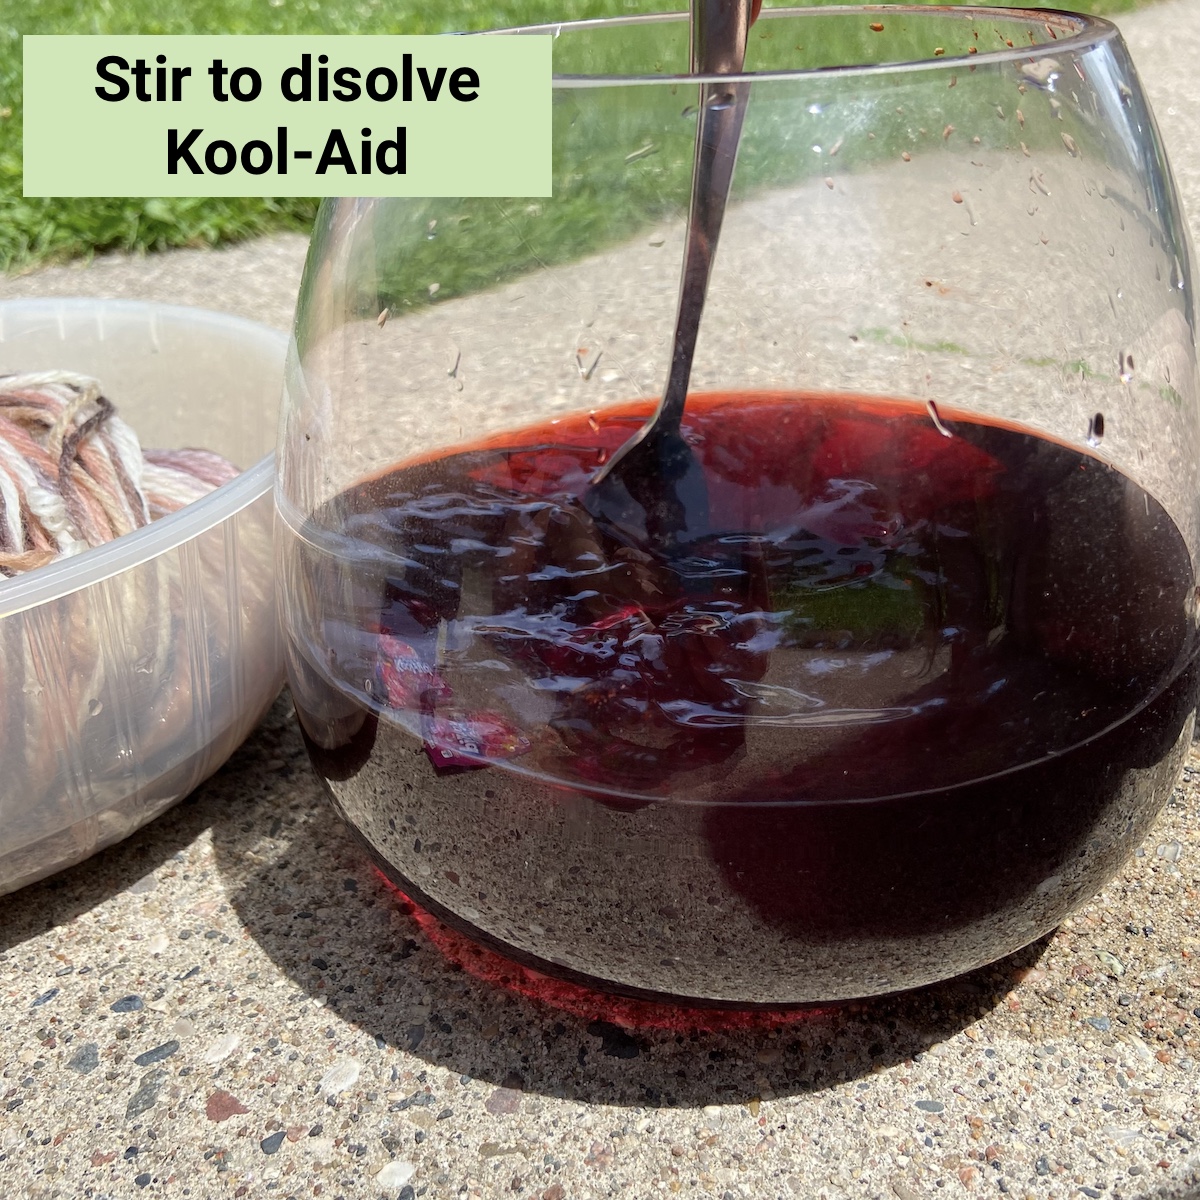
Next, stir water to dissolve the Kool-Aid.

Lower the yarn into the dye, use a spoon or fork to push the yarn so that all of it is submerged. If you are trying to get even coverage, you should try to mix the yarn around a bit. I usually do this by pulling the yarn up and letting the water drain back into the container, then lowering it back in a couple times. This seems to work better than trying to stir in a small container. If wool is agitated too much it might start to felt. I did not mix my yarn at all; I just lowered it in and left it there. I was hoping that it would dye a bit unevenly to maintain the variegated appearance of the yarn.
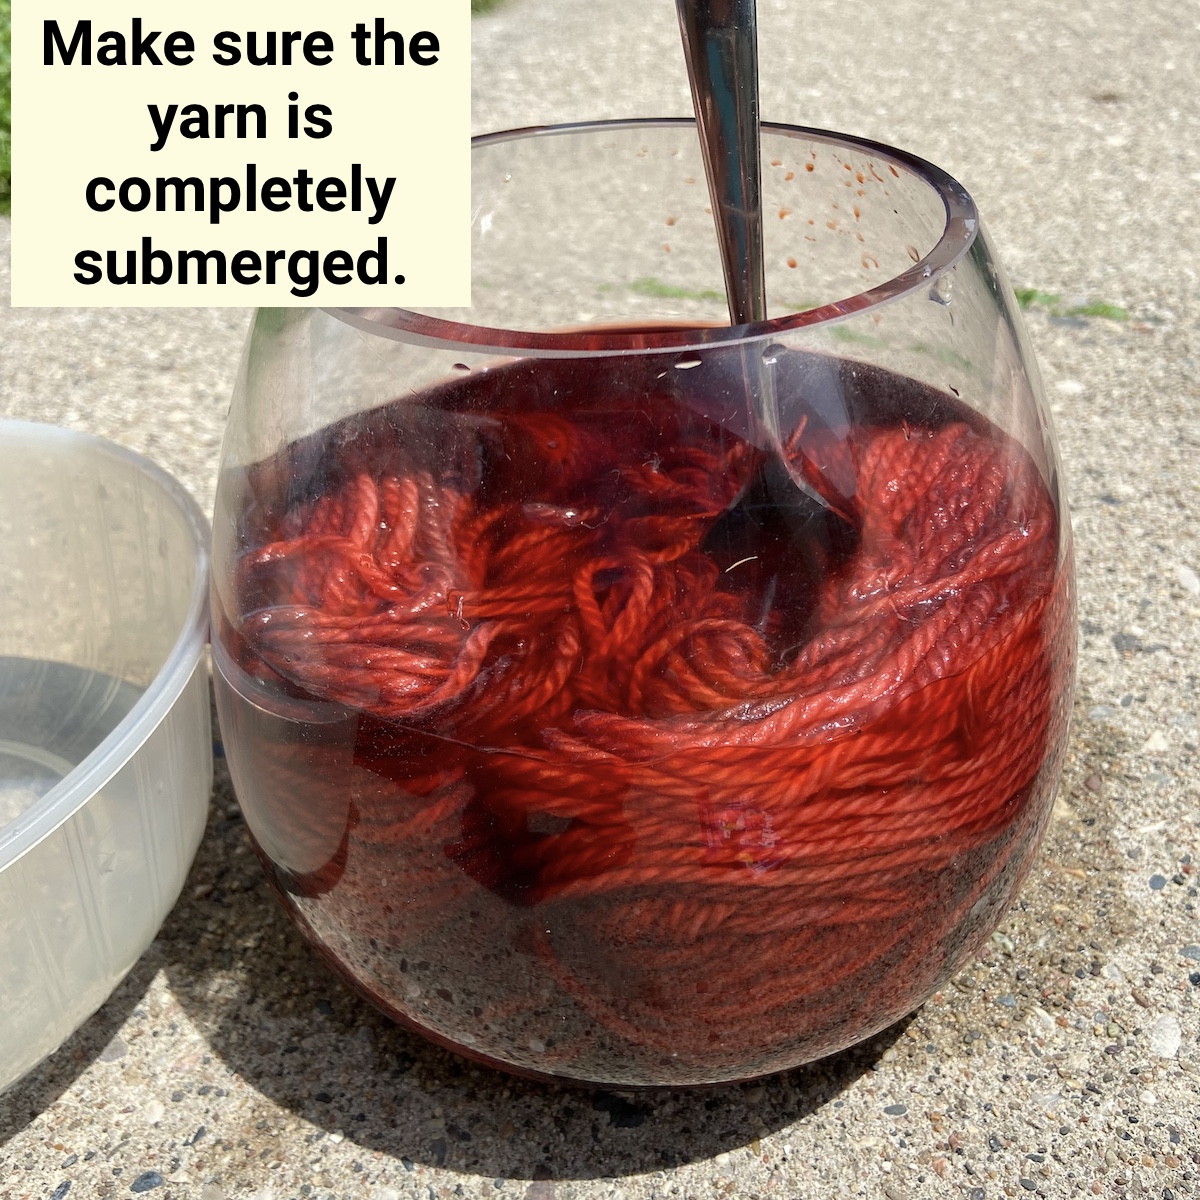
Use a spoon or fork to make sure the yarn is completely submerged.

Place a lid on your container (or use a plate, upside down bowl, or plastic wrap) to cover the top. Leave the yarn in a sunny place for a few hours.

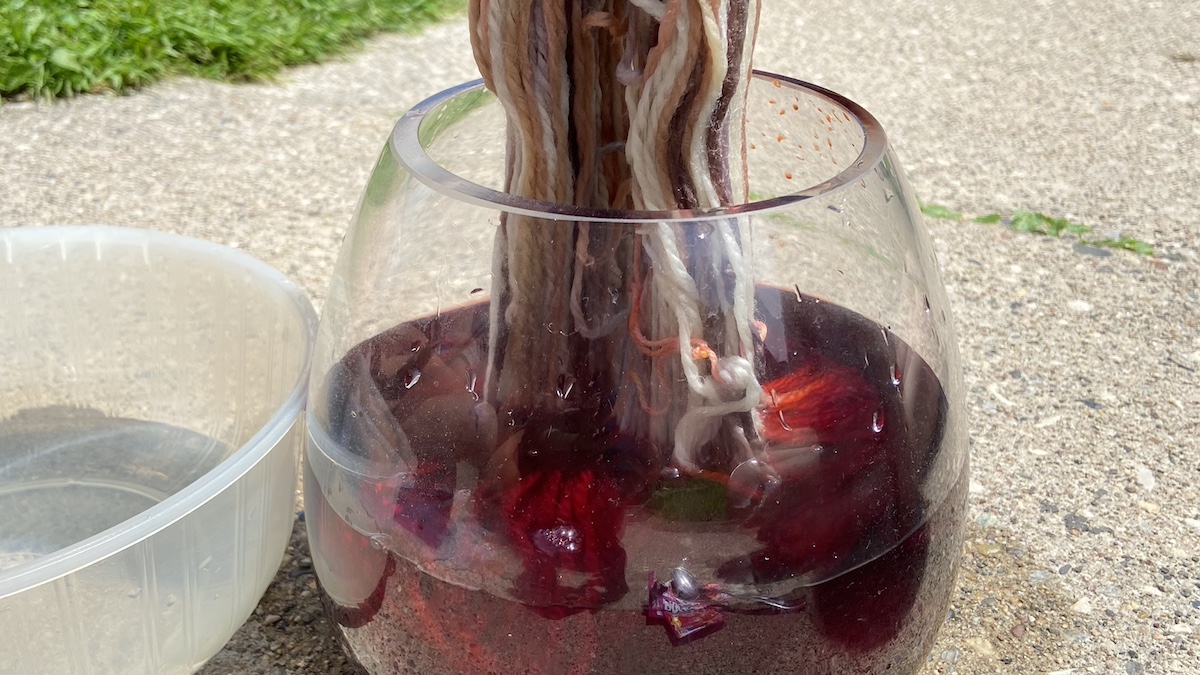
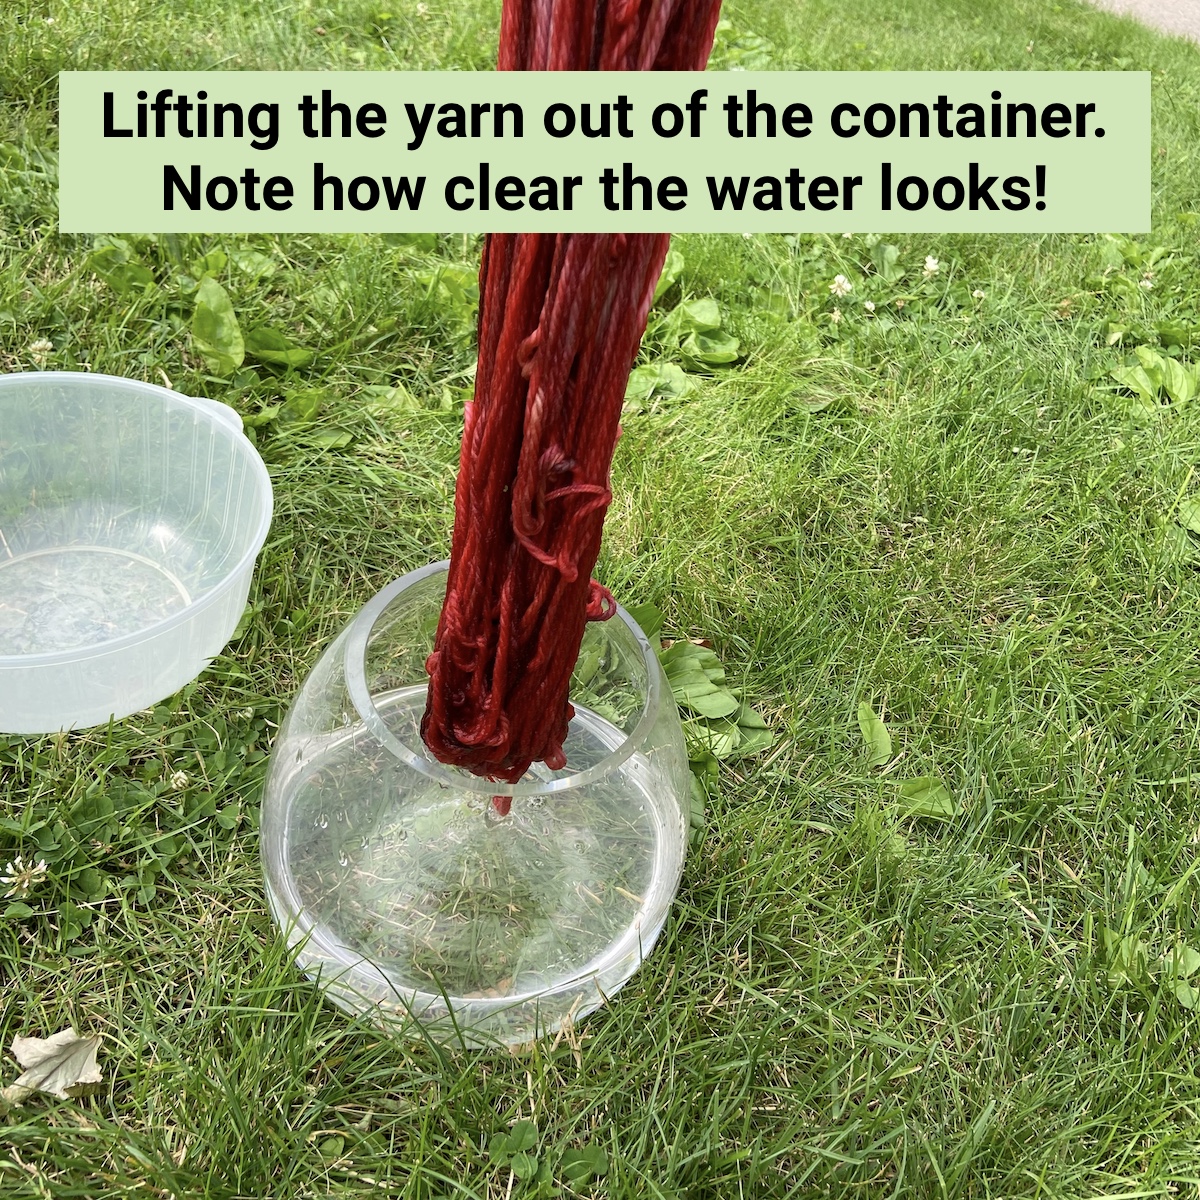
Use a spoon or fork to check and see if the liquid in the looks clear. If there is still color in the water, allow the yarn to soak longer. If the water looks clear (like the photo above), you can lift the yarn out of the water, letting the water drain out of it (back into the container), then place the yarn in a bowl.
Rinse the yarn with water. I like to use a clean bowl of water, and I lower the yarn into and pull it out several times. I find this method to be less likely to tangle or felt.
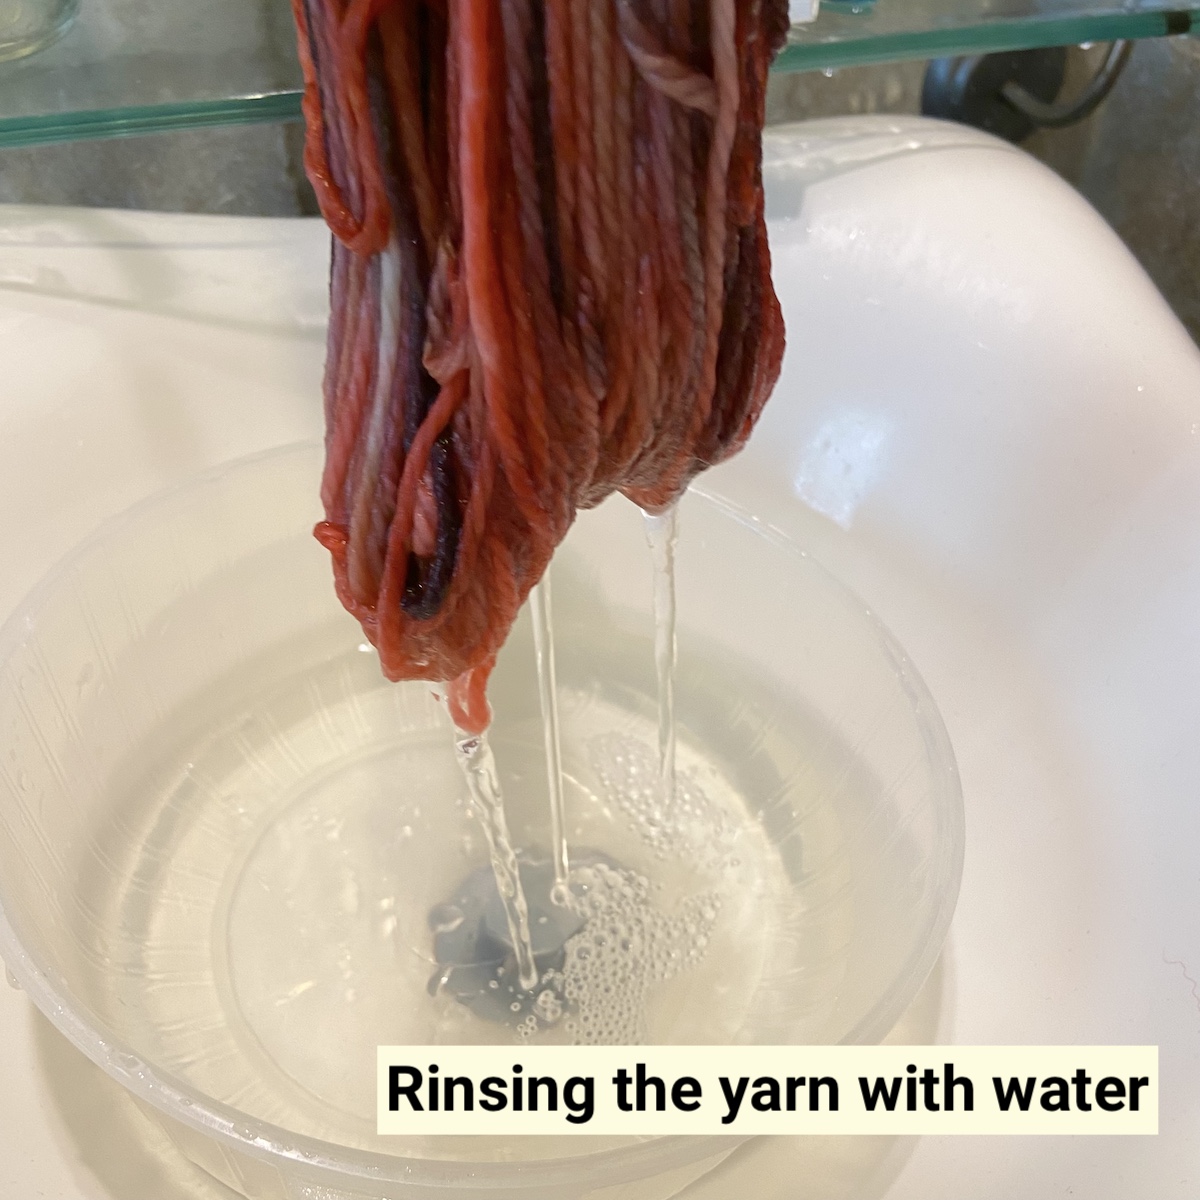
Water should be clear after rinsing. Squeeze out as much water as you can (without wringing or twisting). Loop the hank over a plastic hanger and hang it in a place to dry. This will continue to drip for a while so use old towels to catch the excess water.
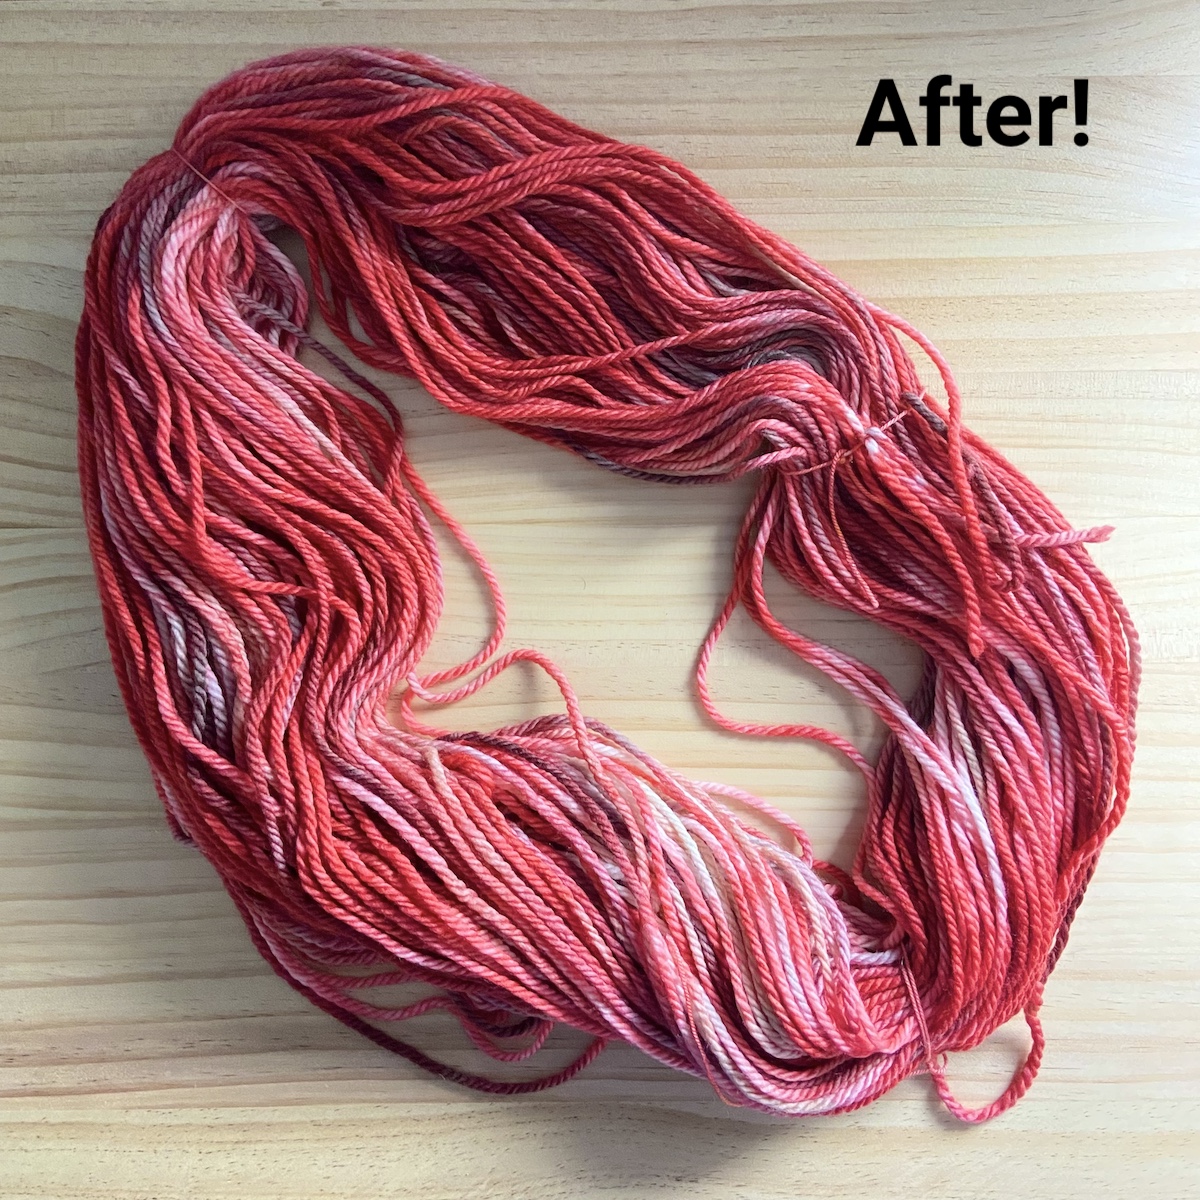
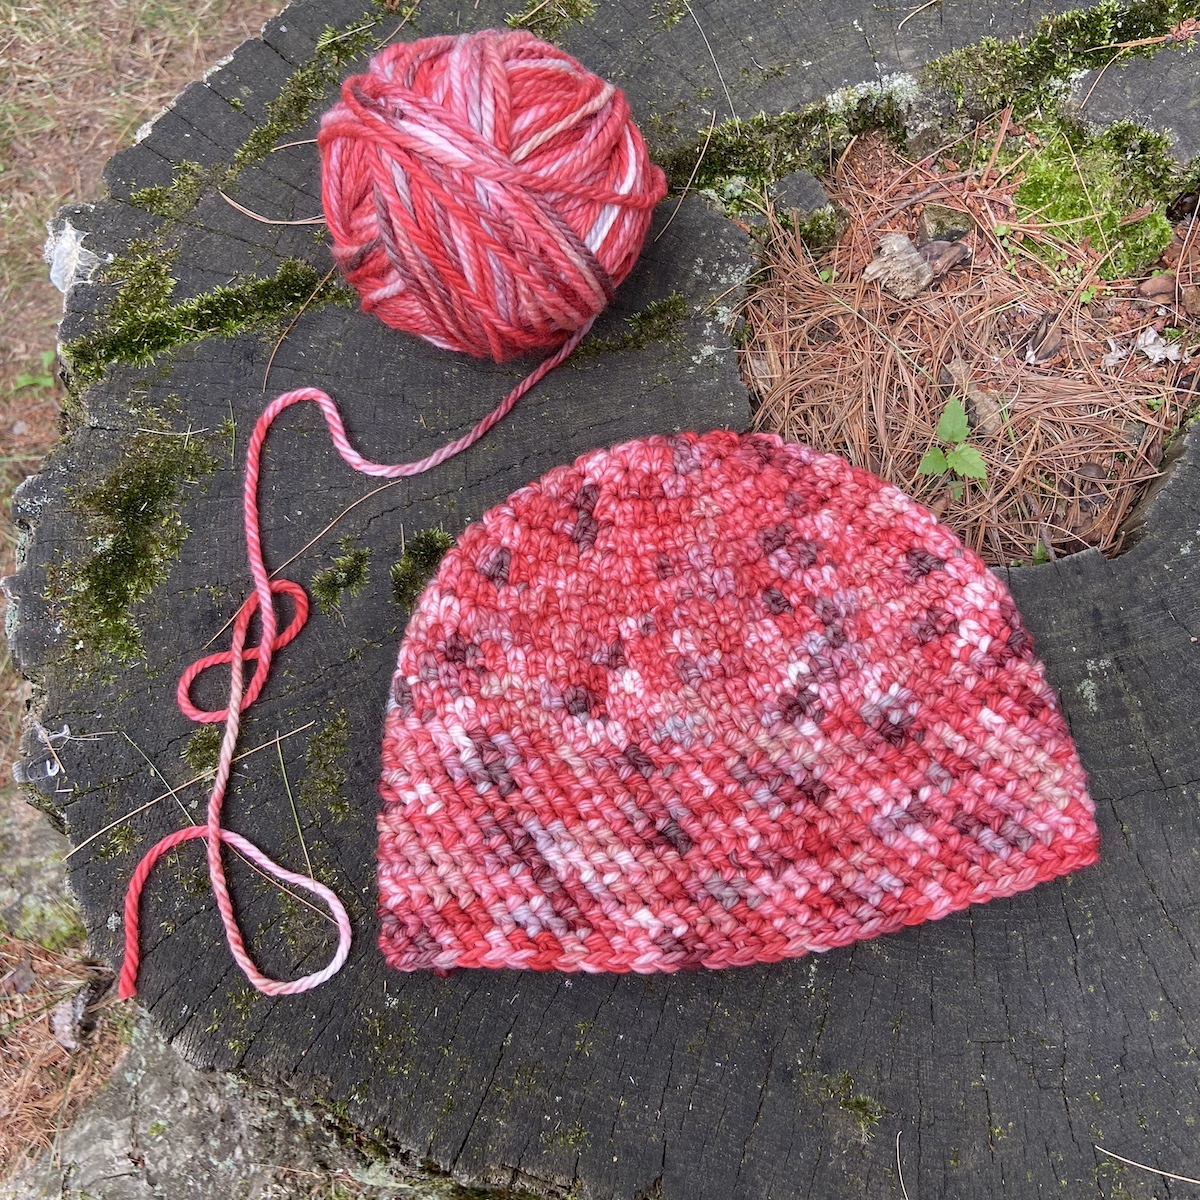
Here is my result- a color I love! It reminds me of red bandanas and watermelon! I was pleased to see little streaks of the original colors but happy that it was a color I would actually enjoy wearing. I was so excited about my refreshed yarn that I crocheted myself a hat!
For more information on dyeing yarn with Kool-Aid, check out this free video tutorial!
Our friends at Craftsy also offer some great classes on dyeing as well: Professional Yarn Dyeing at home, Next Steps in Yarn Dyeing, and The Art of Cloth Dyeing.

Does this also work with Kool-aid in Europe, where I think the dyes used are different from what's used in the US Kool-aid?
What a neat tip. Thanks!
Have used kool aid to dye daughter's white cotton eyelet dress. First it was mint color then like orange sherbet!
Does it smell like cherries?! lol
Thank you, I love this idea!
I think I might give it a try