How to Make a Slip Knot
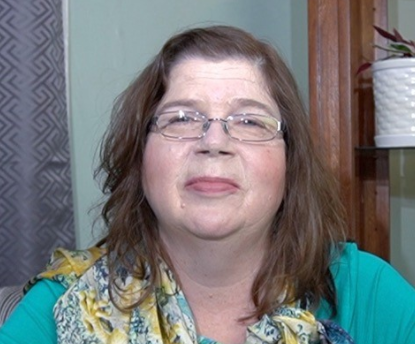
Mary Beth TempleMaking a slip knot is the first step to starting most crochet projects. The slip knot is created first and then the rest of the stitches are created (typically chain stitches). Then you’re ready to begin crocheting. In this video, Mary Beth Temple demonstrates how to create a simple slip knot.
To begin, leave a four to six inch tail of yarn to weave in when the project is complete. Make a horseshoe, or upside-down U-shape with the yarn. The working yarn (the yarn going to the ball of yarn) should be on the left and the tail (the cut tail that is 4 to 6 inches in length) should be to the right. The yarn is twisted to form a loop.
Once the loop is formed, insert your thumb and forefinger into the loop from back to front and grab the working yarn. Pull the working yarn through the loop, and then tug gently on the yarn tail to make a snug knot. The loop is then placed on the crochet hook.
With the loop on the hook, both the working yarn and the yarn tail are tugged on gently to tighten the slip knot. Makes sure the slip knot is on the fattest part of the crochet hook (between the throat and the thumb grip) to ensure that the next stitch can be easily worked.
Share tips, start a discussion or ask other students a question. If you have a question for an expert, please click here.
Already a member?
2 Responses to “How to Make a Slip Knot”
Hi, guys. Mary Beth Temple here. And in this video, I'm going to teach you something that is the basis of many of your crochet projects. And that's a slip knot. Now, if you know how to make a slip knot from other areas in your life, you have a boat or, you put your string on your cooking.
It's the same kind of slip knot, but let's take a look at it in the context of putting it on a crochet hook. All right, we have the cut end of the yarn, which we call the tail yarn. And then the side of the yarn that is attached to the ball or the skein, we call the working yarn. So I'm going to go, maybe four to six inches in from the cut end of the tail, because I want to leave a nice long amount of yarn so I can weave that end in later. I'm going to fold, I'm going to twist my loop.
I'm gonna come from the back through that loop, grab my working yarn and pull it up. Now, you can see I'm putting just a little bit of pressure on the tail yarn to close off the knot. Then I can take my crochet hook, stick it right in there. Tug on both yarns, and have it fit up on the crochet hook. Now, a couple of things.
You want to make sure when you are getting ready to make your first few stitches that you have the slip knot on the fattest part of the hook. You don't want to push it down here by the throat and tighten it up, because that's going to be too small. And then when you keep trying to stitch, it's not going to fit comfortable. You get the width of your stitch you get from this part of the hook, not this part of the hook. And if you have made a slip knot, for whatever reason, and you don't need it anymore, take both sides and pull, and it's gone.
So let's take a look at that one more time. I have my tail yarn on the right side. I have my working yarn on the left. I'm pulling up a fold, four to six inches in from the end. Give it a twist, come through the back of that loop, grab that working yarn and pull it through.
Give a little tug on the tail urine to tighten it up. Put it on my hook, make sure it's on the fat part of the hook. Give both strands a little tug, not too tight, and there, I'm ready to move on with my stitching. So that's all there is to the slip knot. Once again, I'm Mary Beth Temple.
Thank you so much for joining me. Be sure to check out the other wonderful things we have to show you.

This is the best lesson for crochet! She tells where exactly do you keep the 1st stitch!! Thanks for this tip !
Thank you for showing how to start I am trying to teach myself the basics. I know how to knit and needlepoint but never learned to crochet.