How to Work a Slip Stitch
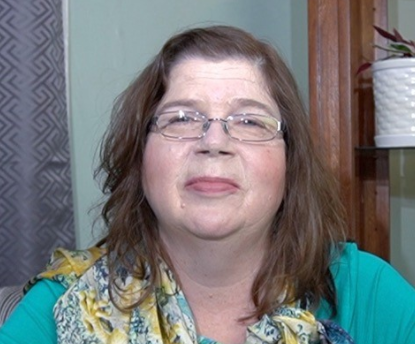
Mary Beth TempleThe slip stitch is a crochet stitch that doesn’t have much height. It’s commonly used to join a piece in the round or to easily travel from one part a project to another, like when creating an armhole of a sweater. In this video, Mary Beth Temple demonstrates how to work the slip stitch.
The mechanics of the slip stitch are similar to the single crochet stitch. To create the slip stitch, Mary Beth inserts the hook under both legs of the top of the stitch and works a yarn over. She then draws this yarn over through the stitch and through the loop on the hook. One loop remains on the hook and the slip stitch has been created. Mary Beth continues to work several more slip stitches on her swatch.
Mary Beth notes that the stitch doesn’t have a lot of height, making it a good stitch to use to travel from one place to another on a project. She also notes that it’s commonly used to finish an edge of a crochet piece as it makes a nice, sturdy edge.
The most frequent use of the slip stitch is to join in the round. It will often be written in a pattern as “Jn rnd with sl st” or “Join round with slip stitch.” Slip stitch is typically abbreviated as “sl st."
Hi, guys. Mary Beth Temple here. And in this video, we're going to talk about the slip stitch. Not the same thing as a slip knot, we have a different video for that. But the slip stitch doesn't have any height.
So we use it in a couple of different ways. We use it to join a round, and sometimes you're at the beginning of a stitch repeat or a group of stitches, and you have your yarn and your hook here, and you want it to be there, and you can use that slip stitch to travel across. So let's take a closer look at how to make the slip stitch. All right. So here we go.
It's very similar to a single crochet. I'm going to insert my hook under the two legs of the stitch or wherever the pattern tells me. Going to yarn over from back to front, as we so often do in crochet. I'm gonna bring that loop through the stitch and also through the working loop that was on my hook. And I'm still going to have one loop on my hook.
Going to the next stitch. Yarn over. Pull it through the stitch and also through the working loop on the hook. So you only ever have one loop on the hook, and it's only ever just the one action. In the stitch, yarn over back to front, and pull it through the stitch and the working loop.
So, here is a whole completed row of slip stitching. Now, you can see, because this is the single crochet row that I was working on, you can see that it doesn't have a whole lot of height. So why would we use it? We use it to finish off an edge, like I did here. It makes the edge more sturdy and less likely to pull out of shape.
You will oftentimes use it. Say you've started your row here, you're doing an arm hole, and maybe you need some double crochets over here but your yarn's over here. You can slip stitch across to the spot where you need a taller stitch and then chain up and do your taller stitch. But also, we use it very frequently when we are working in the round. So if this piece was in the round, say instead of in rows, it would tell me to join the round with a slip stitch in the first stitch.
So I'd be crocheting along, making whatever stitch I was making. I would go here to the next stitch. I would make my slip stitch. There's my yarn over from back to front. I would pull it through that stitch and also through the working loop on my hook.
Maybe I would chain one and keep going. Maybe I would chain one in turn, but this joins the work into a round. So you will often find the slip stitch being used there. And that's all we need to know about the slip stitch. Now you can add that to your crochet bag of tricks.
Thanks so much. I'm Mary Beth Temple. We'll see ya again here real soon.

Share tips, start a discussion or ask other students a question. If you have a question for an expert, please click here.
Already a member?
No Responses to “How to Work a Slip Stitch”